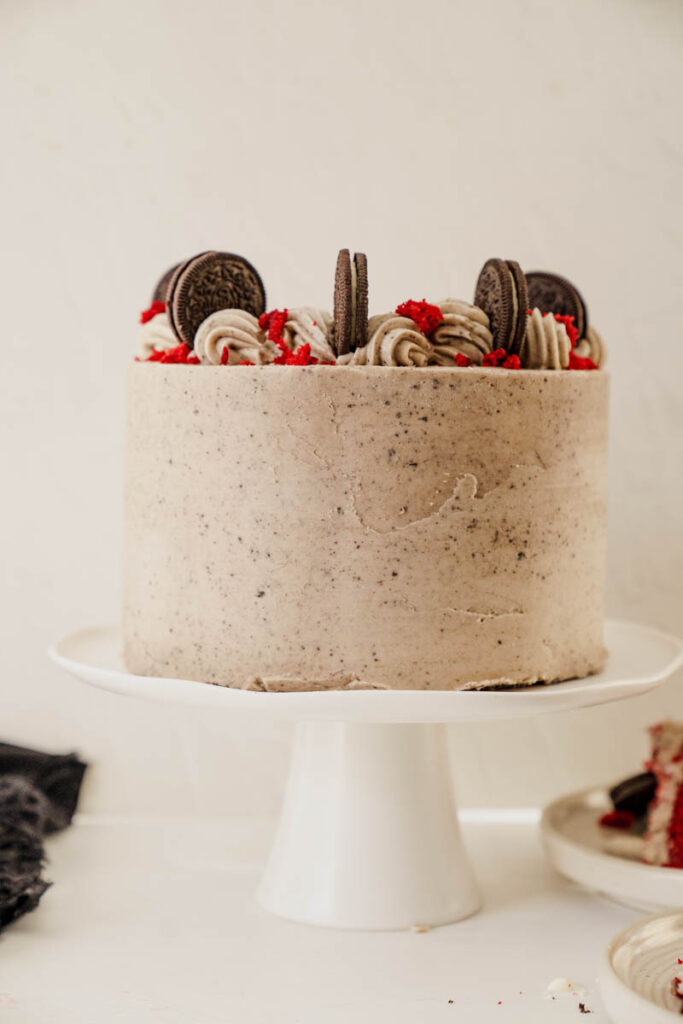
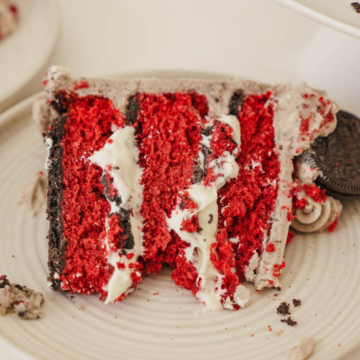
Oreo Red Velvet Cake – This cake is the ultimate combination between the smooth mouthfeel of a red velvet cake and the decadent dark chocolate of the oreo.
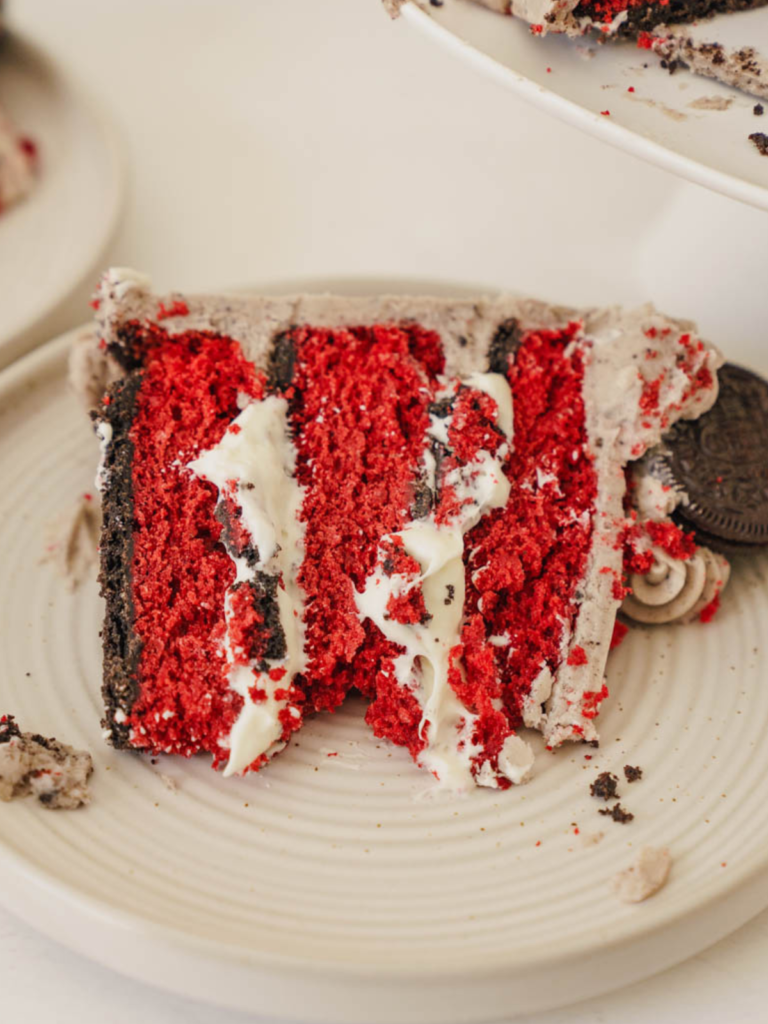
Why I love this cake – Who doesn’t love a good crossover? One of the greatest moments of my life was when the Suite Life of Zack and Cody did a crossover episode with Hannah Montana. This cake is the perfect crossover of America’s favorite cookie and Valentine’s favorite cake. There are few things that I enjoy more than a good cream cheese buttercream mixed with the dark chocolate crust made from Oreo cookies.
For more recipes here are some that are Oreo inspired;
- Easy Red Velvet Oreo Brownie
- The Best Birthday Golden Oreo Blondies
- The Finest and Ultimate Cookies And Cream Cake
Jump to:
Why this Oreo Red Velvet Cake
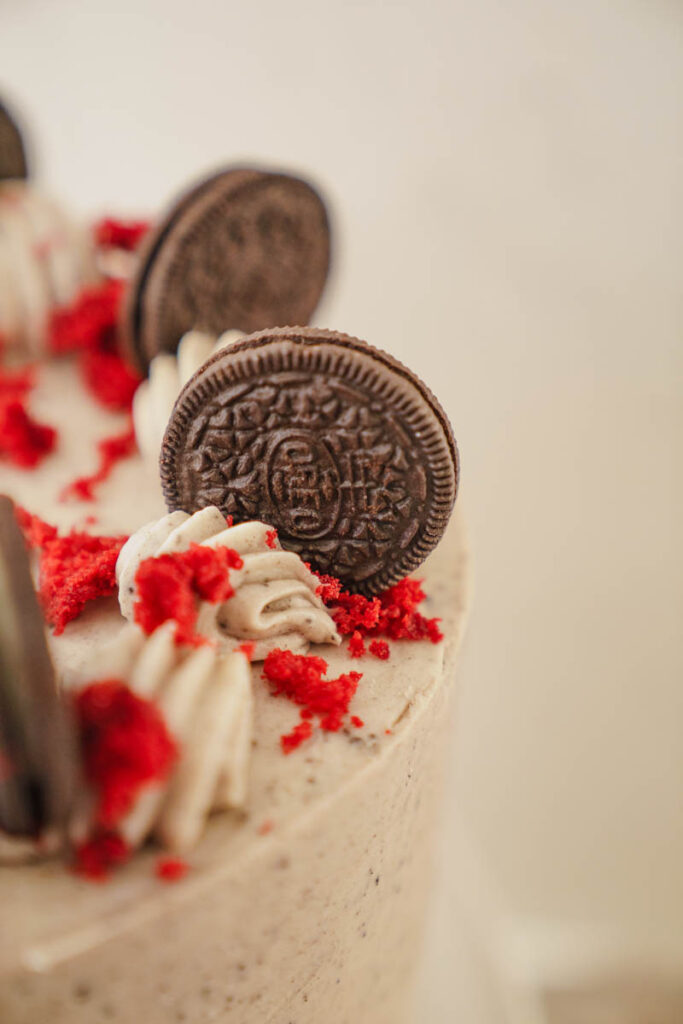
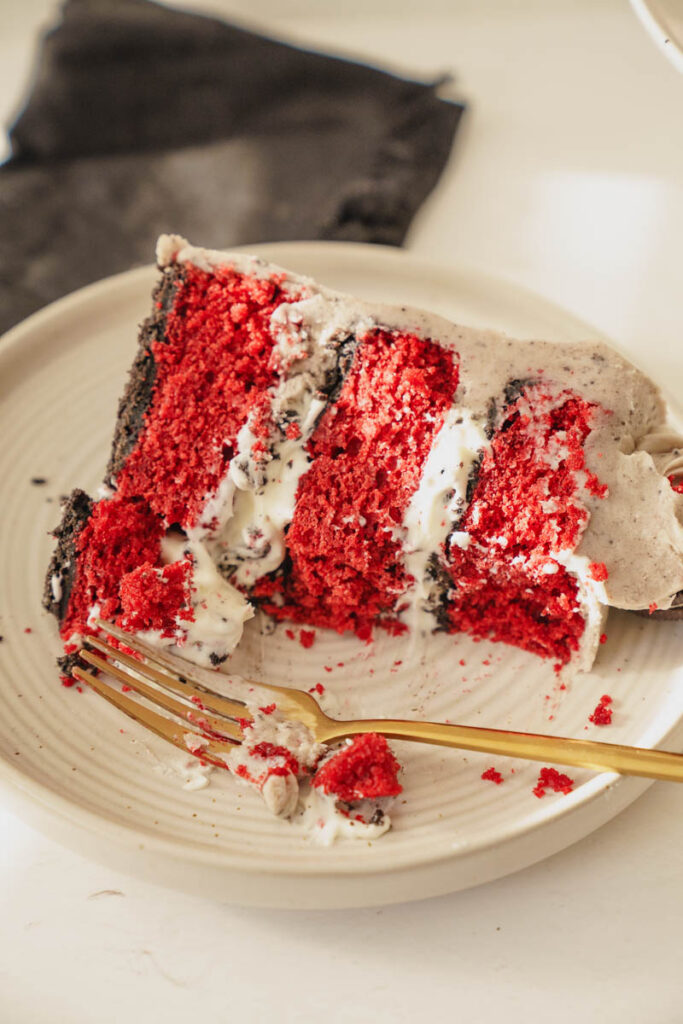
Its rare that you find a good red velvet cake. They often times turnout tasting like watered down chocolate cake or worse yet, just a bland vanilla cake. This cake is going to make you think that everyday is Valentine’s day. Add that to the brilliant Oreo crust that gives variance to the cake as a whole, and you have a cake worth making again and again.
- Velvety- this part is honestly why you should make it. Moist, soft, perfectly sweet, and all around the best cake around. Can’t you tell that I am just so obsessed with this cake?
- Cream cheese frosting – it wouldn’t be classic without a cream cheese frosting. You will be loving this cream cheese frosting all month long.
- Oreo Cookie Crust- Just like an Oreo, this crust has a great cookie crunch to it.
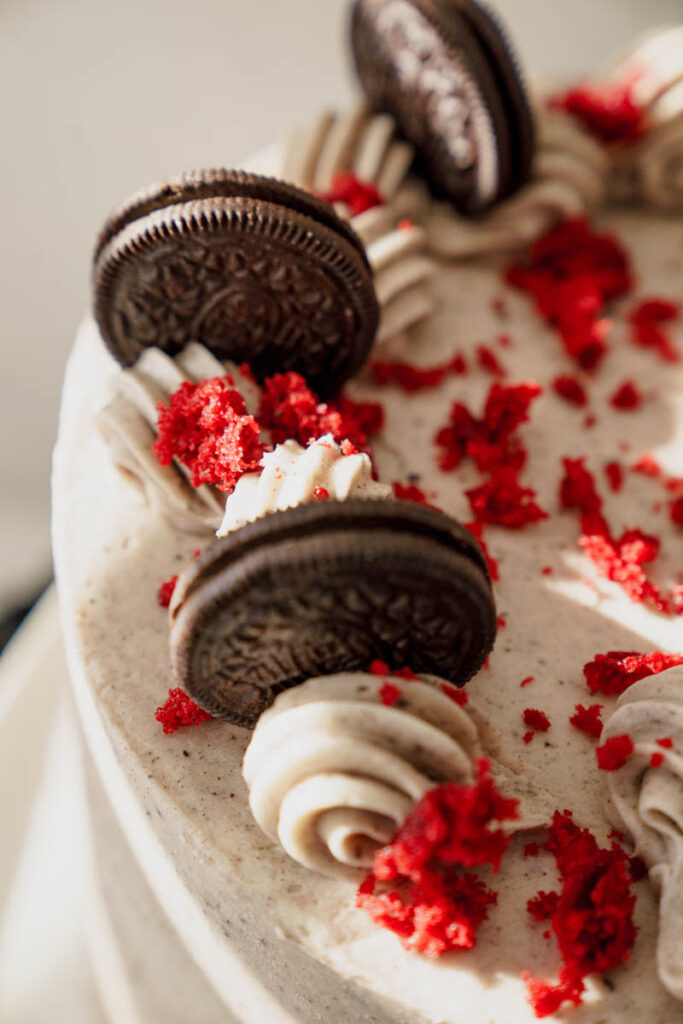
- Oreo Frosting- I don’t like to pick favorites, but this one might be my favorite element of this cake. Who can resist a crunchy Oreo buttercream?
Grocery List
To make it easy for you, I have listed a few key ingredients that you will need that might not have stocked up in your pantry, to find the full list of ingredients, you can refer to the recipe card at the bottom of the recipe.
- Unsalted butter- it needs to be room temperature for the cake and the cream cheese buttercream.
- Vegetable oil – you can also use canola or grape-seed oil
- LorAnn’s red velvet emulsion – this is a must for this recipe. You can get it at Micheals, Joann’s, Amazon, and Hobby Lobby. You can also buy it quickly and easily here.
- Cocoa powder – I used a regular cocoa powder,
- Buttermilk – I like full fat buttermilk, but if you can’t find it no worries, just use what you can find.
- Cream cheese – remember to use full fat cream cheese for the best flavor and texture.
- Oreos- I feel like this one is pretty obvious. I bought the largest size they had to offer. I think it was called the party pack.
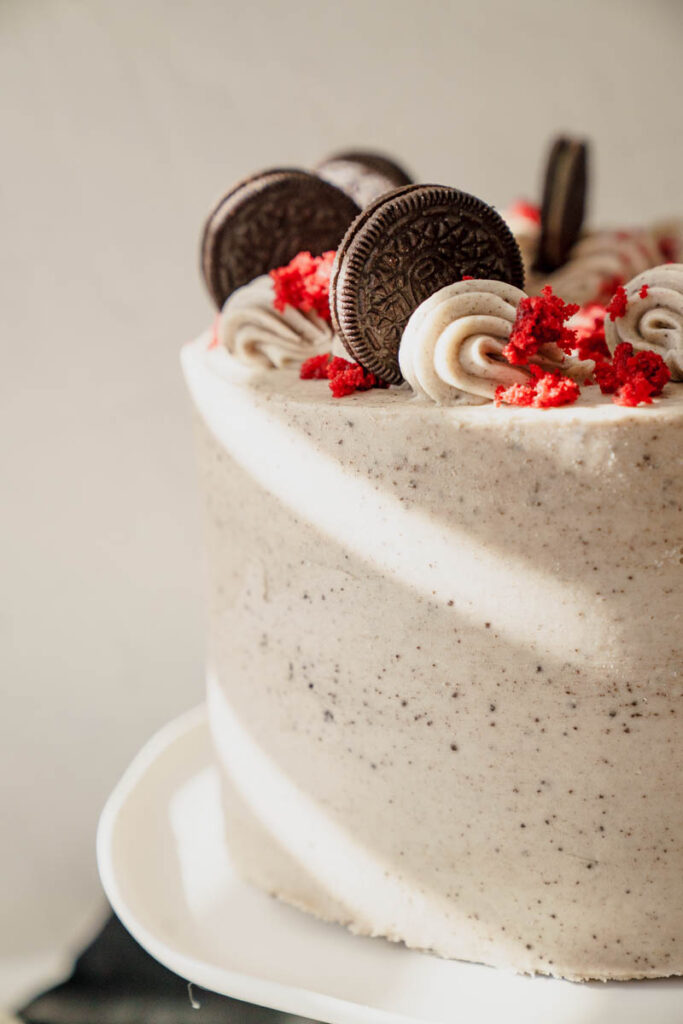
Step By Step – Oreo Red Velvet Cake
Step 1: Sift and mix the dry ingredients. In a medium size bowl whisk together the cocoa powder, baking powder, baking soda, salt and all-purpose flou
Step 2: Cream the fats and sugar. In a bowl of a stand size mixer fitted with the paddle attachment, cream the butter, oil and sugar on medium high speed until light and fluffy. About 4 minutes. The mixture should turn white and double in size.
Step 3: Cream in the eggs. With a rubber spatula, scrape down the sides and the bottom of the bowl. With the mixer on medium speed, start adding the eggs one at a time, mixing for 30 seconds after each addition. Scrape the sides and bottom after each addition.
Step 4: Add more liquid ingredients. Once the eggs have been added, add the vanilla, LorAnn’s emulsion, sour cream, and vinegar mix on low just until incorporated about 30-60 seconds.
Step 5: Alternate the dry and buttermilk. Scrape down the sides of the bowl and turn the mixer on low and add half of the flour mixture and half of the buttermilk to the butter mixture and mix until just incorporated. Finally, add the rest of the flour mixture and the last of the buttermilk, while mixing on low. Do not over mix.
Step 6: Divide and bake. Once mixed, evenly divide the batter into the prepared pans with the oreo crust. Bake for 33-35 minutes. I checked mine at 33 minutes and it needed about one more minute. Insert a toothpick and if it comes out clean or with only a few crumbs, your cake is done.
Step 7: Cool. Allow the cakes to cool in the pans for 15 minutes and then remove them from the pans and transfer them to a wire rack and let them come to room temperature.
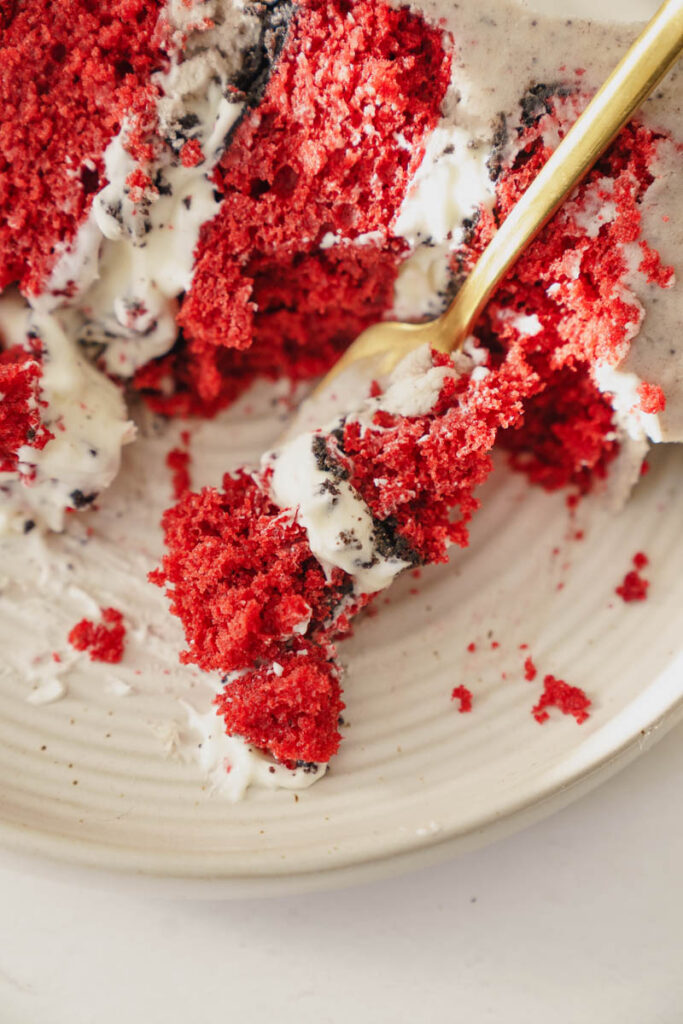

Step by step- Cream cheese filling.
Step 1: Beat the cream cheese. In a medium sized bowl, combine the softened cream cheese, powdered sugar, vanilla, and salt. With a hand mixer, start on the lowest speed and mix until it’s all combined. Then turn up the speed and mix until it’s creamy and smooth.
Step 2: Make whipped cream. In the bowl of a stand mixer fitted with the whisk attachment, whisk the heavy whipping cream on high for about 3 to 5 minutes. You want it to be at the stiff peak stage.
Step 3: Fold the cream cheese into the whipped cream. With a rubber spatula, fold in half of the whipped cream until no streaks of whipping cream remain. Repeat with the remaining whipped cream.
Step 4: Store. When you are done, place the mixture in the fridge until you are ready to assemble your cake. It can stay in the fridge, covered, for up 4 hours.
Step by Step- the buttercream
Step 1: Cream the butter. In a stand mixer fitted with a paddle attachment, cream the butter on medium-high speed for about two minutes.
Step 2: Add the powdered sugar. With the mixer on low, add all of the sifted powdered sugar and mix on low, just until incorporated. With a rubber spatula, scrape down the sides of the bowl.
Step 3: Add the rest of the ingredients. Add the heavy cream, salt and vanilla, increase the speed to medium-high and beat the frosting for five minutes. It should get lighter in texture and color.
Step 4: Add the crumbs. With the rubber spatula, lightly stir in the cookie crumbs until you start seeing gray streaks.
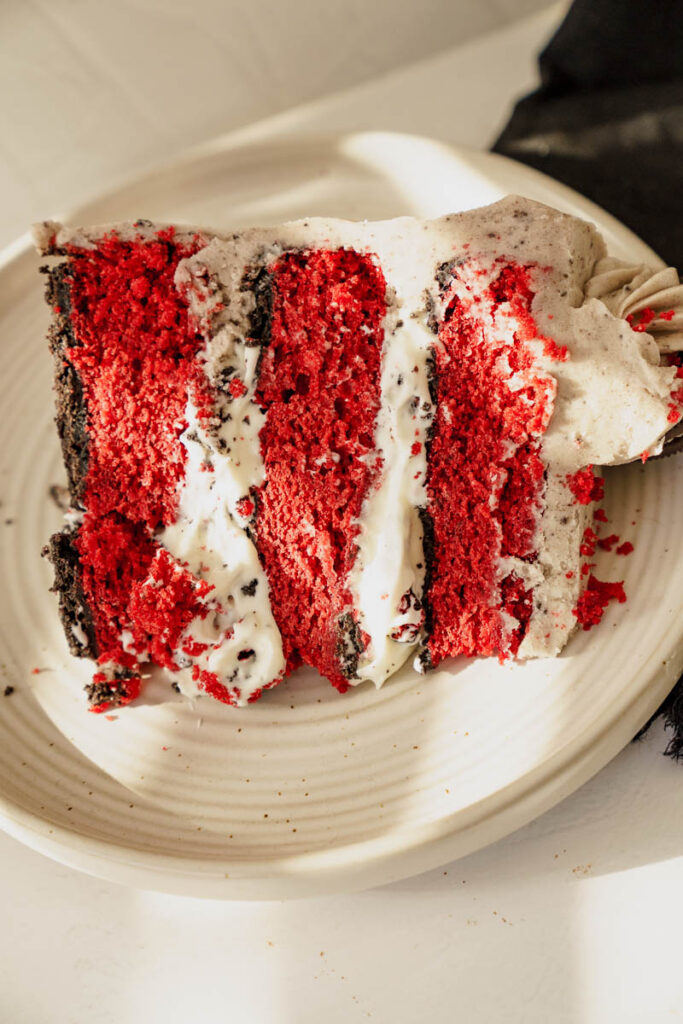
Assembly
- Place the first cake layer, top side up, on the cake board. Pipe a rim of Oreo buttercream around the edge of the cake Fill the center of the cake with the cream cheese filling, make sure not to overfill, I used a little under 1 cup.
- Place the second cake layer, crust side down, on top of the buttercream and filling. Repeat piping and filling.
- Place final cake layer, crust side down on the filling.
- Apple a thin layer of the Oreo buttercream, also known as the crumb coat, and freeze for about 10 to 15 minutes to set this layer of frosting.
- Once the crumb coat is set, continue to frost the cake with the remaining frosting.
Favorite products I use


FAQ
Can I make this into cupcakes?
Yes, this recipe will make 18-20 cupcakes. Reduce the baking time to 20-22 minutes.
Can this be made into a sheet cake?
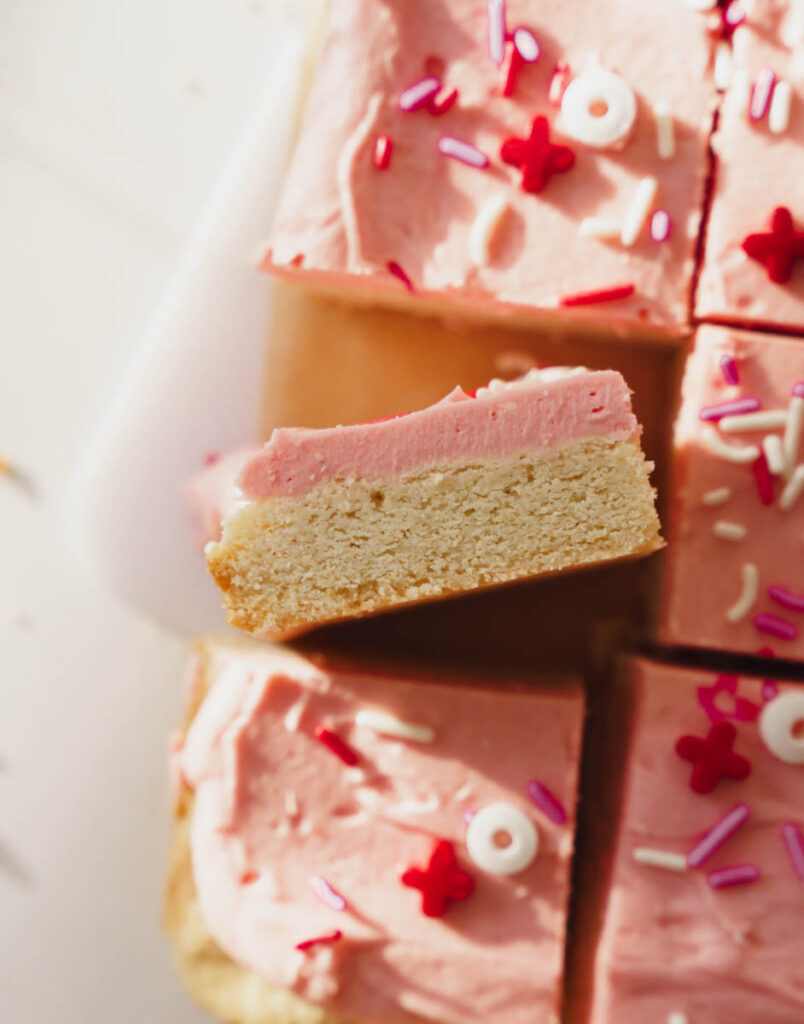
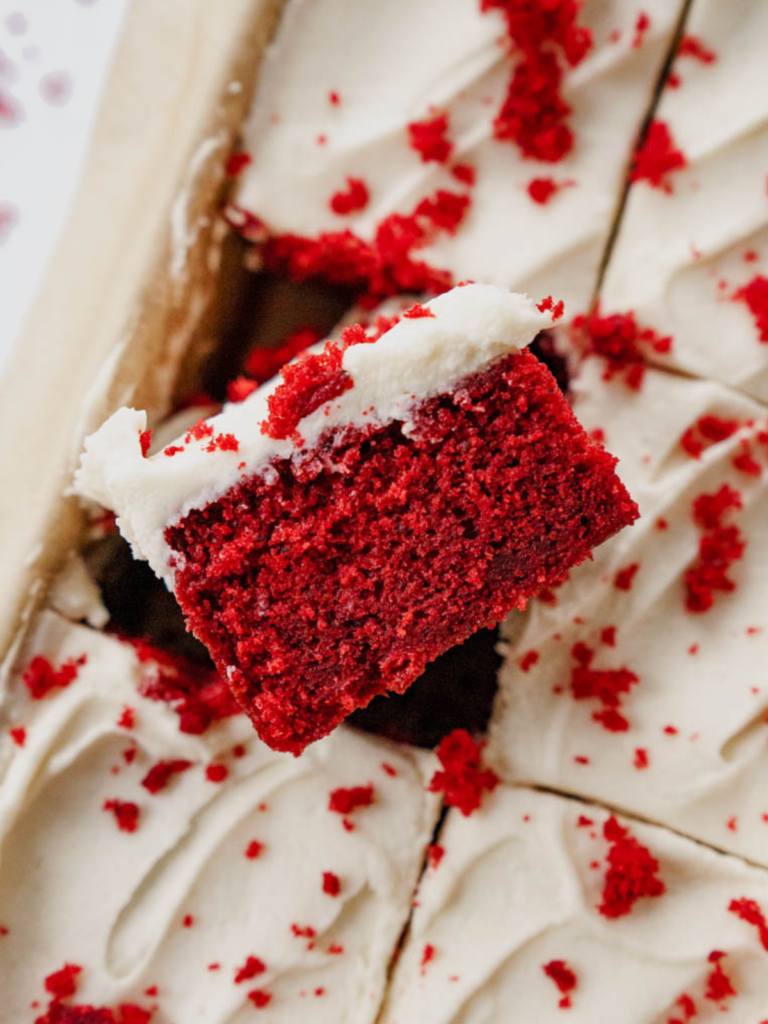
Yes, I’ve done it for you right here you can add crushed oreo on top!
Can I use red food coloring instead of emulsion?
Yes, it will change the flavor slightly, but will totally work.
Expert baking tips
- Use high quality cake pans. This helps prevent your cake layers from browning on the sides. I always use Fat Daddios cake pans. You can find the ones I use here.
- I say this a lot because I think it’s really important… USE ROOM TEMP ingredients! Making sure all of your ingredients are the same temp is a must!
- To get a creamy and smooth buttercream, add a Tablespoon of whipping cream once you done mixing the buttercream. Then beat by hand with a rubber spatula to get all of the air bubbles out.
- Do a crumb coat. Don’t skip this step. It helps secure the crumbs onto the cake and makes decorating easier.
- Use a turn table to help decorate your cake. You can find the one I use here.
- I love using an offset spatula to help spread the buttercream on the sides of the cake. You can find mine here.
Storing
How to store this Oreo Red Velvet Cake
If I am dividing my cake making into multiple days, I bake my cake layers, cool them, and wrap them with plastic wrap and store them in the fridge or freezer. This help reduce crumbs and makes it so the layers don’t slide around when decorating. They can be stored in the fridge for 3-5 days.
Freezing
Freeze individual cake slices in plastic wrap and freeze for up to 1 month.
Here are some other cake recipes you are going to love:
Remember to rate and review the recipe, and follow me on Instagram and Pinterest.
Recipe
Oreo Red Velvet Cake
Ingredients
For the Oreo crust
- 2½ cups finely ground Oreo Cookies about 30 cookies
- 2 Tablespoons granulated sugar
- ½ cup unsalted butter melted
For the cake
- 1 cup unsalted butter room temperature
- ½ cup vegetable oil
- 1 ¾ cup granulated sugar
- 4 large eggs room temperature
- 2 teaspoon pure vanilla extract
- 1 ½ tablespoon LorAnn’s red velvet emulsion can sub red food coloring
- ¼ cup full fat sour cream room temperature
- 1 teaspoon white distilled vinegar
- 1 tablespoon cocoa powder
- 2 teaspoons baking powder
- 1 teaspoon baking soda
- 1 teaspoon salt
- 2 ¾ cup all-purpose flour
- 1 cup buttermilk room temperature
Cream Cheese filling
- ¾ cup heavy whipping cream room temperature
- 6 ounces cream cheese room temperature
- ½ cup granulated sugar
- 1 teaspoon vanilla extract
For the buttercream
- 4 Oreo cookies ground into a fine crumb
- 1 ½ cups unsalted butter slightly cold
- 6 ounces of cream cheese softened
- 6 cups powdered sugar measured and then sifted
- 3 Tablespoons heavy whipping cream
- 1 teaspoon vanilla extract
- Pinch of salt
- This recipe makes just enough to stack and fill a cake if you want to make the dollops on top like mine I suggest doing an additional half batch.
Instructions
For the Oreo crust
- Preheat your oven to 325 degrees F. Spray three 8-inch or four 6-inch round cake pans with cooking spray and then line with parchment. Spray again. Set aside.
- Place the Oreo cookies in a food processor or blender and pulse until the Oreos are finely ground.
- In a medium-size bowl, combine the Oreo crumbs, sugar and melted butter. Stir until all the Oreo crumbs are dampened by the melted butter. You should be able to scoop by hand and have it all stick together.
- Divide the mixture evenly between the pans and press down firmly with your hand or the back of a flat measuring cup
- Bake for 10 minutes. Let the crusts cool while you make the cake layers.
For the cake
- Keep your oven at 325.
- In a medium size bowl whisk together the cocoa powder, baking powder, baking soda, salt and all-purpose flour. Set aside.
- In a bowl of a stand size mixer fitted with the paddle attachment, cream the butter, oil and sugar on medium high speed until light and fluffy. About 4 minutes. The mixture should turn white and double in size.
- With a rubber spatula, scrape down the sides and the bottom of the bowl. With the mixer on medium speed, start adding the eggs one at a time, mixing for 30 seconds after each addition. Scrape the sides and bottom after each addition.
- Once the eggs have been added, add the vanilla, LorAnn’s emulsion (or red food coloring), sour cream, and vinegar mix on low just until incorporated about 30-60 seconds.
- Scrape down the sides of the bowl and turn the mixer on low and add half of the flour mixture and half of the buttermilk to the butter mixture and mix until just incorporated. Finally, add the rest of the flour mixture and the last of the buttermilk, while mixing on low. Do not over mix, this should take 30-45 seconds.
- Once mixed, evenly divide all of the batter into the prepared pans with the Oreo crust (about 18 ounces in each 8-inch pan) Bake for 33-35 minutes. I checked mine at 33 minutes and it needed about one more minute. Insert a toothpick and if it comes out clean or with only a few crumbs, your cake is done.
- Allow the cakes to cool in the pans for 15 minutes and then remove them from the pans and transfer them to a wire rack and let them come to room temperature. Wrap them in plastic wrap and either freeze or refrigerate them.
For the cream cheese filling
- In the bowl of a stand mixer fitted with the paddle attachment, beat the cream cheese for a couple minutes until smooth. Scrape down the sides and beat for 2 more minutes. With the mixer on low, add the granulated sugar. Beat on high for a couple minutes until smooth. Place in a medium sized bowl.
- In the same bowl of a stand mixer fitted with the whisk attachment, whisk the heavy whipping cream, and vanilla on high for about 5-7 minutes, until the cream forms stiff peaks.
- Fold the whipped cream into the cream cheese mixture until no streaks of whipping cream remain. Making sure not to over mix.
- This will hold for a couple of hours at room temperature. If you won’t be using it right away, store in an airtight container in the fridge for up to 2 days.
For the buttercream
- In a stand mixer fitted with a paddle attachment, cream the butter on medium-high speed for about two minutes.
- With the mixer on low speed, add all of the sifted powdered sugar at once and mix on low just until incorporated. With a rubber spatula, scrape down the sides of the bowl.
- Add the heavy cream, salt and vanilla, increase the speed to medium-high and beat the frosting for five minutes. It should get lighter in texture and color.
- With the rubber spatula, gently stir in the cookie crumbs until you start seeing gray streaks.
Assembly
- Place the first cake layer top side up on the cake board. With the Oreo crust on top of the cake board. Pipe a rim of Oreo buttercream around the edge of the cake. Fill the center of the cake with the cream cheese filling, making sure not to over fill, I used a little under 1 cup.
- Place the second cake layer, crust side down, on top of the buttercream and filling. Repeat piping and filling.
- Place final cake layer, crust side down, on the filling.
- Apple a thin layer of the Oreo buttercream, also known as the crumb coat, and freeze for about 10 to 15 minutes to set this layer of frosting.
- Once the crumb coat is set, continue to frost the cake with the remaining frosting.
- Serve at room temperature, wrap leftover cakes slices in plastic wrap and will hold in the fridge for a couple days.

Neha Mahajan says
Hi Molly,
Thanks for this recipe. How long do we need to bake if using 6″ pans? Will 2″ tall pans work or will 3″ tall be better for this recipe (for 6″ or 8″ pans)?
Thanks
Molly Murphy says
If you are using 6 inch pans, this recipe makeds 4 6-inch pans, and you need to bake around 30ish minutes. I would check at minute 28! And 2inch pans are what i use!
Thank you!
Neha Mahajan says
Thanks so much for your reply. I was also wondering if using springform style/loose bottom tins will be helpful for this cake since it has a cookie base like a cheesecake.
Molly Murphy says
Yes! that would work!
Tanya says
What is infinity? There are no amounts ?
Molly Murphy says
I don’t know what you mean by infinity! If you are referring to red velvet emulsion, I love using my favorite by Loranns!