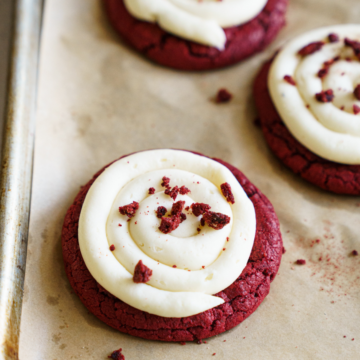
Red Velvet Crumbl Cookie – Soft and cakey cookie texture, frosted with the best creamy cream cheese frosting! It’s a perfect mixture between a cake and cookie!
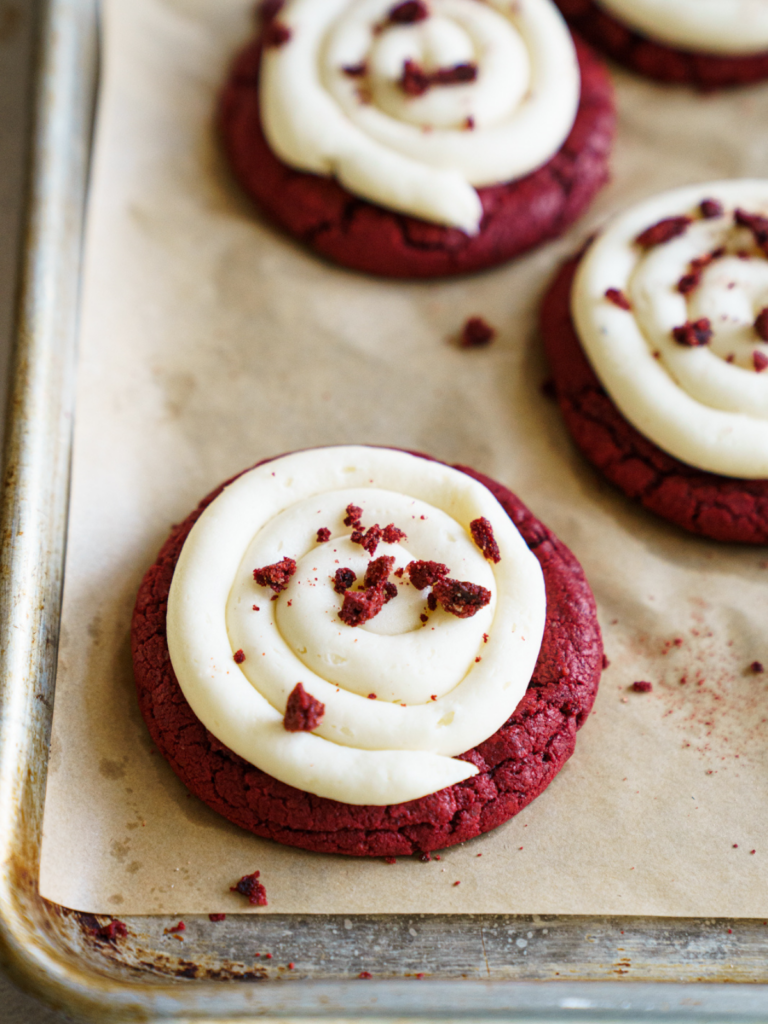
If there’s one thing we can all agree on, it’s that Crumbl Cookies are a big deal. Known for their giant cookies with unique flavors and textures, Crumbl has taken over social media—especially on TikTok. I’m here to show you how to make your own Copycat Red Velvet Crumbl Cookie at home with this easy, delicious red velvet cookie recipe. These cookies are soft, gooey, and topped with the creamiest cream cheese frosting. The best part? You don’t need to leave the house to get that bakery-quality cookie.
FOR MORE CRUMBL COPYCAT RECIPES
- Crumbl Copycat Cornbread Cookie Recipe
- Best Crumbl Copycat Iced Oatmeal Cookies Recipe
- Crumbl Copycat Peach Cobbler Cookie
Why You’ll Love These Red Velvet Crumbl Cookie
- Perfect Cookie Texture: These cookies are soft in the center with just the right amount of chewiness.
- Better Than Store-Bought: Save yourself the trip to Crumbl and make these cookies fresh at home.
- Perfect for Valentine’s Day and Beyond: The vibrant color and creamy cream cheese frosting make these cookies perfect for special occasions or whenever you’re craving red velvet treats.
- Easy and Fun: With step-by-step instructions, this is the best crumbl copycat recipe to try with family or friends.
Ingredients You’ll Need
Here are the essential ingredients you’ll need to make these red velvet cupcake cookies. For full detailed ingredient measurements, scroll down to the recipe card below:
- Unsalted Butter: Use room temperature butter for the best mixing process.
- Brown Sugar and Powdered Sugar: Brown sugar gives a soft cookie texture, while powdered sugar adds sweetness to the frosting.
- Vanilla Extract: For rich and elevated flavors.
- Cocoa Powder: Adds that signature red velvet flavor.
- Lorann’s Red Velvet Emulsion: I got mine from hobby lobby for about 3$ but you can get it from amazon as well! Here is the link
- Red Gel Food Coloring: For the vibrant color that makes red velvet so iconic.
- Cake flour Flour: This recipes calls for cake flour, but you can use all purpose flour too!
Step-by-Step Instructions
For the Cookies:
- Prep and Preheat:
- Preheat your oven to 350°F (175°C).
- Line a baking sheet with parchment paper or a silicone mat and set it aside.
- Make the Cookie Dough:
- In the bowl of a stand mixer fitted with the paddle attachment, cream the room temperature butter and brown sugar until light and fluffy, about 2-3 minutes. Scrape down the sides of the bowl as needed.
- Add the wet ingredients: sour cream, vanilla extract, and red gel food coloring. Mix on medium speed until fully combined.
- In a separate bowl, whisk together the dry ingredients: purpose flour, cocoa powder, and a pinch of salt.
- Add the dry ingredients to the butter mixture. Mix on low speed until just combined, being careful not to overmix.
- Fold in the white chocolate chips for extra bursts of sweetness.
- Portion and Bake:
- Use a large cookie scoop (about 4 tablespoons) to form cookie dough balls. Place them on the prepared lined baking sheet, leaving space between each.
- Bake for 9-11 minutes, or until the edges are set and the centers have a soft center.
- Allow the cookies to cool on the baking sheet for a few minutes before transferring to a wire rack.
For the Cream Cheese Frosting:
- In a large bowl, beat unsalted butter and cream cheese together using an electric mixer until smooth and creamy.
- Gradually add powdered sugar and mix on low speed until combined. Increase speed to medium-high and beat until fluffy.
- Add vanilla extract and a tablespoon of heavy cream if needed for consistency.
Assembly – Red Velvet Crumbl Cookie
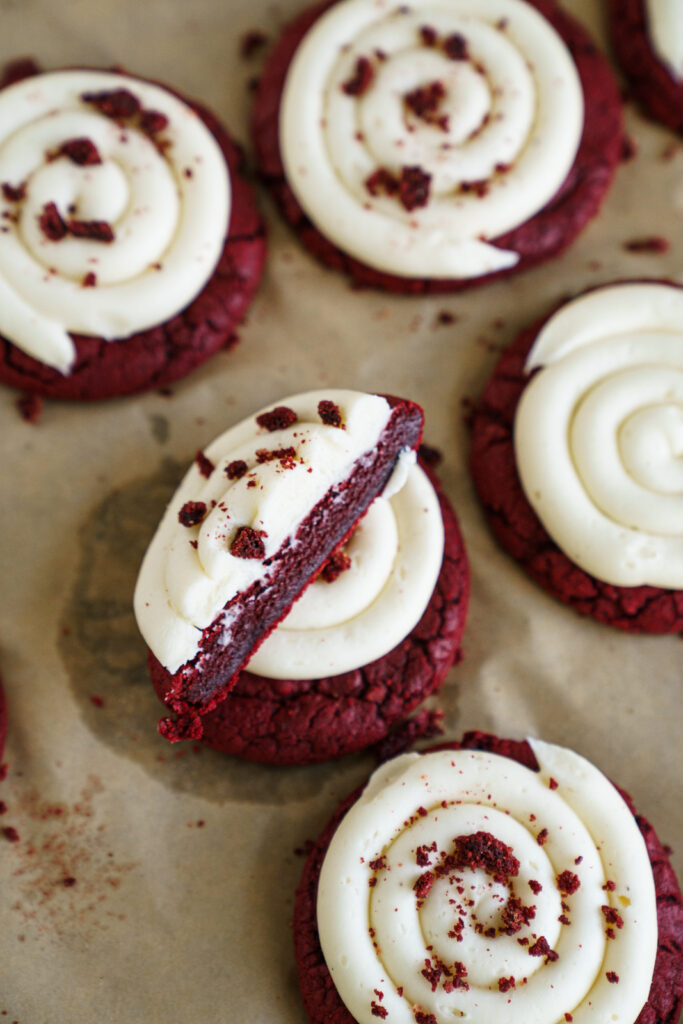
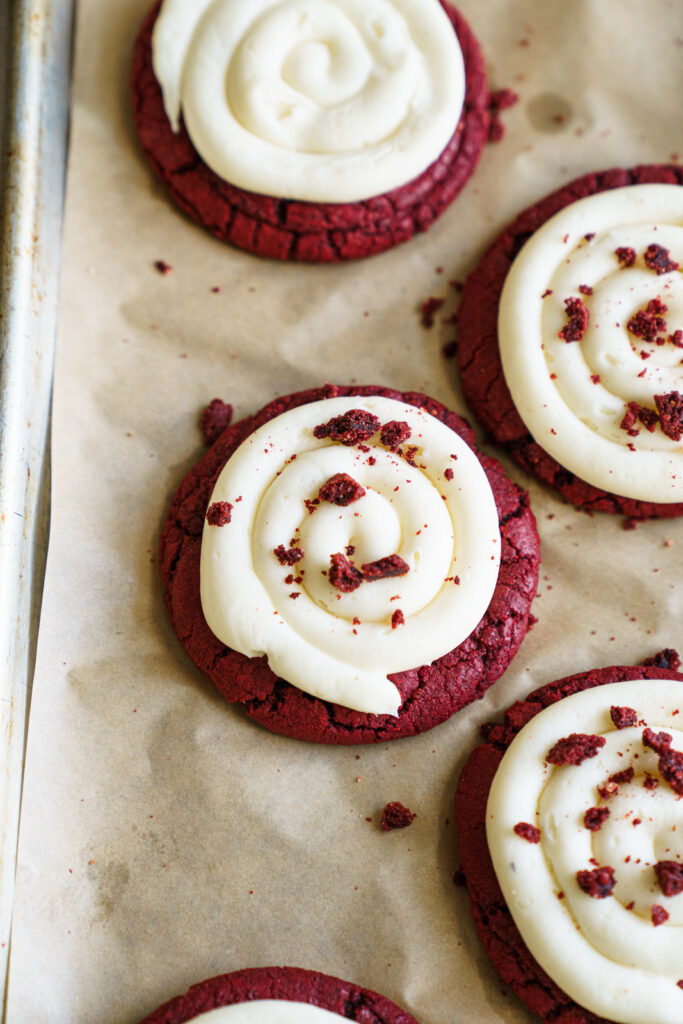
- Once the cookies are completely cool, transfer the frosting to a piping bag with a round tip.
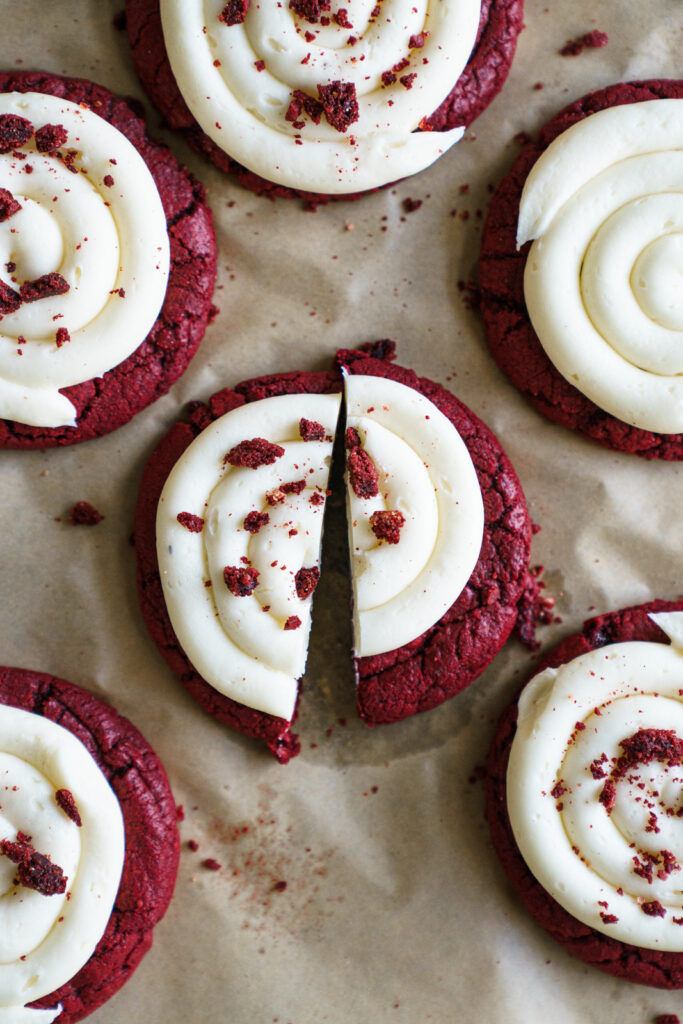
- Pipe a swirl of cream cheese frosting on top of each cookie. For a decorative touch, add extra red velvet crumbs or pink velvet cookie crumbs.
Tips for Perfect Cookies
- Use Room Temperature Ingredients: This ensures smooth mixing and even texture.
- Don’t Overmix: Overmixing can lead to dense cookies, so mix until just combined.
- Leave Space on the Baking Sheet: These are giant cookies, so give them room to spread.
- Bake Time Matters: Keep close attention to the timer for that perfect gooey cookie texture.
- Freshness Tips: Store leftover cookies in an airtight container at room temperature for 3-4 days or in the fridge for up to a week.
Frequently Asked Questions – Red Velvet Crumbl Cookie
Can I use regular food coloring instead of red gel food coloring?
Yes, but gel food coloring is the best way to achieve a vibrant color without affecting the texture of the cookie dough.
Can I make smaller cookies instead?
Of course! Just adjust the bake time to 7-8 minutes for smaller cookies.
Can I freeze these cookies?
Yes! Freeze them in a single layer first, then transfer to a freezer bag. Thaw at room temperature before serving.
Recommended Tools
- Mixer: I use my stand size mixer and my hand mixer every time I bake! I can’t live without it!
- Bowls- I love using glass ones, but here are some of my other favorite ones!
- Rubber Spatula – This rubber spatula is thick and I have had it FOR years.
- Measuring Cups – Although plain Jane they are sturdy and I love that. They last me a long time, and I have measured over 100 ingredients with them
- Cookie Scoop – This is the one I used
- Baking Sheets – I love the brand from sam’s club, but you can also get a different version off of amazon here.
- Wire Rack – This one is my favorite and is so sturdy
Storing and Freezing – Red Velvet Crumbl Cookie
- Storing: Keep these red velvet cupcake cookies in an airtight container for 3-4 days at room temperature.
- Freezing: Freeze cookies in a single layer on a baking sheet before transferring them to a freezer-safe bag. This keeps them fresh for up to 3 months. You can store them fully frosted!
For more recipes like this, here are some red velvet ones!
- Best Red Velvet Cookie Sandwiches Ever!
- Oreo Red Velvet Cookies With Frosting
- Easy Red Velvet Gooey Butter Cake Recipe
If you loved these Red Velvet Crumbl Cookie don’t forget to leave a 5-star rating and a comment! I’d love to hear your feedback or answer any questions you have! Follow me on Instagram, Pinterest, and TikTok. I post so many fun things on all platforms.
Recipe
Red Velvet Crumbl Cookie
Ingredients
- ½ cup unsalted butter softened
- 1¼ cups granulated sugar
- 1 large egg room temperature
- 1 large egg yolk room temperature
- 2 teaspoons LorAnn’s Red Velvet Emulsion or substitute red gel food coloring
- 1 teaspoon pure vanilla extract
- 3 tablespoons regular cocoa powder not dark
- 1¾ cups all-purpose flour spooned and leveled
- ¾ teaspoon salt
- 1 tablespoon cornstarch
- ¾ teaspoon baking powder
For the Cream Cheese Frosting:
- 4 ounces cream cheese softened
- ½ cup unsalted butter softened
- 1 tablespoon heavy whipping cream
- ¼ teaspoon vanilla extract
- 2 cups powdered sugar
- Pinch of salt
Instructions
For the Cookie Dough:
- Preheat your oven to 350°F (180°C). Line a baking sheet with parchment paper and set aside.
- In a medium-sized bowl, using an electric hand mixer or the paddle attachment on a stand mixer, cream together the softened butter and granulated sugar until light and fluffy, about 3 minutes.½ cup unsalted butter, 1¼ cups granulated sugar
- Scrape down the sides and bottom of the bowl with a rubber spatula. Add the whole egg and mix on medium speed until well combined, about 30 seconds. Add the egg yolk and mix for an additional 15 seconds.1 large egg, 1 large egg yolk
- Mix in the red velvet emulsion (or red gel food coloring) and vanilla on low speed until just combined.2 teaspoons LorAnn’s Red Velvet Emulsion, 1 teaspoon pure vanilla extract
- Add the cocoa powder, flour, salt, cornstarch, and baking powder to the wet ingredients. Mix on low speed until just combined, being careful not to overmix. Scrape down the sides and bottom of the bowl as needed.3 tablespoons regular cocoa powder, 1¾ cups all-purpose flour, ¾ teaspoon salt, 1 tablespoon cornstarch, ¾ teaspoon baking powder
- Using a 4-tablespoon cookie scoop or weighing out 3.5 ounces of dough per cookie, scoop the dough onto the prepared baking sheets, leaving space between each cookie. You should have about 9 cookies.
- Bake in the preheated oven for 10 minutes or until the edges are set and the centers are slightly soft.
- Allow the cookies to cool on the baking sheets for a few minutes before transferring them to a wire rack to cool completely.
For the Cream Cheese Frosting:
- In a medium-sized bowl, using an electric hand mixer, beat the softened butter and cream cheese on medium speed for 2 minutes. Scrape down the sides and bottom of the bowl, then beat for another 2 minutes.4 ounces cream cheese, ½ cup unsalted butter, 1 tablespoon heavy whipping cream, ¼ teaspoon vanilla extract, 2 cups powdered sugar, Pinch of salt
- With the mixer on low speed, gradually add the powdered sugar. Then mix in the vanilla, heavy whipping cream, and a pinch of salt.
- Once combined, increase the speed to medium-high and beat for 2-3 minutes until the frosting is smooth and fluffy.
Assembly:
- Once the cookies are completely cooled, spread or pipe the cream cheese frosting onto each cookie using a piping bag or an offset spatula.

Burt says
These cookies were very dense. If you’re making them, then don’t add the corn starch. The icing was nice but required more cream cheese to make it actually taste like cream cheese as well.
Mel says
Made this recipe to the T and it came together well until it was time to bake. The cookies are a great size but if you just scoop the dough (like it says in the directions), they will bake exactly like that, making them little mounds except for the pretty flatter cookies shown in the photos. I’m going to try them again and flatten them out slightly after scooping. 12 minutes was not enough time to completely bake them through, they were still raw so I had to bake them longer but I think it was due to their size. Again, going to try it again and flatten out the dough to see if it bakes better!
michelle says
I made these because my niece & nephew are obsessed with all things red velvet and wanted red velvet cookies for Christmas. These were easy to make and very, very tasty. I made them far smaller than what the recipe calls for (1 Tbsp. vs. 1/4 c. of dough per cookie) and got about 32 cookies out of it. One thing I will do next time I make these though is that I will make half as much frosting; the recipes makes A LOT of frosting–way more than is needed in my opinion.