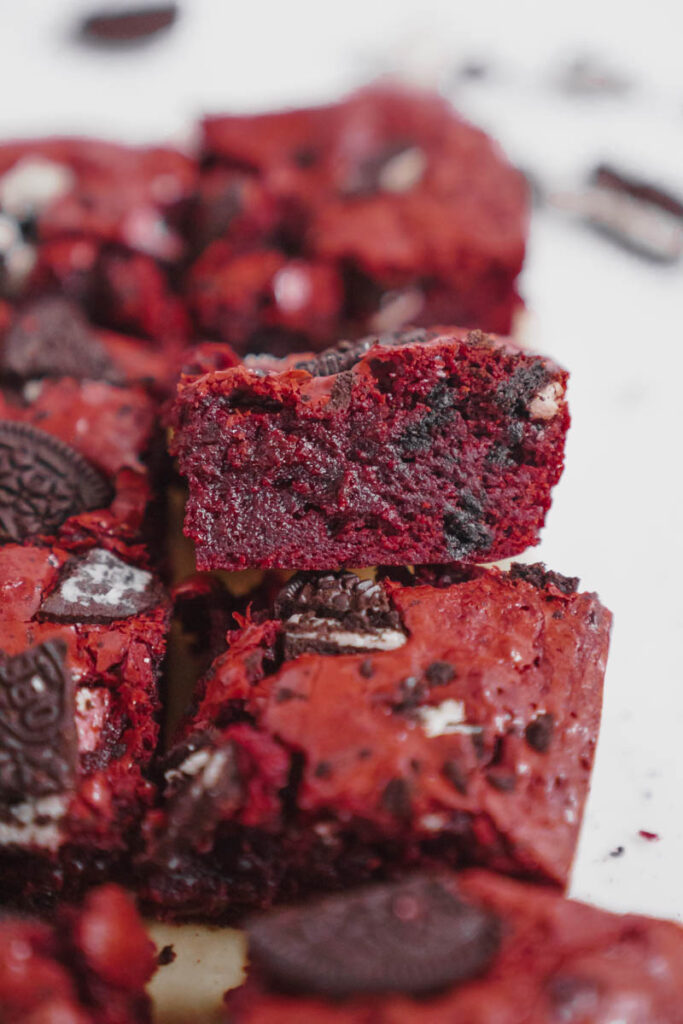
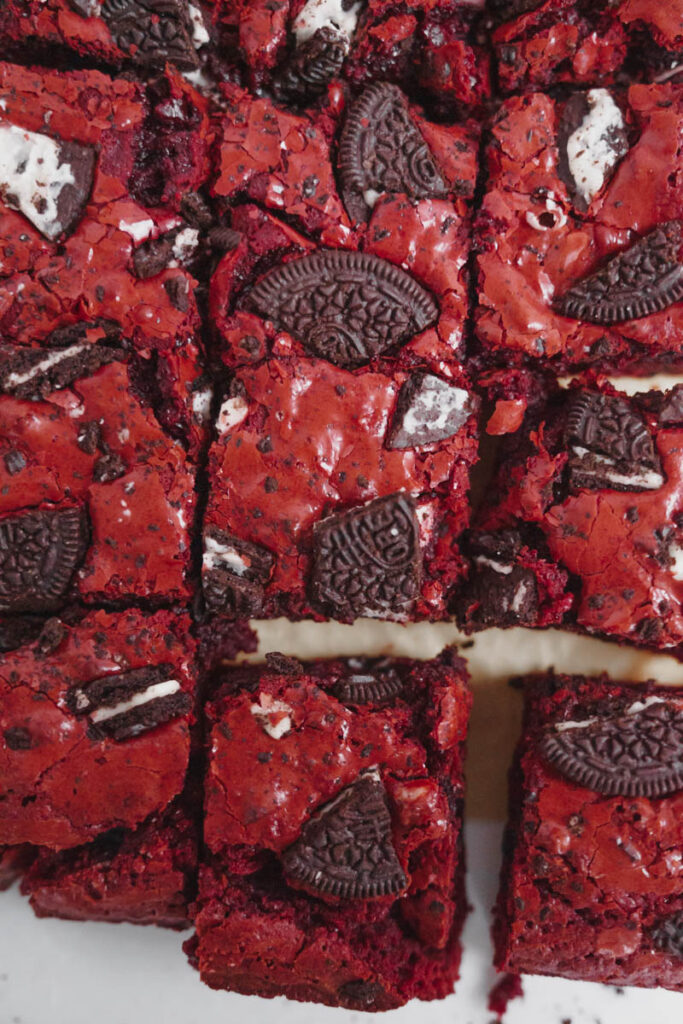
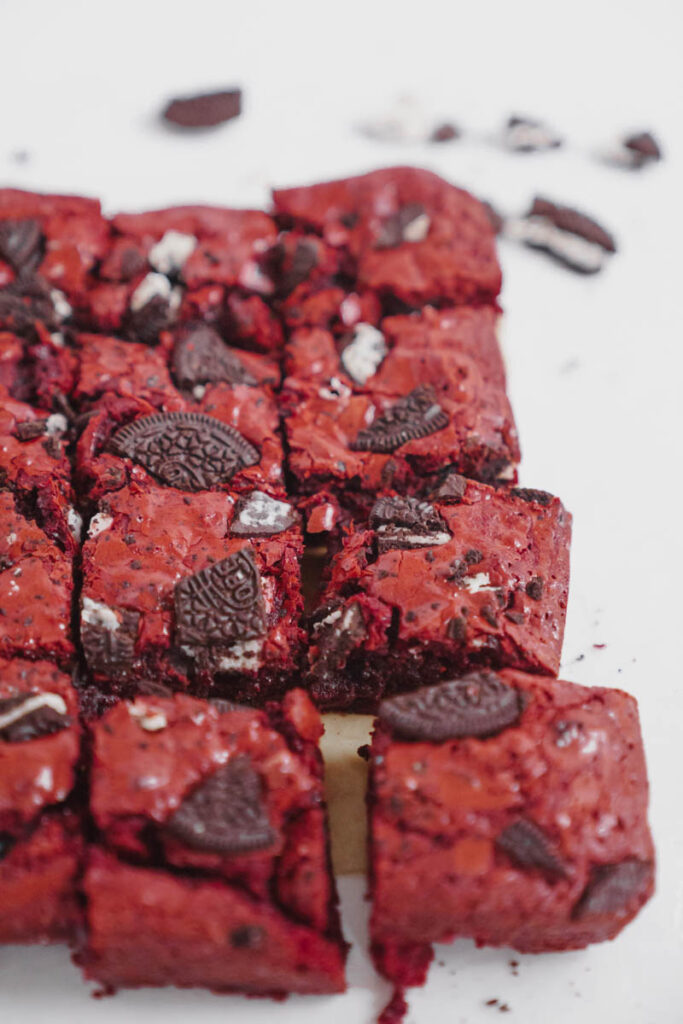
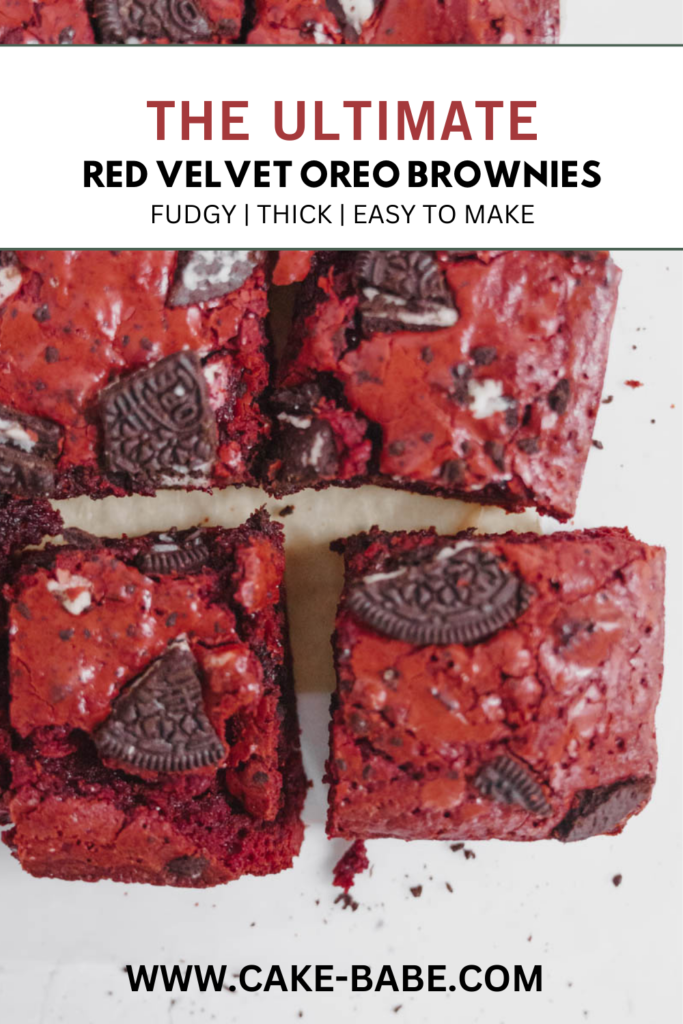
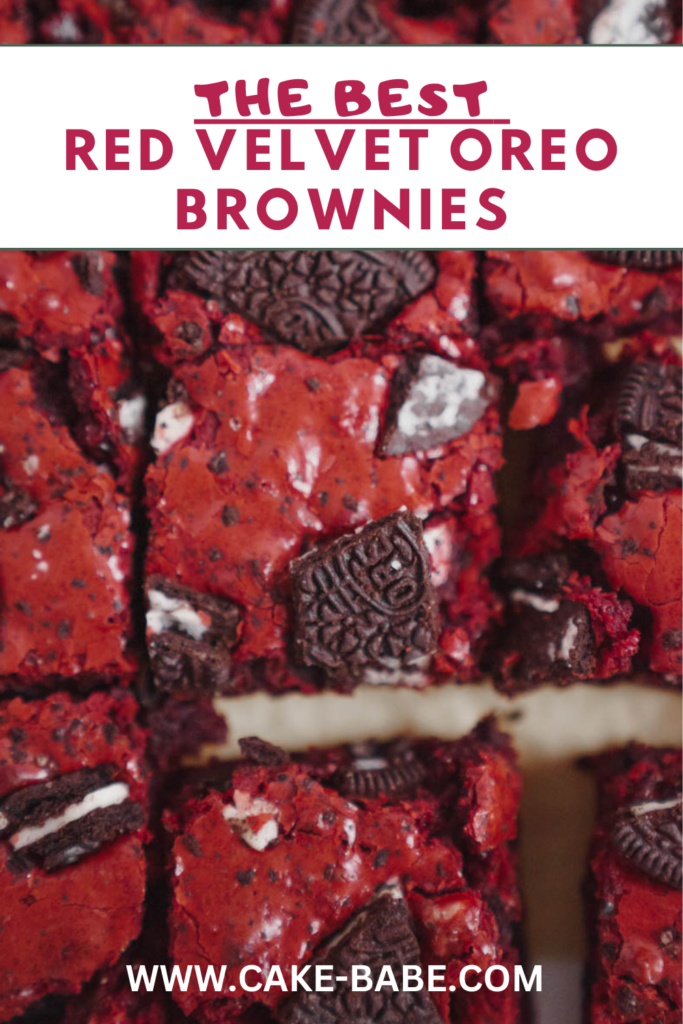
Red Velvet Oreo Brownie – Fudgy and rich red velvet flavored brownies, filled and topped with crushed with the beloved Oreo cookies!
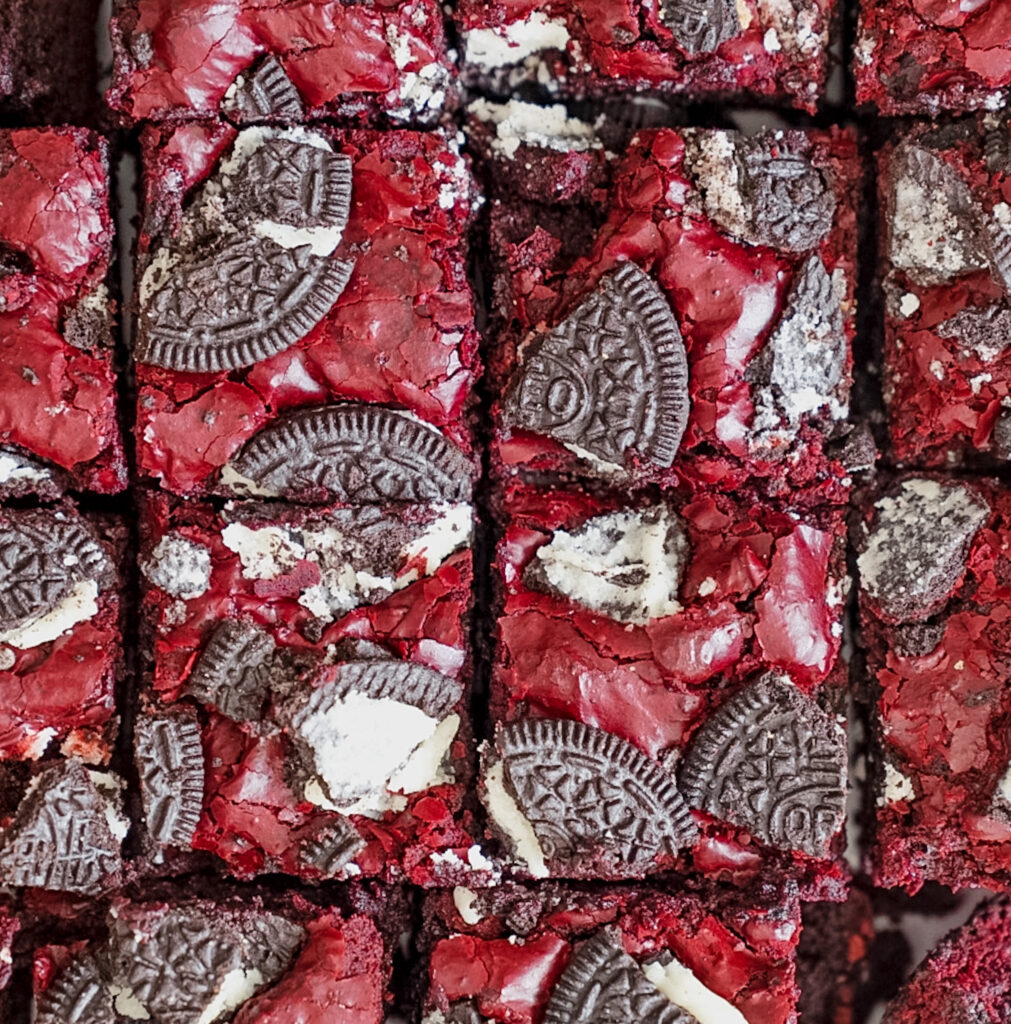
If chocolate is your favorite desserts, this recipe will be your new best friend. These crushed Oreos red velvet blondies are the fudgiest brownies that you have been looking for your whole life.
Confession time: Chocolate is not one of my favorite desserts. I love gummy candy and I am not ashamed to admit it. But the first time I put these fudgy brownies in my mouth, everything changed. Something magical happens when you combine Oreo cookies with chocolate brownies and eat them straight out of the oven. I also love that we are not cheating here with a box of red velvet cake mix. No hate for my box mix girlies, I just love the feeling of satisfying my sweet tooth with a gooey brownie that I made from scratch.
So go get your eggs to room temperature and grease your baking pan because its time to bake these Oreo Red Velvet Blondies.
For more red velvet desserts
- The Best Copycat Red Velvet Crumbl Cookie Recipe
- Simple Red Velvet Cake Recipe
- The Best Oreo Red Velvet Cake With Oreo Frosting
- Easy Red Velvet Cake Recipe With Cream Cheese
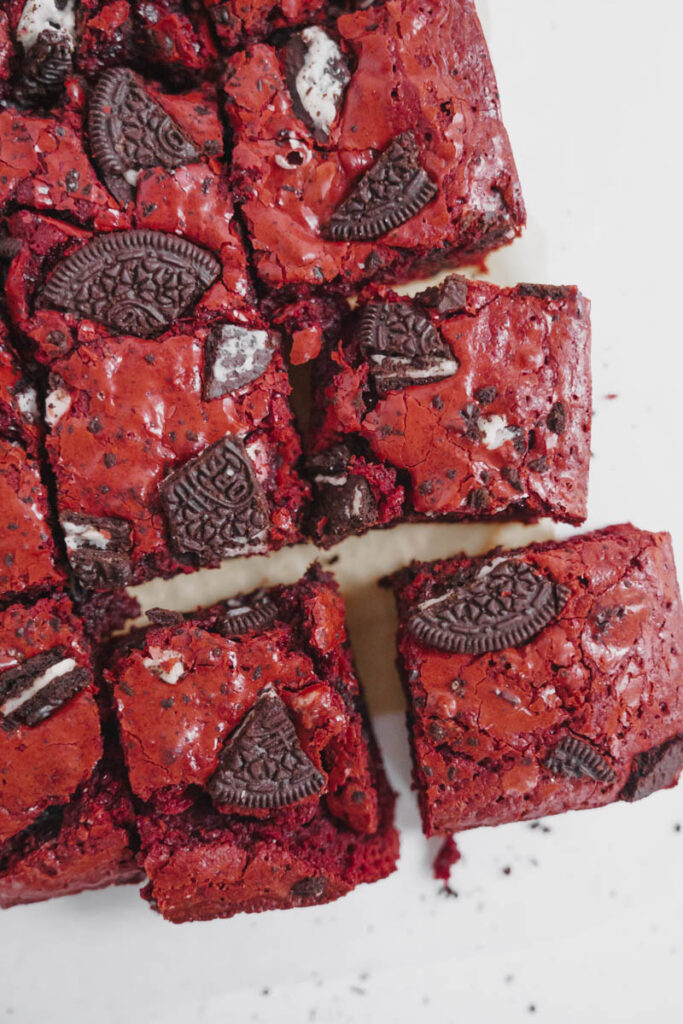
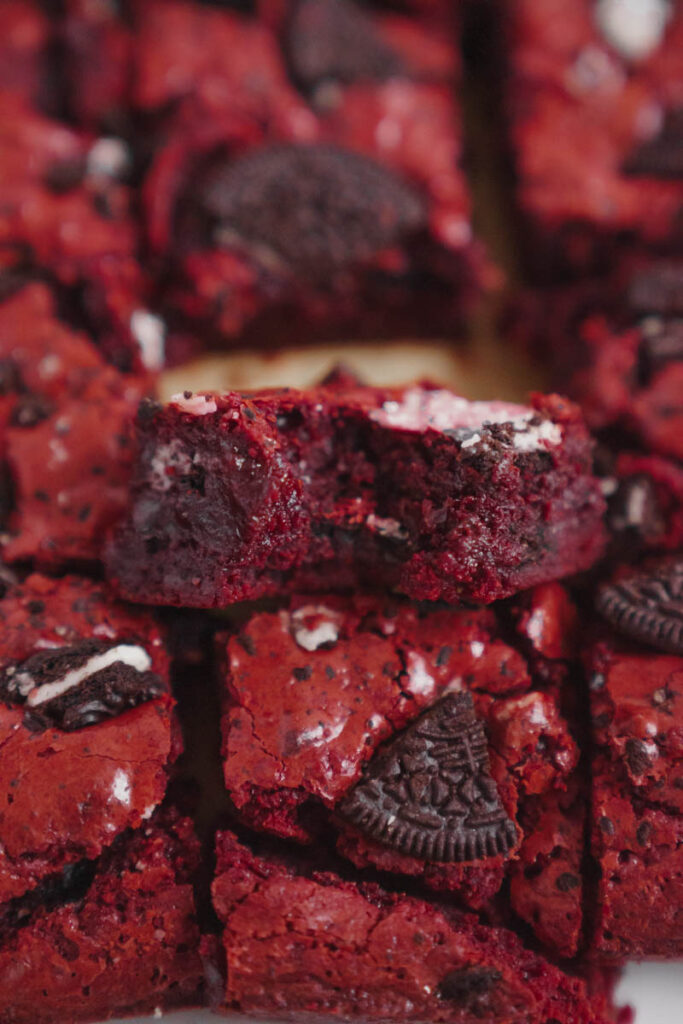
Why you should make these Red Velvet Oreo Brownie
- The Chocolate – Guys these are the fudgiest brownies on earth. I dare you to find a fudgier brownie.
- The Texture – The Oreo pieces turn the fudgiest brownies into a pretty complex mouth feel with the moist crumb from the dense red velvet brownies being countered by the crunch Ore pieces.
- Easy-to-Make – Throw them together in ten minutes and then bake for an hour. That’s literally a third of the movie Oppenheimer (have I mentioned that these brownies are the bomb?)
- Made from Scratch – You know that meme of the farmer that has the caption “it ain’t much, but it’s honest work”? I channel that energy every time I bake from scratch. Its a good feeling.
- FUN FACT: Did you know red velvet is not a flavor? It is literally just red coloring in a chocolate cake. Originally, the red coloring in the red velvet recipe came from a chemical reaction with old school cocoa powder, but during WWII it came from beet juice. Now, it comes from the red food coloring. I found this red velvet emulsion a couple years ago and its my new favorite (LINK). Even using just a little bit brings the perfect red velvet flavor.
Ingredient list
I have completely given up on my one grocery trip per week rule. Let the chaos begin. Here are some ingredients that you will need that you might not have on hand. For a full list of ingredients, check out the recipe card below.
- Cocoa Powder – Unless you are my husband and eat cocoa powder with a spoon, make sure you pick some up.
- Large Eggs – Just your daily reminder to bring your large eggs to ROOM TEMPERATURE.
- Oreos – Lets be real. We all have Oreos in our house at all times. Just remember to save some for the top of the brownie.
- All Purpose Flour – I go through a lot of All Purpose flour, so it just lives on my grocery list.
- Unsalted Butter – I recently found butter for $2 a pound. Naturally I bought 12lbs of unsalted butter. Who needs diets anyway?
Helpful Tips For Making Red Velvet Oreo Brownie
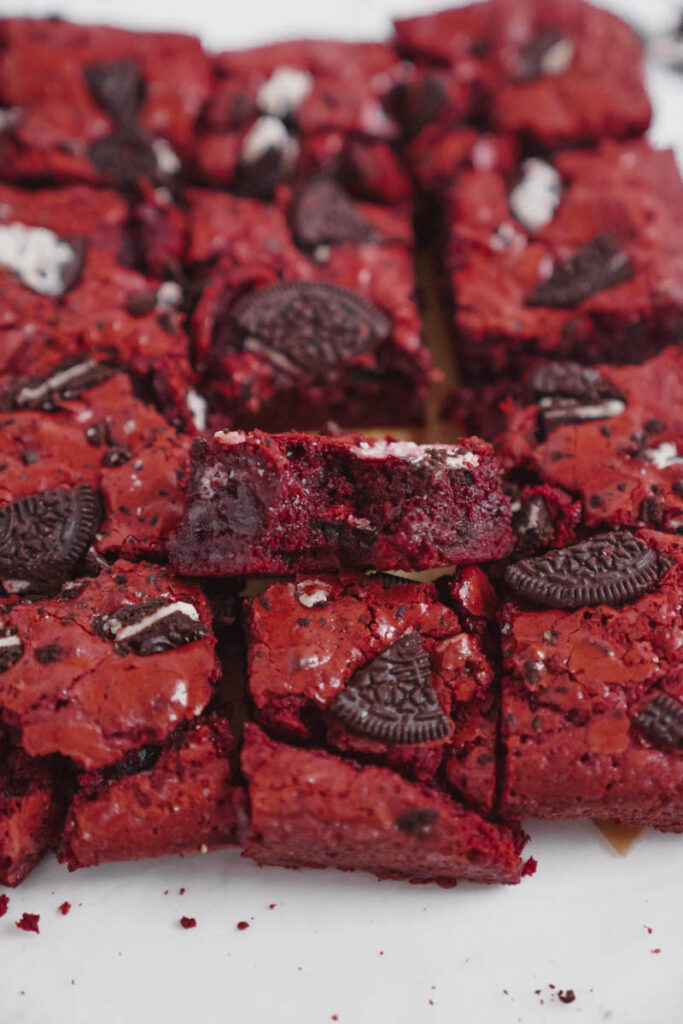
No need to stress when it comes to making these Red Velvet Oreo Brownie. These blondies are super easy to whip up, and let me tell you, absolutely delicious!
- Whisk those eggs: Once you add an egg, make sure to vigorously whisk for about 30 seconds.
- Melting the butter: In the microwave, melt butter and sugar until mostly dissolved. Don’t worry about sugar granulates; they are normal.
- Red Velvet Emulsion/Gel: Use 2 tablespoons of red velvet emulsion (LorAnn’s) or red food gel for the desired color. Adjust according to preference.
- Fold the batter: Fold in cocoa powder, salt, and red velvet flavor gently to avoid overmixing. This helps maintain the brownies’ texture. (Use a rubber spatula!)
- Flour Incorporation: Fold in all-purpose flour and Oreo chunks just until combined. Avoid overmixing to prevent flour streaks in the batter.
- Oreo Garnish: Garnish the top of the batter with the 3 extra crushed Oreos before baking for added visual appeal and texture.
- Baking Time: Bake at 350°F for 55-65 minutes. Check for doneness starting at 55 minutes using a toothpick—aim for a few moist crumbs on the toothpick, not wet batter.
- Cooling Period: Allow the brownies to cool in the pan for 15-20 minutes before cutting. This helps them set and makes for easier slicing.
- Lining The Pan: Line the pan with parchment paper, and using a nonstick cooking spray, spray the bottom and the sides of the pan.
Tools in my kitchen!
Next, I have made a list of all the tools I used to make this recipe, These are all my favorite things that I rave about.
Frequently Asked Questions
Can I use salted butter instead of unsalted?
Yes, you can use salted butter, but you may want to adjust the amount of additional salt in the recipe accordingly.
What if I don’t have red velvet emulsion or red food gel?
You can omit them or use a small amount of red food coloring. The color may vary, so add it gradually until you achieve the desired red hue.
Can I use regular cocoa powder instead of special dark cocoa powder?
Yes, you can use regular cocoa powder if you don’t have special dark cocoa powder. It will alter the flavor slightly.
How can I tell if the brownies are done baking?
Insert a toothpick into the center of the brownies. It should come out with a few moist crumbs but not wet batter.
Can I use a different size baking pan?
Adjust the baking time if using a different-sized pan. Thinner brownies will cook faster, while thicker ones may take longer.
Can I use a hand mixer instead of whisking by hand?
Yes, a hand mixer can be used, but be cautious not to overmix the batter. Mix until just combined.
Storing And Freezing
Store these Red Velvet Oreo Brownie in an airtight container at room temperature for up to a few days for optimal freshness. If you want to extend their shelf life, refrigerate the brownies, ensuring they are well-sealed in the container, like a ziploc bag or a Tupperware!
Freezing
To freeze these Red Velvet Oreo Brownie, allow them to cool completely, then individually wrap tightly in plastic wrap or aluminum foil. Place the wrapped brownies in a freezer-safe bag or container, removing as much air as possible. Freeze for up to three months, thawing in the refrigerator before serving.
Remember LEAVE A 5 STAR EVIEW AND A COMMENT if you love the recipe or any questions. Follow me on Instagram, Pinterest, and TikTok. I post so many fun things on all platforms!
For more great recipes,
- The Easiest Flourless Chocolate Cake
- Copycat Portillo’s Chocolate Cake Recipe
- Easy 9 x13 Chocolate Cake With Buttermilk
Recipe
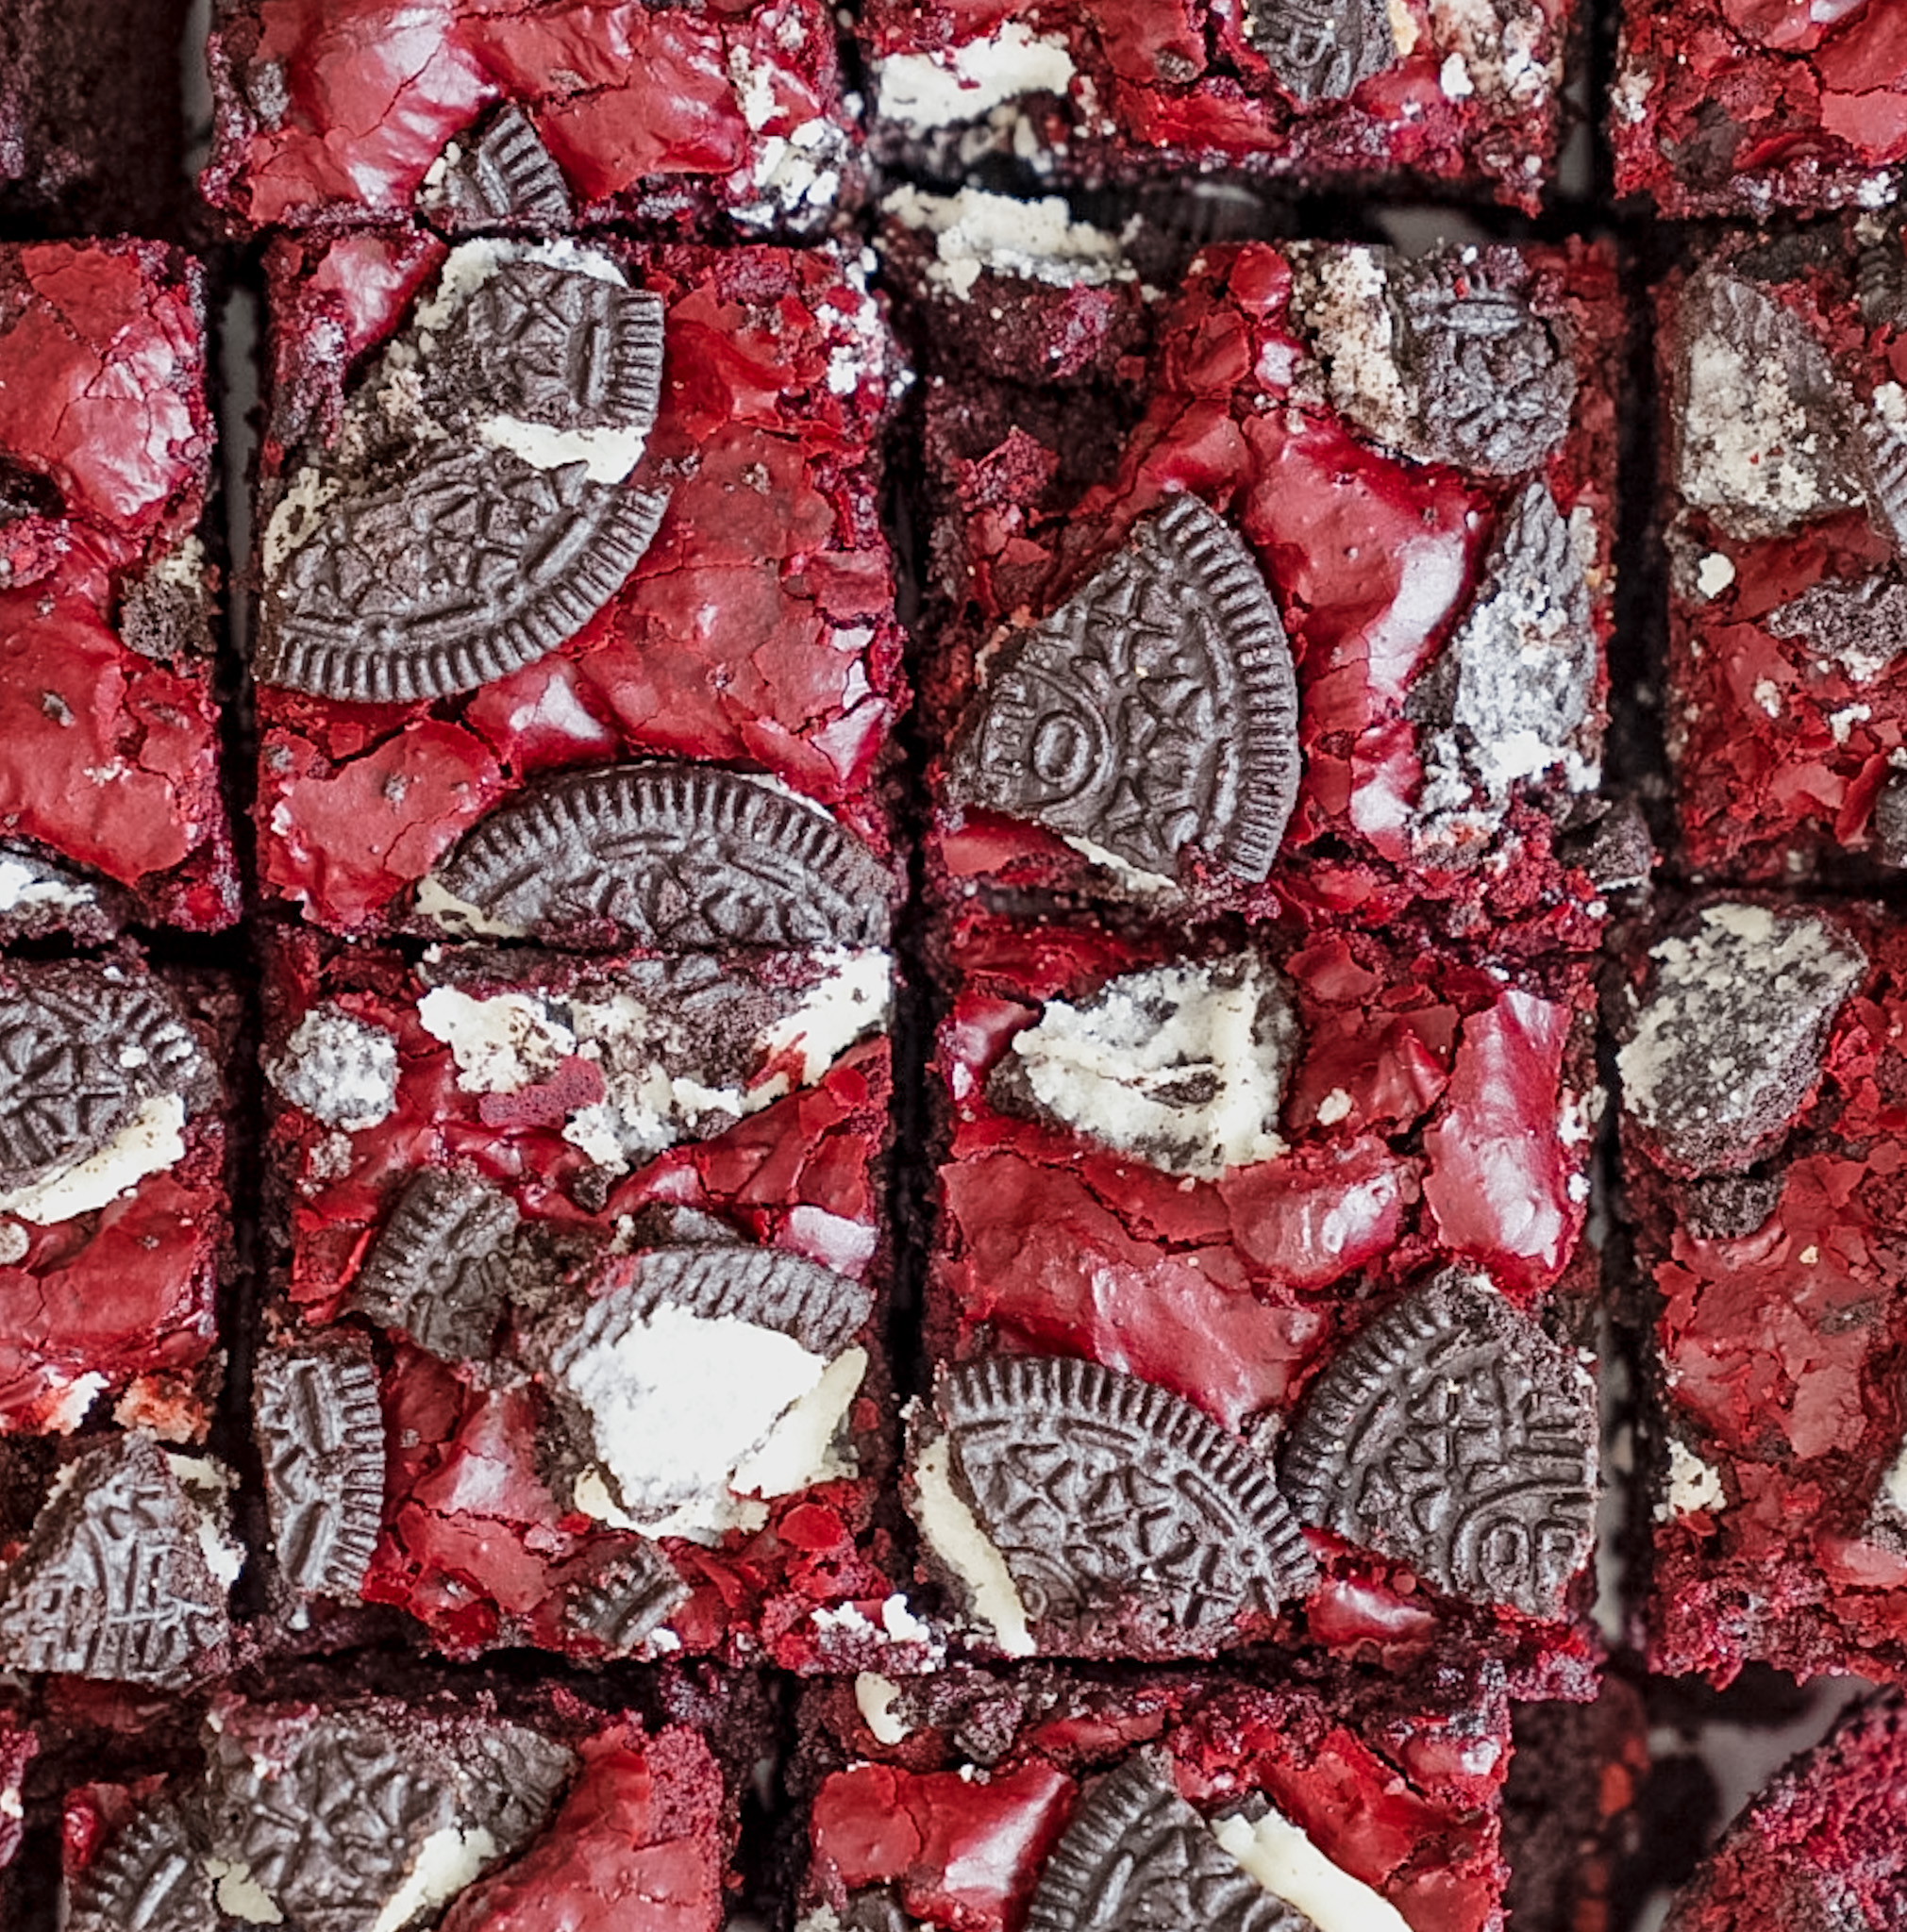
Oreo Red Velvet Brownies
Ingredients
- 1¼ cups unsalted butter
- 2½ cups light brown sugar
- 4 large eggs room temperature
- 1½ cups regular cocoa powder
- 1 teaspoon salt
- 2 tablespoons red velvet emulsion LorAnn’s or red food gel
- ⅔ cup all-purpose flour
- 15 crushed Oreo’s
- 3 extra Oreos crushed (for garnish)
Instructions
- Preheat oven to 350°F. Line an 8×8 inch baking pan with parchment paper, and using metal binder clips, clip two of the sides down. Spray with cooking spray. Set aside.
- In the microwave, melt the butter and sugar in 30-second increments until mostly dissolved (sugar granulates are normal). The mixture should look glossy.
- Allow the mixture to cool slightly, then whisk in eggs one at a time until the mixture lightens in color. Add the red velvet emulsion or red food dye.
- Sift in the cocoa powder, add salt, and. Using a rubber spatula, fold in flour and Oreo chunks until just combined. Avoid flour streaks. Pour the mixture into the prepared pan and garnish with the 3 extra crushed Oreos.
- Bake for 55-65 minutes, testing for doneness by inserting a toothpick into the center beginning at 50 minutes. The toothpick should come out with a few moist crumbs, not wet batter. Mine took the full 65 minutes.
- Allow to cool for 15-20 minutes, then cut and serve.




Colleen says
When selecting a recipe I go by reviews, why can’t we read reviews on your site please
Molly Murphy says
No one has left a review on this recipe yet! I am sorry that is no help!
Asia Johnson says
The brownies are really good but look nothing like the images. The brownies were more brown than red and didn’t look similar to the pictures at all. None the less, still very good!
Emily says
I love these brownies! They’re really gooey and thick. I accidentally read the ingredients wrong and only did 1 1/4 sticks of butter instead of 1 1/4 cups, but the brownies still turned out really fudgy and moist! I will have to try to make them again using the correct amount, lol.
Anonymous says
This worked exactly as written, thanks!
peyton says
This worked exactly as written, thanks!
peyton says
if I could rate this a negative star I would, but unfortunately it has to be at least 1.
Molly Murphy says
I can tell you didn’t like this recipe lol, what was so bad? thank you for the feed back!