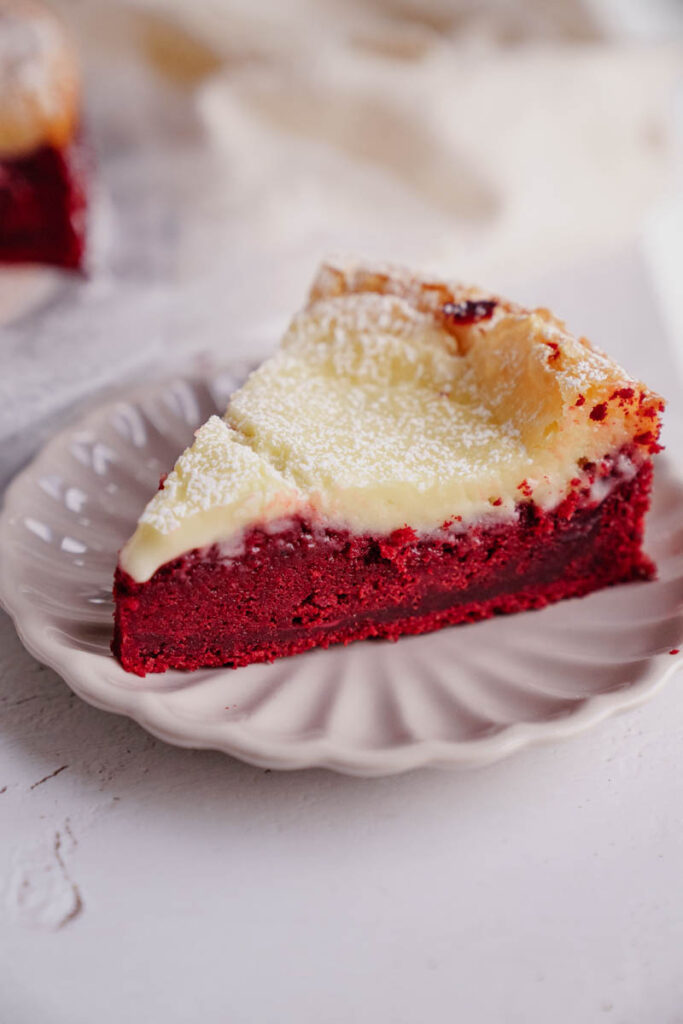
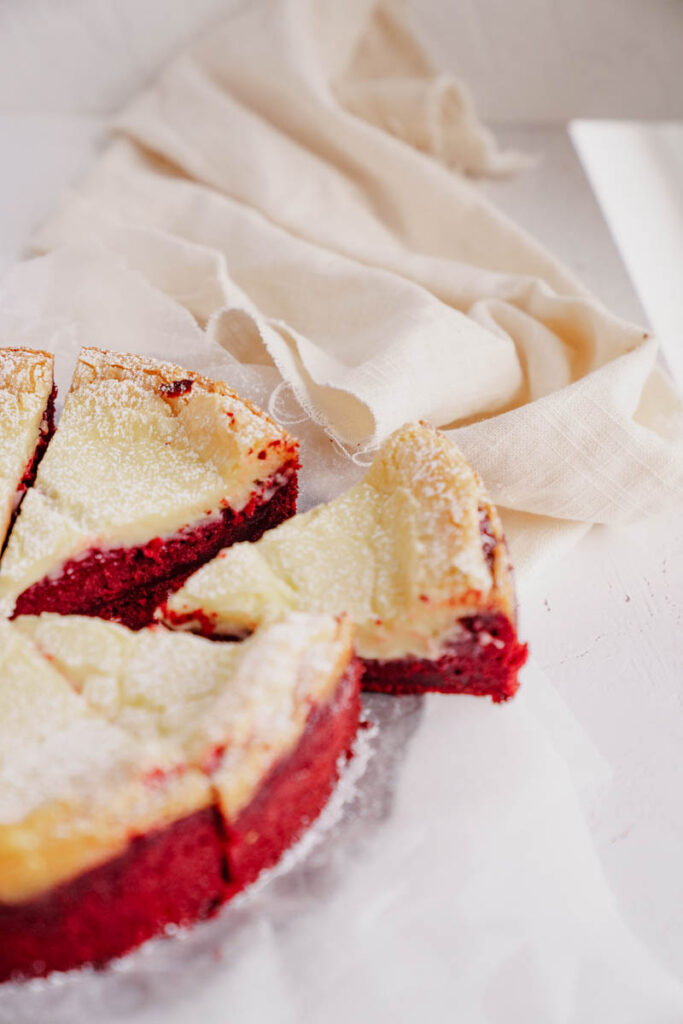
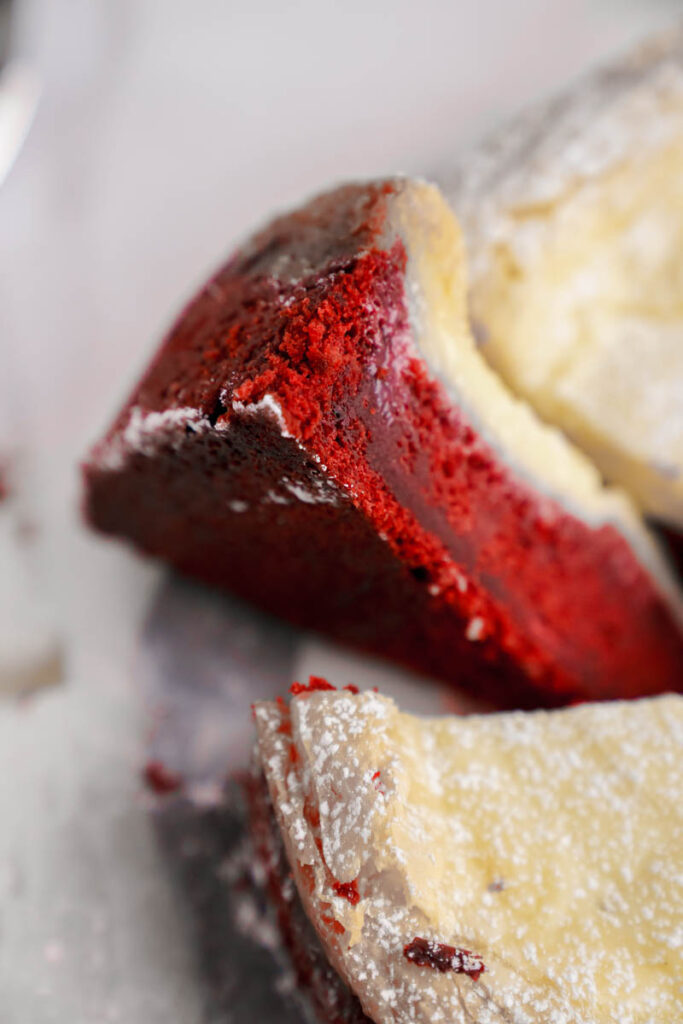
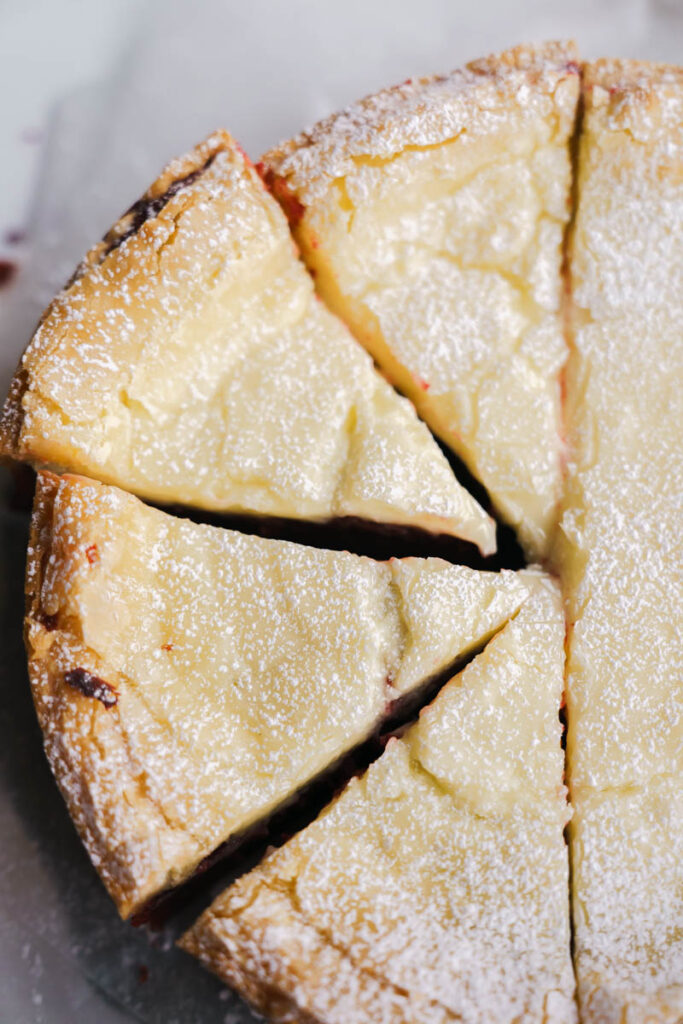
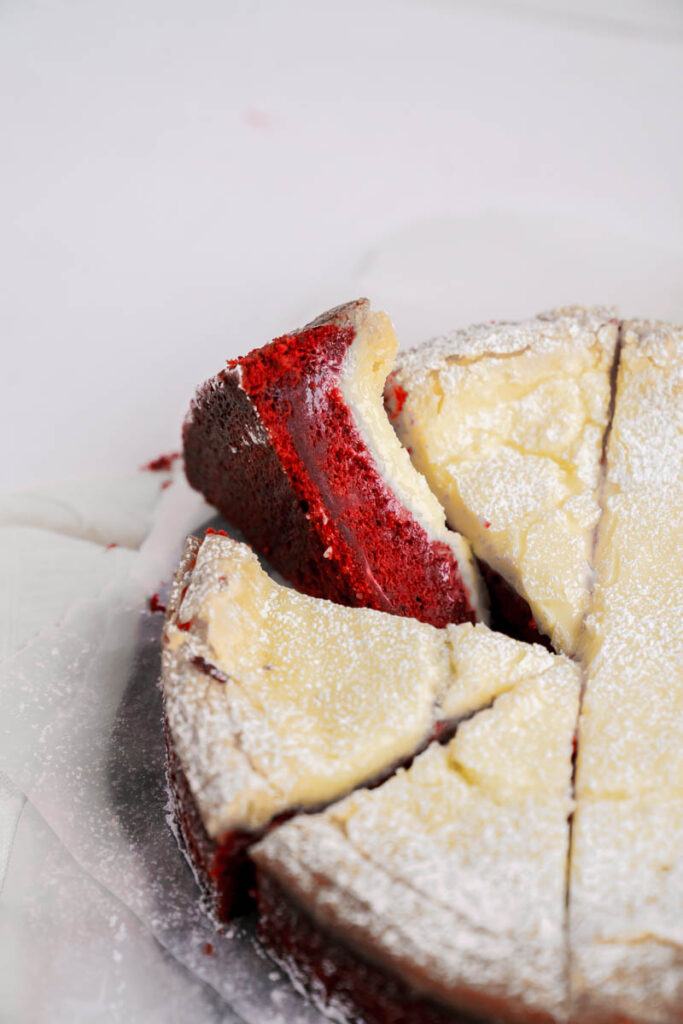
Red Velvet Gooey Butter Cake – Soft and moist red velvet cake layer with a slight crunchy, and gooey top that has a beautiful cracked throughout.
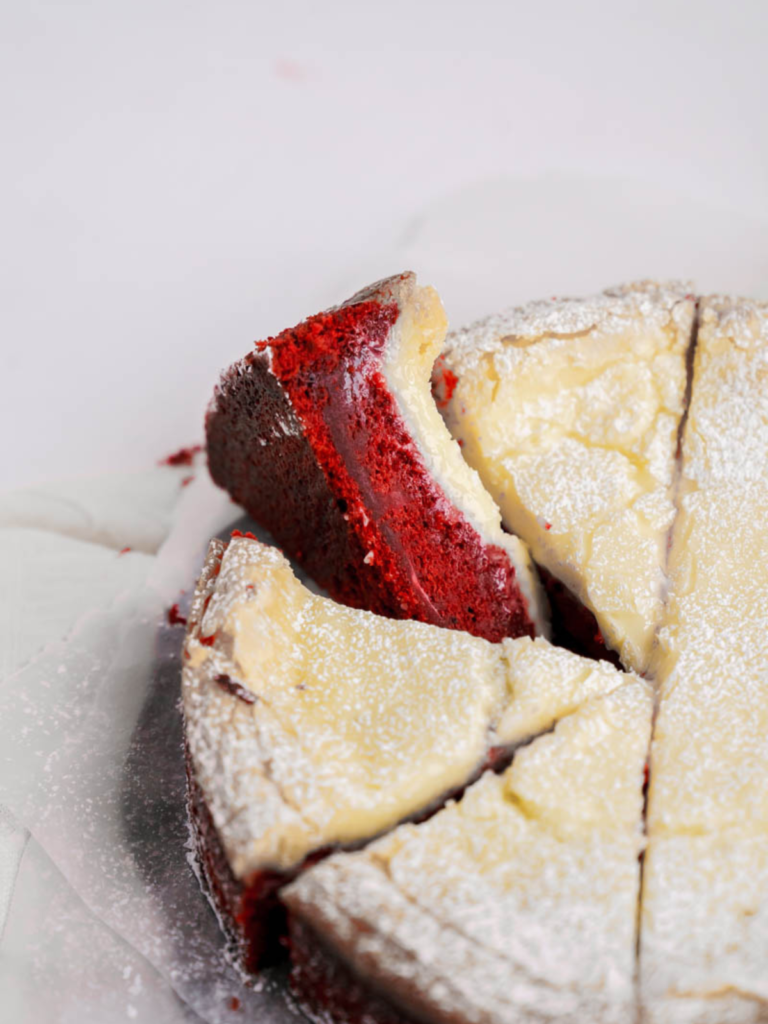
When the bottom layer is Red Velvet perfection and the top layer is a decadent buttery cream cheese layer, it is impossible to not bake. Scroll down to see this amazing Gooey Butter Cake Recipe that will make you the belle of the ball.
It is seriously one of the best desserts out there. A Gooey Butter Cake is a creation that came out of St. Louis. It is a moist cake on the bottom topped with an almost cheese cake like Cream cheese mixture.
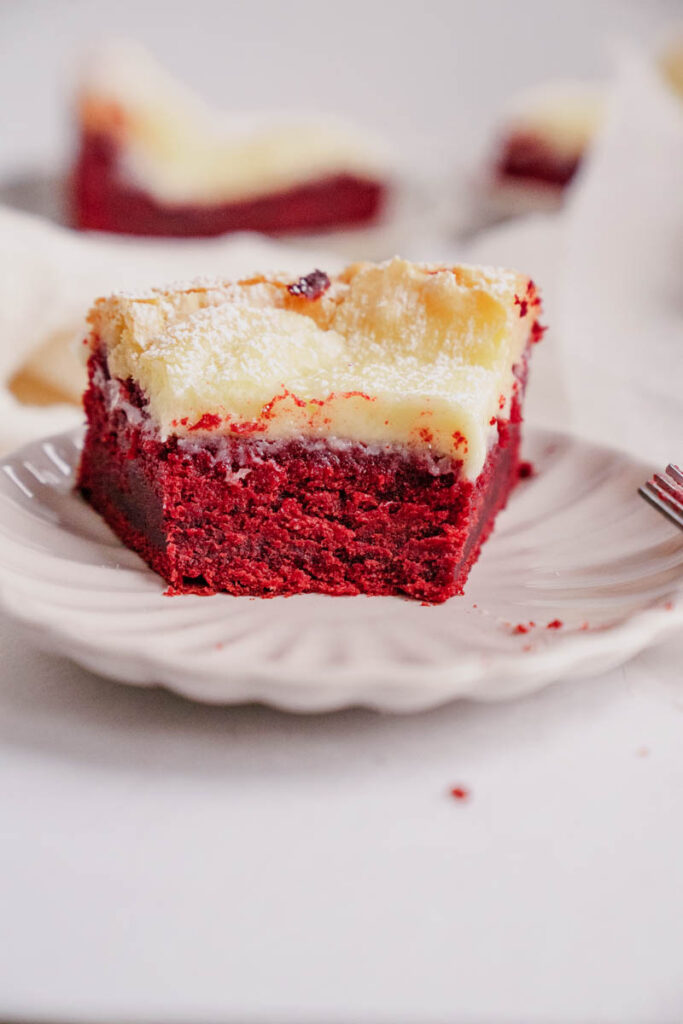
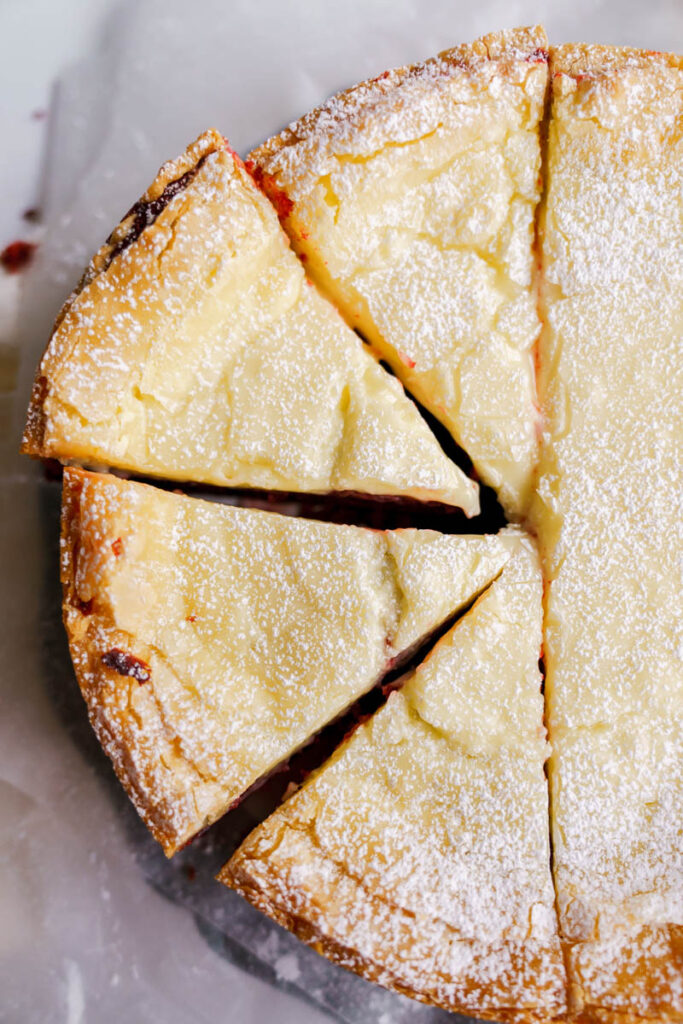
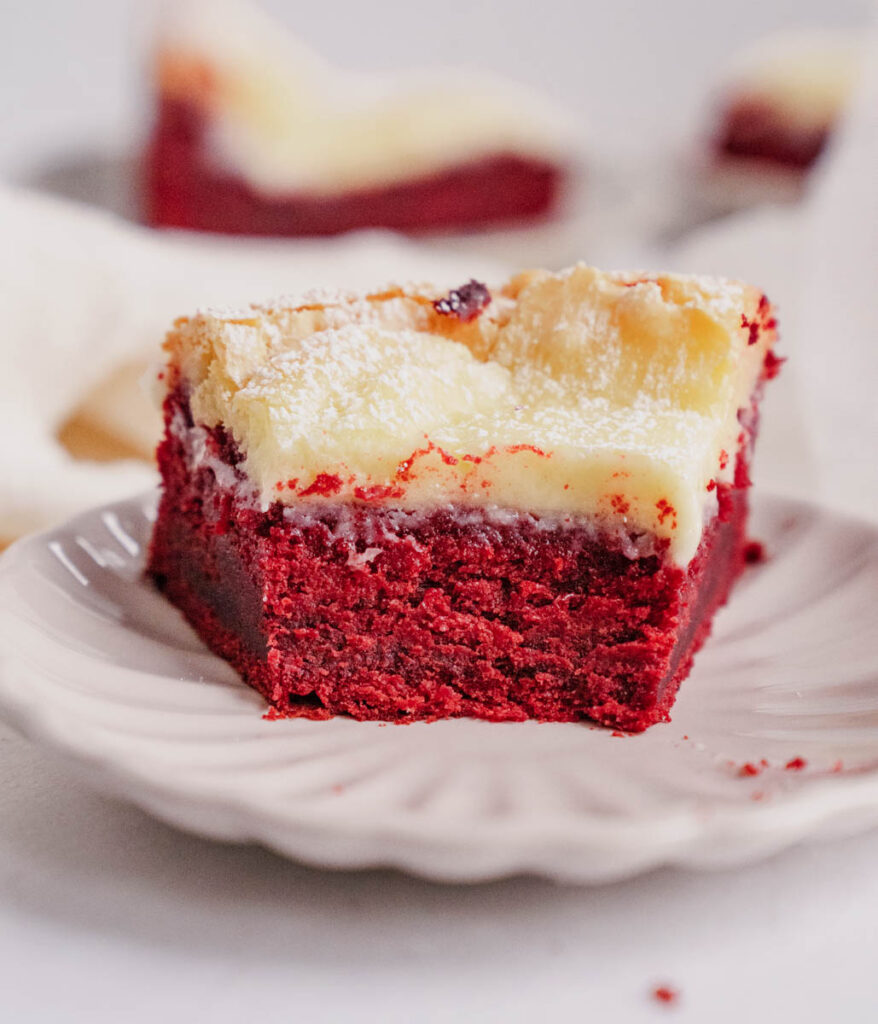
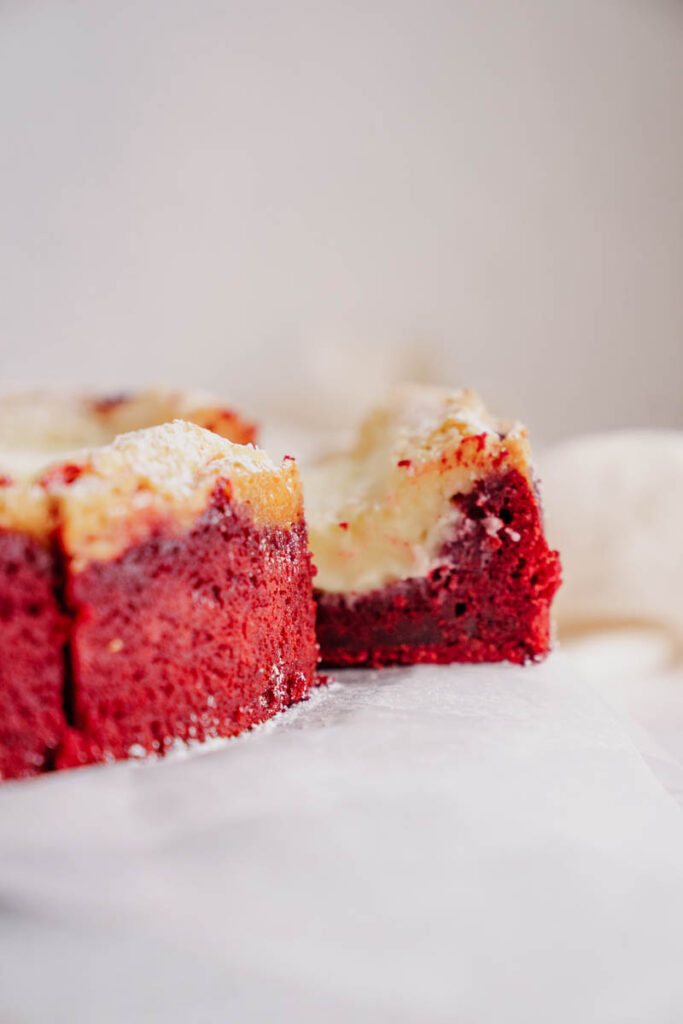
The best part of the entire cake is the liminal space between the cream cheese and the cake where it becomes this super moist and gooey perfection. From Hockey Season to Baseball season, these cakes will always be the best cakes around, but with my addition of a red velvet bottom layer, this dessert becomes the ultimate Valentine’s day treat.
So go grab your softened cream cheese and dust off your stand mixer, because its time to make my Red Velvet Gooey Butter Cake.
For more red velvet recipes, here are some below!
- Red Velvet Cake With Cream Cheese Frosting
- Easy Red Velvet Oreo Brownie Recipe
- Easy Red Velvet Cake Recipe With Cream Cheese
- Oreo Red Velvet Cookies With Frosting
Why you should make this
This Red Velvet Gooey Butter Cake recipe has a million and one reasons why I love it, but just for the fun of of it, I have made a detailed list for you!
- Try Something New- Unless you live in the Midwest or are from St. Louis, I am going to guess that you have never had a gooey butter cake, much less a red velvet gooey butter cake.
- Sweet Cream Cheese Filling- The cream cheese mixture on this cake is good enough to eat from a bowl. Forget Valentine’s day, you should be eating this cake on every holiday.
- Red Velvet Version- The bottom layer is good enough to stand on its own. Add the cream cheese mixture on top and its a no brainer.
- Perfect for a cookie swap- If you want to be the IT girl this season, next time you are invited to a cookie exchange, bring this cake. Everyone will love you and you will win the cookie swap.
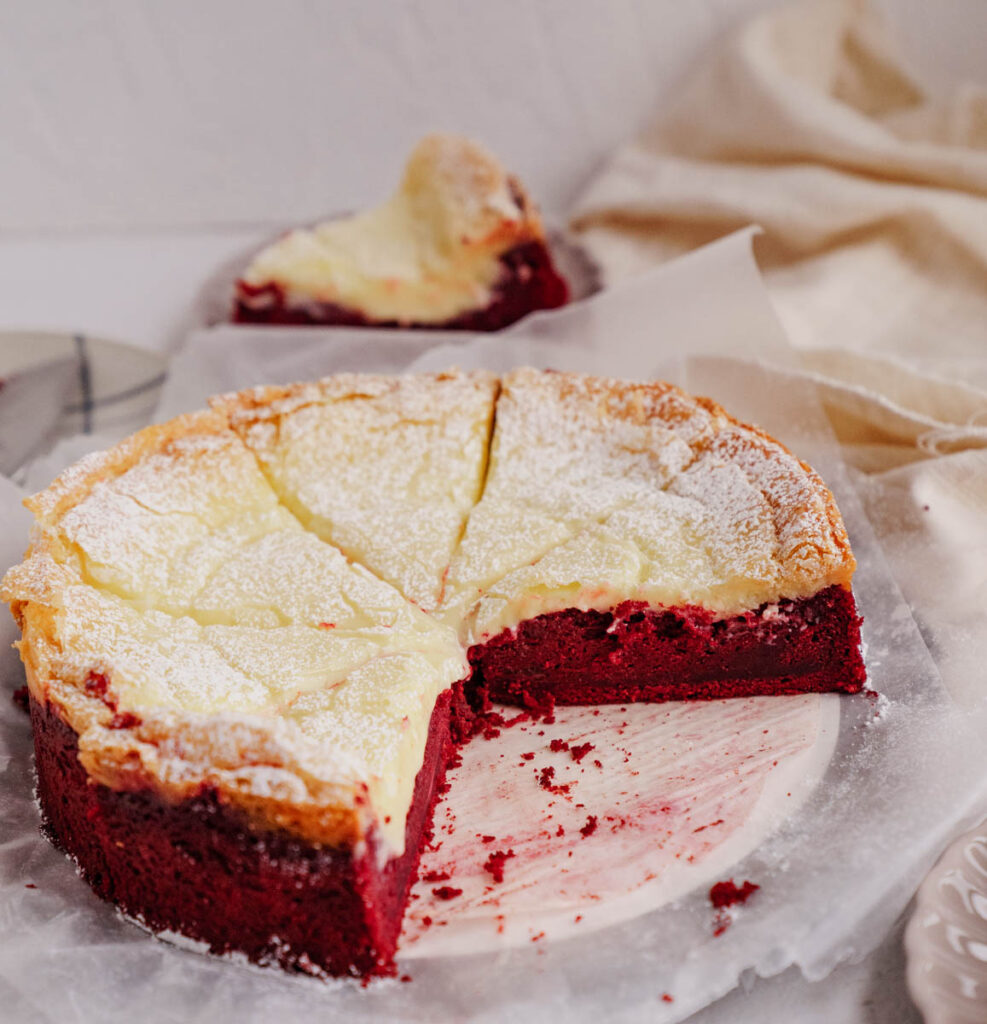
Ingredients – Gooey Butter Cake
Here are some must haves for baking this recipe. For a full detailed ingredient measurements and instructions, scrolls on down to the recipe card below!
- Red Food Coloring- If you want to be authentic, you can use beet juice to get that classic red look, but I’m red maxing my diet, so bring on the food coloring.
- Powdered Sugar- This is going to be sifted on top to create the classic gooey butter cake look. It is a must have for the recipe.
- Large Eggs- As always, make sure they are room temperature 🙂
- Cream Cheese- Like the eggs, you are going to see some room temperature, softened cream cheese.
- Cocoa Powder- Make sure it is unsweetened!
- Unsalted Butter- For all of my control freaks out there, make sure you get unsalted so you can control how much salt goes in your dish.
How to make Red Velvet Gooey Butter Cake
Next, here are some tips that you will need to make this cake, for the full list of instructions, refer to the recipe card below!
- Preheat the oven and prepare a 9-inch springform pan. Get that oven HOT and READY
- Whisk together cocoa powder, baking powder, baking soda, salt, and flour in a bowl.
- In a stand mixer, cream together butter, oil, and sugar until light and fluffy.
- Add eggs one at a time, followed by vanilla, red velvet emulsion, sour cream, and vinegar.
- Gradually add flour mixture and buttermilk in alternating batches, mixing until just incorporated.
- Pour the red velvet batter into the prepared pan.
- In a separate bowl, beat cream cheese until smooth and creamy.
- Add an egg and continue mixing, then gradually add powdered sugar in batches until well combined. Make sure the mixture is slightly runny. You want to ensure that it will nicely pour on the top.
- Pour the cream cheese mixture over the red velvet batter in the pan, ensuring even coverage.
- Bake the cake in a preheated oven for 50-55 minutes.
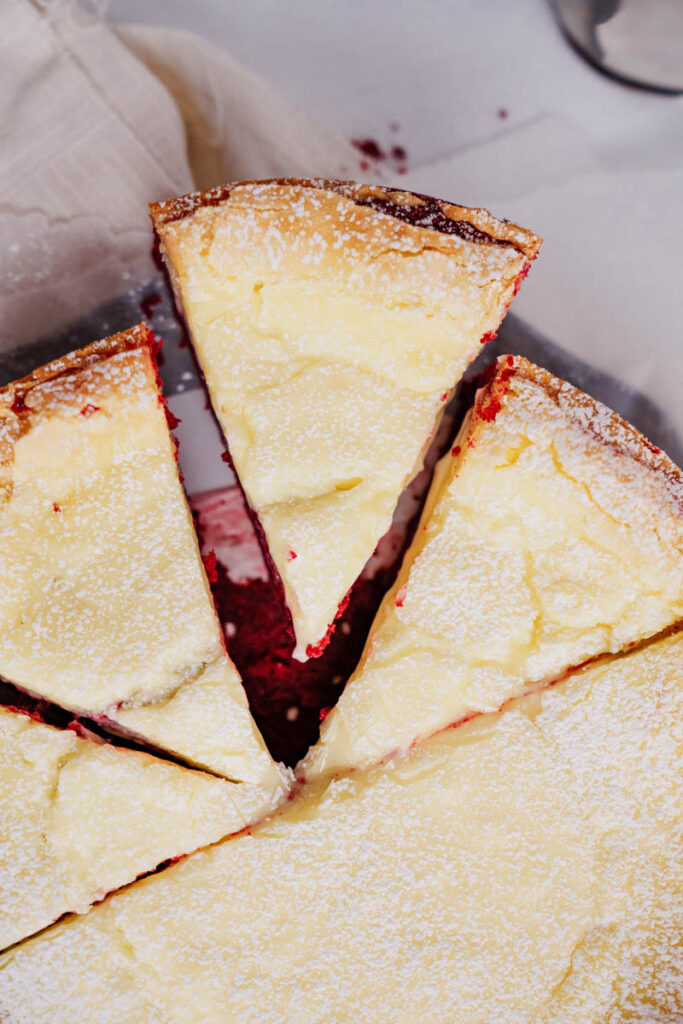
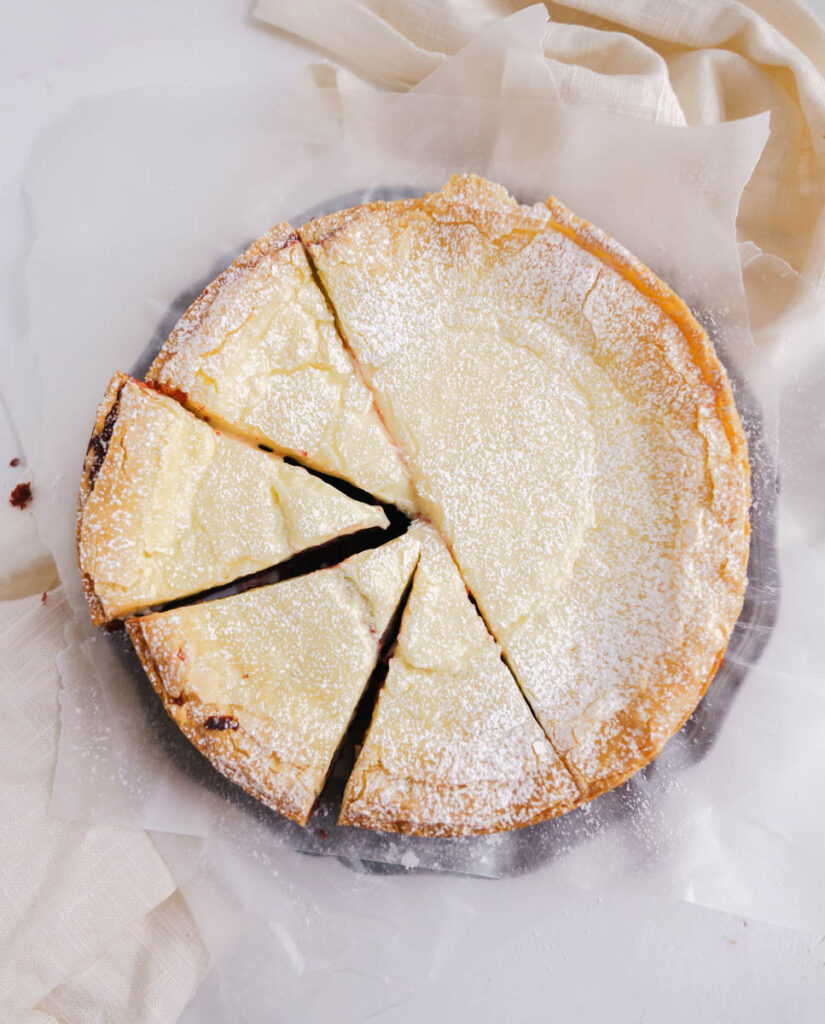
- The cake is done when the edges are golden, and the middle has cracked, but it should still be slightly jiggly.
- Allow the cake to cool for 10-15 minutes, then refrigerate for at least 2 hours to let the cream cheese firm up.
Tools I used to make this cake!
- Stand Mixer or Hand Mixer: Used for creaming the butter and sugar, as well as mixing the batter and cream cheese filling.
- Medium-Sized Bowl: For whisking together dry ingredients like cocoa powder, baking powder, baking soda, salt, and flour.
- Rubber Spatula: Used for scraping down the sides and bottom of the mixing bowl during the mixing process.
- 9-inch Springform Pan: The specified pan for baking the cake. Make sure to grease it properly and line the bottom with parchment paper.
- Pam’s Baking Spray or Non-Stick Baking Spray: For greasing the springform pan.
- Parchment Paper: To line the bottom of the springform pan for easy removal of the cake.
- Small Offset Spatula: Used to spread the cream cheese filling evenly over the red velvet batter.
- Baking Sheet: Placing the springform pan on a baking sheet while baking can help catch any potential drips.
Frequently Asked Questions – Gooey Butter Cake
Why use a springform pan?
A springform pan makes it easier to remove the cake without damaging its structure. If using a regular pan, be sure to prepare it well for easy release.
What’s the purpose of the white distilled vinegar in the cake?
The vinegar reacts with the baking soda to provide additional leavening and contribute to the cake’s texture and flavor.
Can I substitute LorAnn’s red velvet emulsion with red food coloring?
Yes, you can substitute the emulsion with red food coloring. Adjust the amount based on the intensity of color desired.
How do I know when the cake is done baking?
The edges should be golden, and the middle will still be slightly jiggly. A toothpick inserted in the center should come out with moist crumbs but not wet batter.
The cream cheese filling sunk into the cake? Why?
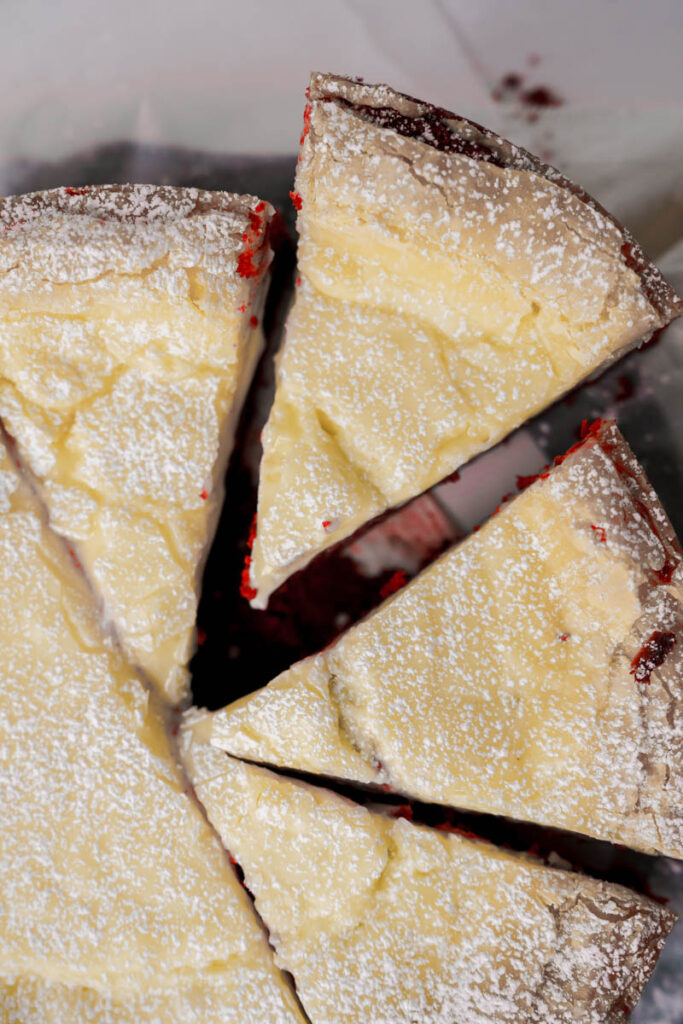
This means there the cream cheese filling wasn’t properly poured on top, and some of the red velvet cake was exposed. You have to make sure that none of the cake batter is showing when you put the cake in the oven.
Storing and Freezing
Store the red velvet gooey butter cake in an airtight container in the refrigerator to maintain its freshness. Properly stored, the cake will stay moist and flavorful for several days.
Freezing – Gooey Butter Cake
To freeze red velvet gooey butter cake, it’s best to do so before adding any powdered sugar garnish. Wrap the cake securely in plastic wrap and then place it in an airtight container or a resealable freezer bag. When ready to enjoy, thaw it in the refrigerator before serving.
Remember LEAVE A 5 STAR EVIEW AND A COMMENT if you love the recipe or any questions. Follow me on Instagram, Pinterest, and TikTok. I post so many fun things on all platforms!
For more gooey Butter Cake Recipes
- Gooey Butter Pumpkin Cake Without A Box Mix
- Best Gooey Butter Cake Without Cake Mix
- Easy Red Velvet Cake Recipe With Cream Cheese
- Copycat Portillo’s Chocolate Cake Recipe
Recipe
Red Velvet Gooey Butter Cake
Ingredients
For the cake
- ½ cup unsalted butter room temperature
- ¼ cup vegetable oil
- 1 cup granulated sugar
- 2 large eggs room temperature
- 1 teaspoons pure vanilla extract
- 1 Tablespoons LorAnn’s red velvet emulsion you can substitute with red food coloring
- 2 tablespoons full fat sour cream room temperature
- ½ teaspoon white distilled vinegar
- 1 Tablespoon cocoa powder
- 1 teaspoons baking powder
- ½ teaspoon baking soda
- ¾ teaspoon salt
- 1 ⅓ cup all-purpose flour
- ½ cup buttermilk room temperature
For the Cream Cheese Layer:
- 8 ounces cream cheese at room temperature
- 1 large egg at room temperature
- 2 ¾ cups powdered sugar
Instructions
For the cake
- Preheat your oven to 325 degrees F. Grease a 9 inch springform pan with Pam’s Baking Spray. Line the bottom with parchment paper and spray the sides. Set aside.
- In a medium sized bowl, whisk together the cocoa powder, baking powder, baking soda, salt, and all-purpose flour. Set aside.
- In the bowl of a stand mixer fitted with the paddle attachment, cream the butter, oil and sugar on medium high speed until light and fluffy, about 4 minutes. The mixture should turn white and nearly double in size.
- With a rubber spatula, scrape down the sides and the bottom of the bowl. With the mixer on medium speed, start adding the eggs one at a time, mixing for 30 seconds after each addition. Scrape the sides and bottom after each addition.
- Once the eggs have been added, add the vanilla, LorAnn’s emulsion (or red food coloring), sour cream, and vinegar. Mix on low just until incorporated, about 30-60 seconds.
- Scrape down the sides of the bowl and turn the mixer on low. Add half of the flour mixture and half of the buttermilk to the butter mixture and mix until just incorporated. Finally, add the rest of the flour mixture and the last of the buttermilk, while mixing on low. Do not over mix, this should take 30-45 seconds.
- Pour the red velvet batter into the prepared springform pan. Set aside while you make the cream cheese filling.
For the Cream Cheese Filling
- In a medium-sized bowl, use a hand mixer on medium-high speed to beat the cream cheese until it’s smooth and creamy.
- Add the egg and mix on high for 30 seconds, using a rubber spatula to scrape the sides and bottom of the bowl.
- Gradually add 1 cup of powdered sugar at a time, mixing for medium high speed 30 seconds after each addition. This should take a little over 1 minute to complete.
- Once combined, pour the cream cheese mixture on top of the red velvet cake batter and use a small offset spatula to spread it into an even layer. Make sure you don’t see any red velvet peaking through the corners of the cake. You want it completely covered by the cream cheese filling.
- Bake for 50-55 minutes. The middle of the cake will still be slightly jiggly, but it’s done when the edges are golden and the middle has cracked.
- When the cake is done, let it cool for 10-15 minutes, then place it in the fridge to chill for at least 2 hours to allow the cream cheese to firm up and set.
- To garnish, dust the cake with powdered sugar.

Leave a Reply