Homemade little debbie’s tree – Homemade cake that is fluffy and moist, filling with a marshmallow buttercream, and covered in white chocolate, your favorite copycat recipe!
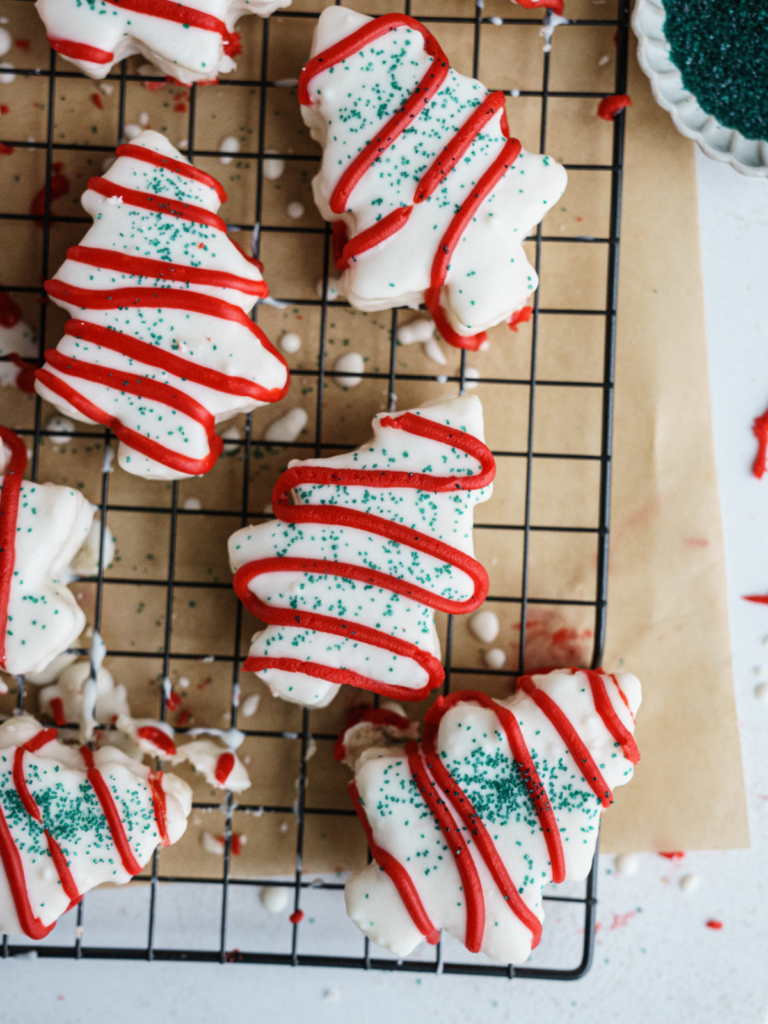
If you’re as obsessed with holiday treats as I am, then get ready to fall in love with these Christmas Tree Snack Cakes! These nostalgic little trees are my homemade version of the Little Debbie Christmas Trees we all grew up on—but made from scratch, so they’re even more delicious and the best thing ever~ With a fluffy sponge cake, gooey marshmallow filling, and a white chocolate shell decked out with red frosting and green sprinkles, these cakes are a holiday dream come true. Perfect for holiday parties or just because you’re feeling festive!
- Pear Cheesecake With Ginger Spiced Crust
- Festive Gingerbread Crinkle Cookies
- Super Easy Gingerbread Cake With Frosting
- Salted Caramel Gingerbread Cake With Buttercream
Why You’ll Love These Homemade Little Debbie’s Tree
- Total Holiday Vibes: These little trees are as fun to make as they are to eat, with all the nostalgic charm of a seasonal snack cake.
- Surprisingly Easy: No layers, no stress—just a delicious, simple sheet cake and some cookie cutters.
- Kid-Friendly Fun: Decorating these cuties with green sanding sugar and red frosting is a blast, especially if little helpers want in on the fun!
- Make-Ahead Friendly: They store perfectly in an airtight container, so you can enjoy them all week long.
- Better than store bought: these are the real deal and way better than the store bought. I did a comparison and the store bought ones left a weird film on the bottom of my mouth!
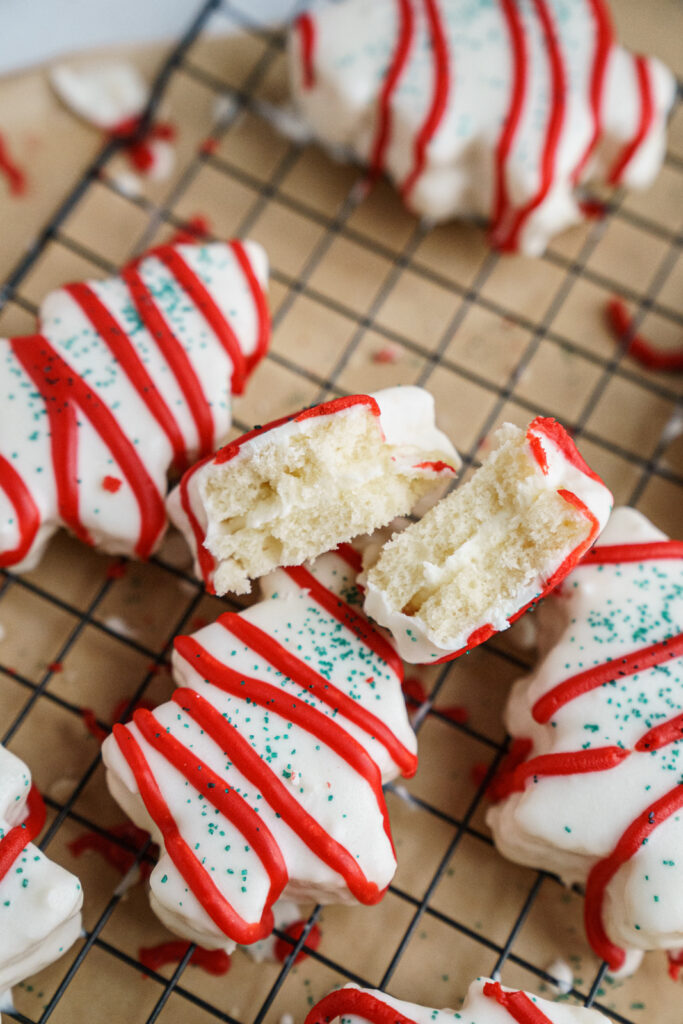
Ingredients – Homemade Little Debbie’s Tree
Here’s everything you’ll need to make these irresistible homemade little debbie’s tree. Please check out the recipe card at the bottom for the list of all ingredients and instructions!
- Butter, granulated sugar, and vegetable oil
- Large eggs and egg whites
- Vanilla extract and marshmallow fluff
- Cake flour and baking powder
- White chocolate or almond bark for dipping, if you can’t find either, melted candy works just as well!
- Coconut oil and green sprinkles
Step-by-Step Instructions
this easy recipe will be ready to whip up all in one day! They are so fun to bring to your next holiday party or just have your kids snack on!
- Bake the Cake
- Preheat the oven to 350°F. Spray a sheet pan with cooking spray, line it with parchment paper, and set aside.
- Cream together butter, granulated sugar, and oil in the bowl of your stand mixer until fluffy. Add the eggs and vanilla extract, then mix in the dry ingredients with buttermilk until smooth.
- Pour the batter into the pan, bake until golden brown, and let it cool completely on the pan.
- Make the Marshmallow Cream Filling
- In a mixing bowl, beat together softened butter and marshmallow fluff, then add powdered sugar and heavy cream until fluffy. Save a bit, tint it red, and place in a piping bag.
- Assemble the Trees
- Use a tree-shaped cookie cutter to cut the cake, then slice each shape horizontally.
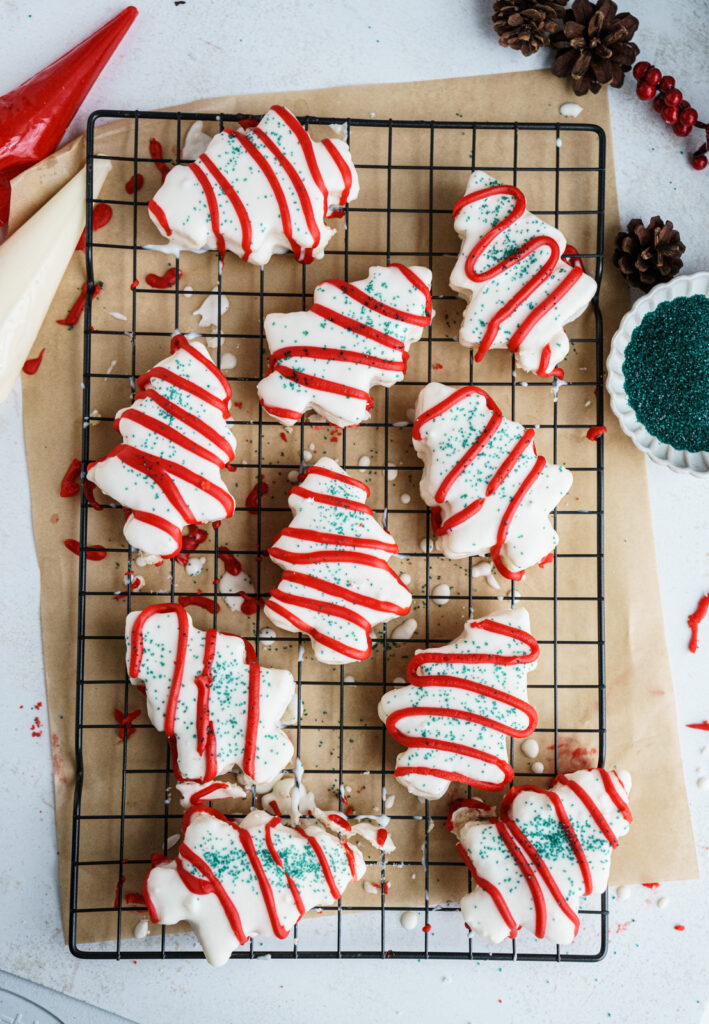
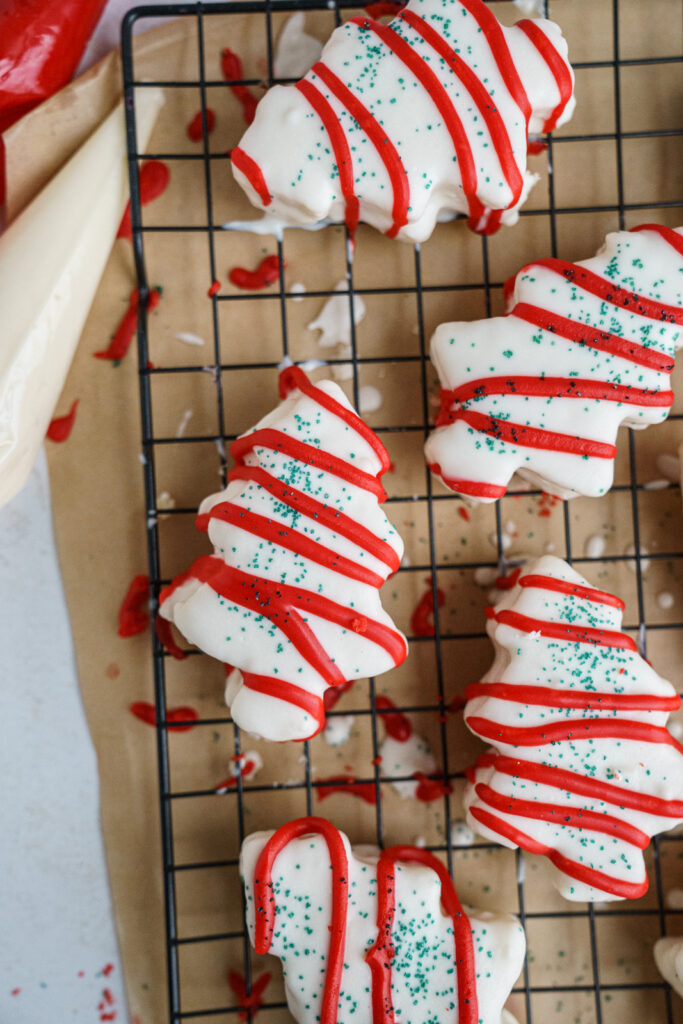
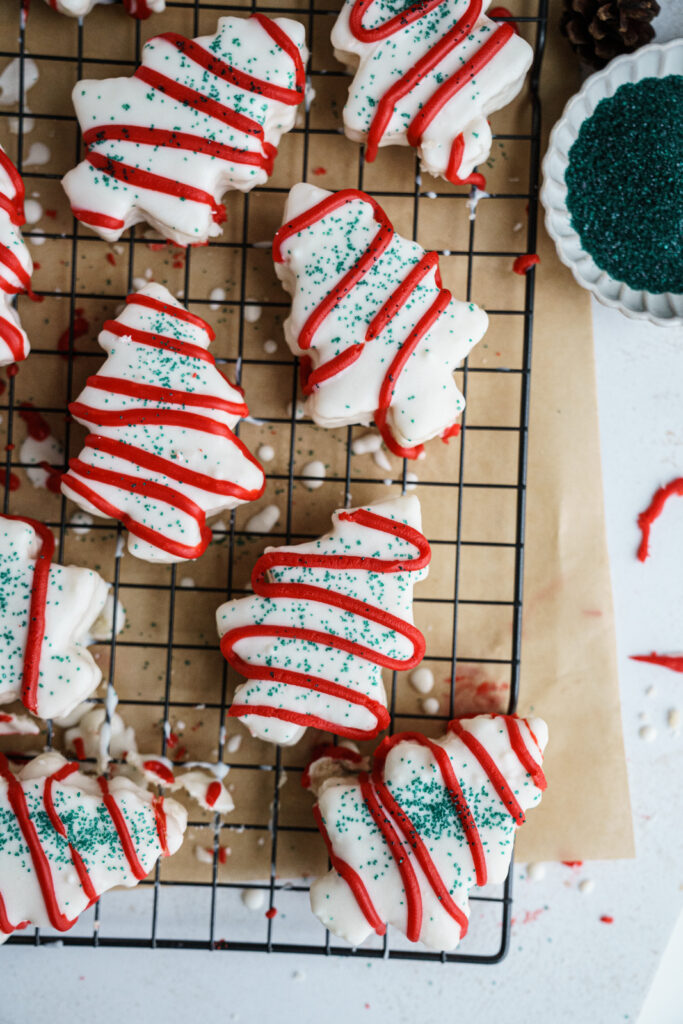
- Pipe the marshmallow filling on one side, sandwich with the top half, and dip each tree in melted white chocolate. Decorate with a red frosting zigzag and green sprinkles or green sugar sprinkles!
Tips and Tricks
From all the tips and tricks to the secret ingredient! here is everything you need to know when making Homemade little debbie’s tree!
- Chill for Easy Cutting: Cool the baked sheet cake in the fridge for 15-20 minutes before cutting to keep shapes clean.
- Slice Carefully: Use a serrated knife to gently slice each tree in half horizontally.
- Even Filling: Pipe marshmallow filling to the edges without overfilling to avoid sliding layers.
- Smooth White Chocolate: Add coconut oil when melting for a silky texture. Keep warm over a water bath if it thickens.
- Tap Excess Chocolate: Lift with a fork and tap to remove excess chocolate for neat edges.
- Use Parchment Paper: Place dipped cakes on parchment to set and avoid sticking.
- Red Zigzag & Green Sprinkles: Pipe the red zigzag on set chocolate, then sprinkle immediately for best adhesion.
- Final Chill: Chill finished cakes for 10 minutes to fully set layers and chocolate.
- Storage: Store in an airtight container with parchment between layers to keep them fresh and picture-perfect.
Recommended Tools
- Stand Mixer or Hand Mixer – Essential for smooth batter and marshmallow filling.
- Parchment Paper – For lining the baking sheet and setting dipped cakes.
- Sheet Pan (18 x 13-inch) – Perfect for baking a thin, even cake layer.
- Christmas Tree Cookie Cutter – To get those classic tree shapes. This one is the exact one i used
- Serrated Knife – For carefully slicing each tree horizontally.
- Rubber Spatula – For scraping down the mixing bowl and folding batter.
- Piping Bags – Use two: one for the marshmallow filling and one for the red frosting.
- Cooling Rack – Ideal for letting the cakes set evenly after dipping.
- Fork – Helpful for lifting the cakes out of the melted chocolate while allowing excess to drip off.
- Large, Heatproof Bowl – For melting white chocolate or almond bark.
- Offset Spatula – Great for smoothing the cake layer or handling delicate tree shapes.
FAQs
This little cake is easy to make, but you might have some questions, here are some that might help you along the way. If you have more questions, please feel free to ask them in the box at the end of the blog post!
- Can I use gluten-free flour? Absolutely! Swap it in for the cake flour and you’re set.
- Any other flavor ideas? You could try adding a touch of almond extract for extra holiday cheer!
- Can I make this recipe using a boxed cake mix? Absolutely! If you’re short on time, a yellow or white boxed cake mix works great. Just follow the box instructions, then pick up at the assembly steps.
- How do I keep the white chocolate from clumping when dipping? Adding coconut oil or a bit of vegetable oil to the melted chocolate helps keep it smooth. If it thickens, gently rewarm it over a water bath.
- What if my marshmallow filling is too thick or too thin? If it’s too thick, add a tiny bit more heavy cream. If it’s too thin, add a little extra powdered sugar until you reach the right consistency.
- Can I make these gluten-free? Yes! Use a gluten-free cake flour substitute, and they should turn out great. Just double-check all ingredients, especially the chocolate, for any gluten additives.
- Can I use other coatings besides white chocolate?
Definitely! Milk chocolate or dark chocolate would be tasty twists. You could even try colored candy melts for different holiday colors.
Storing and Freezing Instructions
Store these homemade little debbie’s tree in an airtight container in the fridge for up to a week or freeze for up to a month. Just thaw before serving, and they’re good as new!
If you loved these homemade little debbie’s tree don’t forget to leave a 5-star rating and a comment! I’d love to hear your feedback or answer any questions you have! Follow me on Instagram, Pinterest, and TikTok. I post so many fun things on all platforms!
FOR MORE RECIPES YOU SHOULD BAKE FOR CHRISTMAS
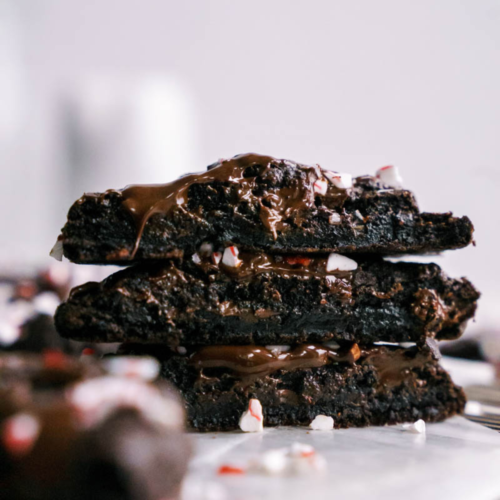
- Easy Chewy Double Chocolate Peppermint Cookies
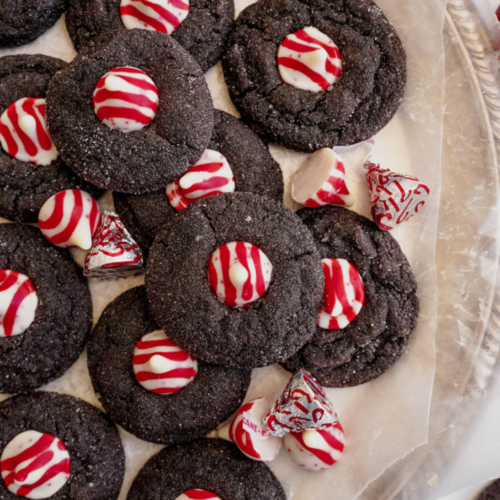
- The Best Peppermint Kiss Chocolate Cookies
- Chewy Gingerbread Snickerdoodles Recipe
Recipe
Homemade Little Debbies Tree
Ingredients
For the Cake
- 1 cup unsalted butter room temperature
- 1¾ cup granulated sugar
- 2 tablespoons vegetable oil
- 3 large eggs room temperature
- 2 large eggs whites room temperature
- ⅓ cup sour cream room temperature
- 1 Tablespoon pure vanilla extract
- 3 cups cake flour spoon and leveled
- 1 Tablespoon baking powder
- 1 teaspoon salt
- 1¼ cups buttermilk room temperature
For the marshmallow filling
- ½ cup softened unsalted butter
- 1 cup marshmallow fluff
- 3 cups powder sugar
- 1 teaspoon pure vanilla extract
- 2 tablespoons milk or cream preferably heavy cream
- ¼ teaspoon salt
For the white chocolate coating
- 24 ounces white chocolate or almond bark
- 4 tablespoons coconut oil or non flavored oil
Instructions
FOR THE CAKE
- Preheat your oven to 350°F. Spray an 18 x 13-inch metal cookie pan with cooking spray, line with parchment paper, and spray again. Set aside.
- In a medium size bowl, add the cake flour, salt, and baking powder. set aside
- In the bowl of a stand mixer fitted with the paddle attachment, cream the butter, oil, and sugar on medium speed until fluffy and smooth, about 3 minutes. Scrape the bottom and sides of the bowl with a rubber spatula.
- Start adding the egg whites and whole eggs, one at a time, beating on medium speed after each addition for about 30 seconds. Scrape the bowl after each addition. Once all the eggs are added, beat for 30 more seconds.
- Add the sour cream and vanilla extract. Beat on medium-low speed for 1 minute. If the mixture looks clumpy, don’t worry; it will smooth out once the flour mixture is added.
- On low speed, add ⅓ of the flour mixture and ½ of the buttermilk to the butter mixture, mixing until almost incorporated. Add another ⅓ of the flour and the remaining buttermilk, mixing just until a few streaks of flour remain. Add the final ⅓ of the flour mixture and mix just until combined.
- Scrape the bottom and sides of the bowl to ensure everything is evenly mixed.
- Pour the batter into the prepared pan and bake for 35-40 minutes, or until a toothpick comes out with just a few moist crumbs and the top is golden brown. Let the cake cool completely in the pan.
For the Marshmallow Filling
- In a large mixing bowl, beat the softened butter with an electric mixer on medium speed until smooth and creamy, about 2 minutes.
- Add the marshmallow fluff to the bowl and mix until fully combined, scraping down the sides as needed.
- Gradually add the powdered sugar, 1 cup at a time, mixing on low speed until incorporated. After all the powdered sugar is added, increase the mixer speed to medium-high and beat until light and fluffy, about 2-3 minutes.
- Add the vanilla extract, heavy cream, and salt, mixing until just combined. Scoop out about ¼ cup of the filling, tint with red food coloring, and place in a piping bag. Place the remaining filling in a separate piping bag with a small hole cut. Set aside.
Assembly
- Once the cake has cooled, place it in the fridge or freezer to firm up for easier cutting while you get the chocolate melted.
- In a large, heatproof bowl, microwave the white chocolate or almond bark in 20-second intervals, stirring between each interval, until fully melted. Stir in the coconut oil until smooth and fully incorporated. Tip: Keep the white chocolate mixture in a warm spot while dipping, or place it over a warm water bath to maintain a smooth consistency.
- Use a tree-shaped cookie cutter to cut the chilled cake into 20 tree shapes (or as many as your cutter allows).
- Carefully slice each tree horizontally with a serrated knife.
- Pipe the marshmallow filling onto one half of each tree, piping all the way to the edges. Place the second half on top, gently pressing to secure.
- When ready to dip, take a tree and dip it into the melted white chocolate, using a fork to lift it out and place it on parchment paper. Let the chocolate harden before piping the red frosting.
- Using the red frosting, pipe a zigzag design at an angle over each tree and add green sprinkles. Serve and enjoy!

Meagen says
I’m giving this recipe a 5 because it tastes good and the instructions were easy to follow BUT I highly recommend using much less or no coconut oil because it is all me and my taste testers could taste. Luckily I only did this with half and the other with just melted white chocolate in a double boiler and they were MUCH better. I love coconut but not in these babies! Will use again minus the oil!