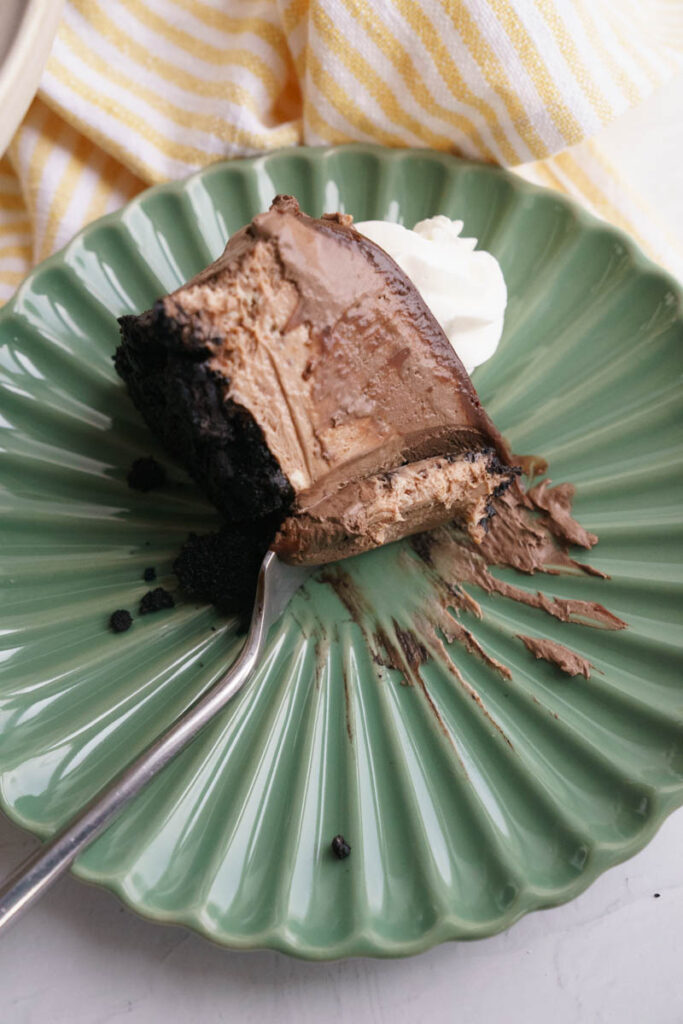
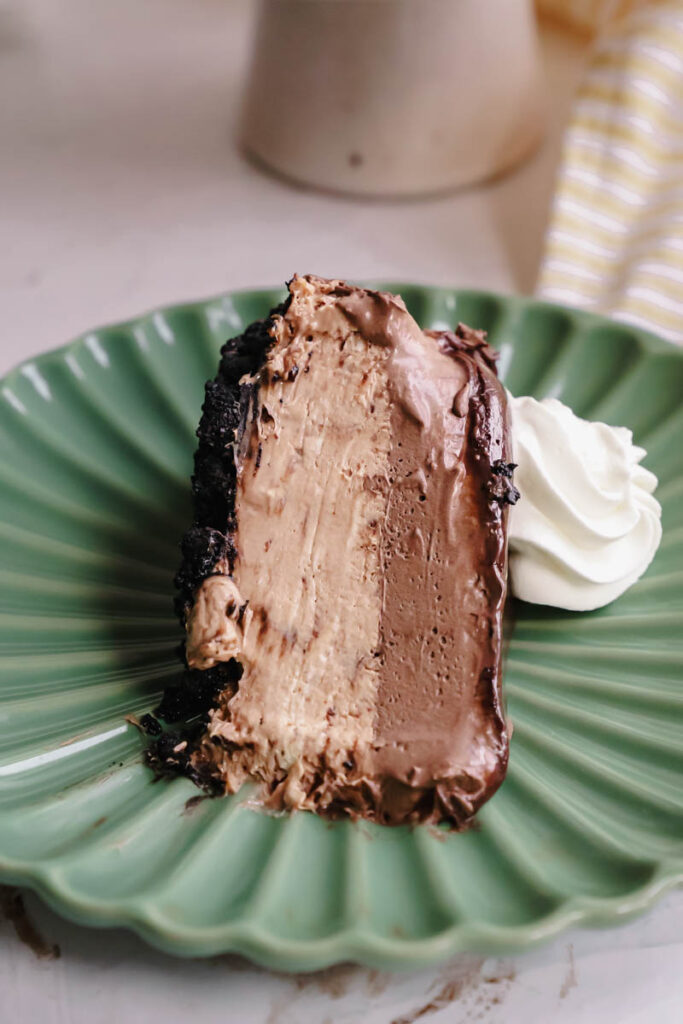
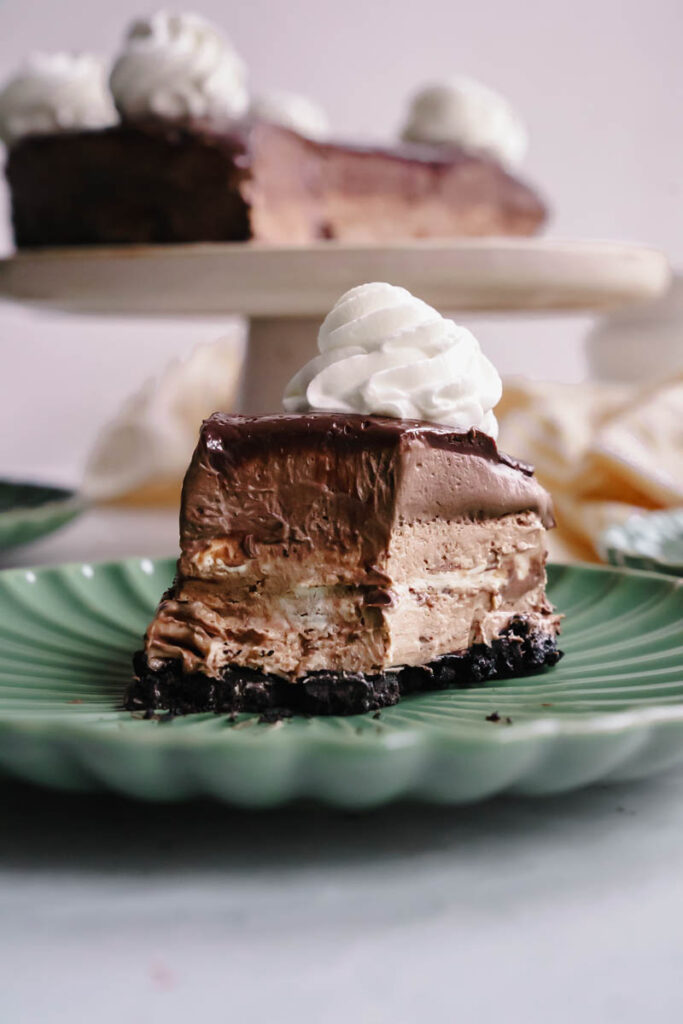
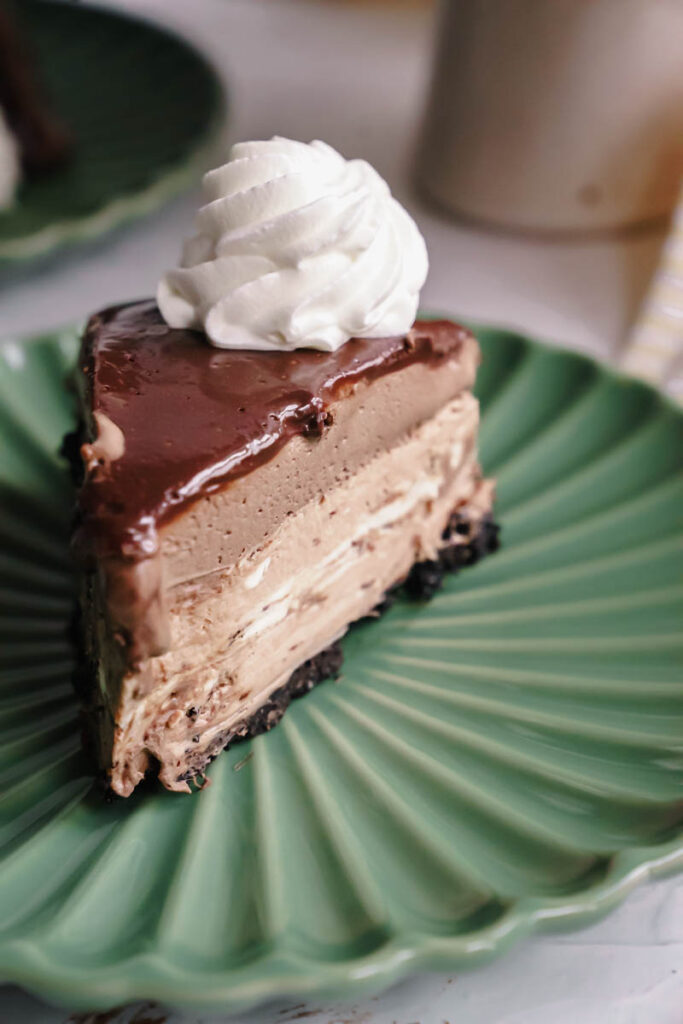
Imagine a rich chocolate cheesecake that is topped with a layer of chocolate mousse. Well guess what? You do not need to imagine any more because this is the ultimate Chocolate Mousse Cheesecake Factory recipe.
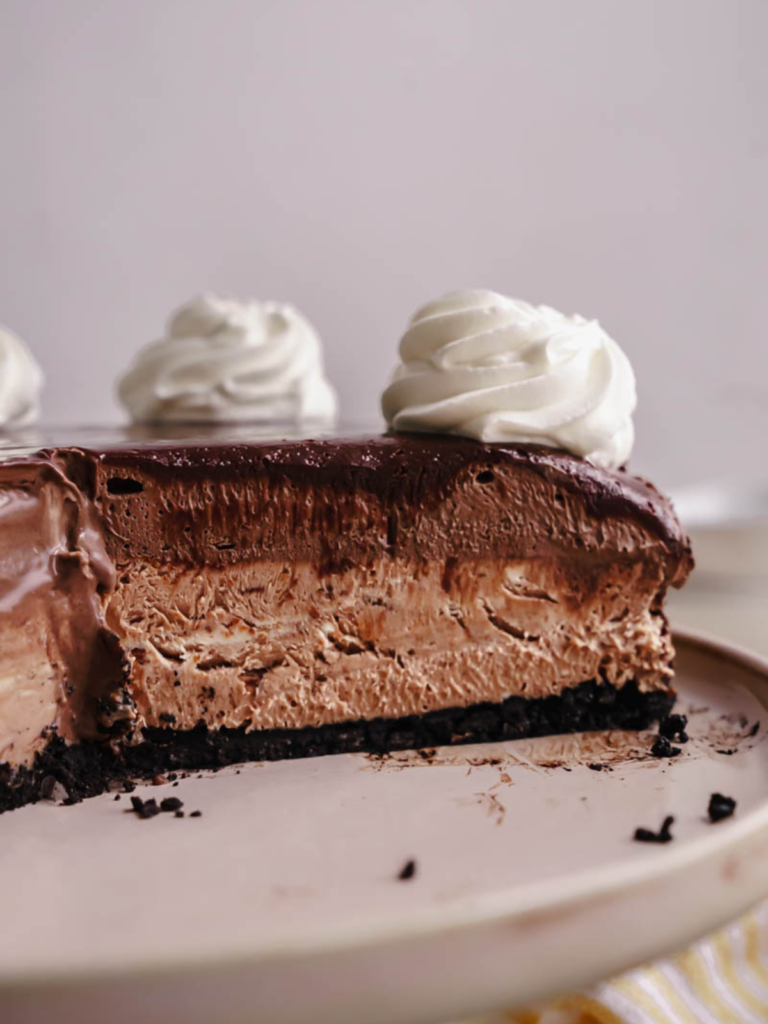
I have so many opinions about the Cheesecake Factory, but like it or not, when someone says cheesecake, everyone thinks of the factory. So I set out to make a new and improved cheesecake factory cheesecake that all my chocolate lovers would fall in love with (my husband says that he likes this recipe more than my flourless chocolate cake, which is saying something because I watched him eat an entire pan of that one time). To say that this is a great recipe is an understatement, because this is certainly the best cheesecake recipe I have ever made.
So go and get your trusty stand mixer and your favorite chocolate chips (Hu Chocolate’s Chocolate Chips are certainly mine) and get ready to make my new Chocolate Mousse Cheesecake Factory recipe.
For more chocolate recipes, here are some below!
- Chocolate Salted Caramel Cookie With Frosting
- Best Chocolate Fudge Cake With Fudge Frosting
- The Best Chocolate Cookie Dough Cake
Why I love this recipe – Chocolate Mousse Cheesecake
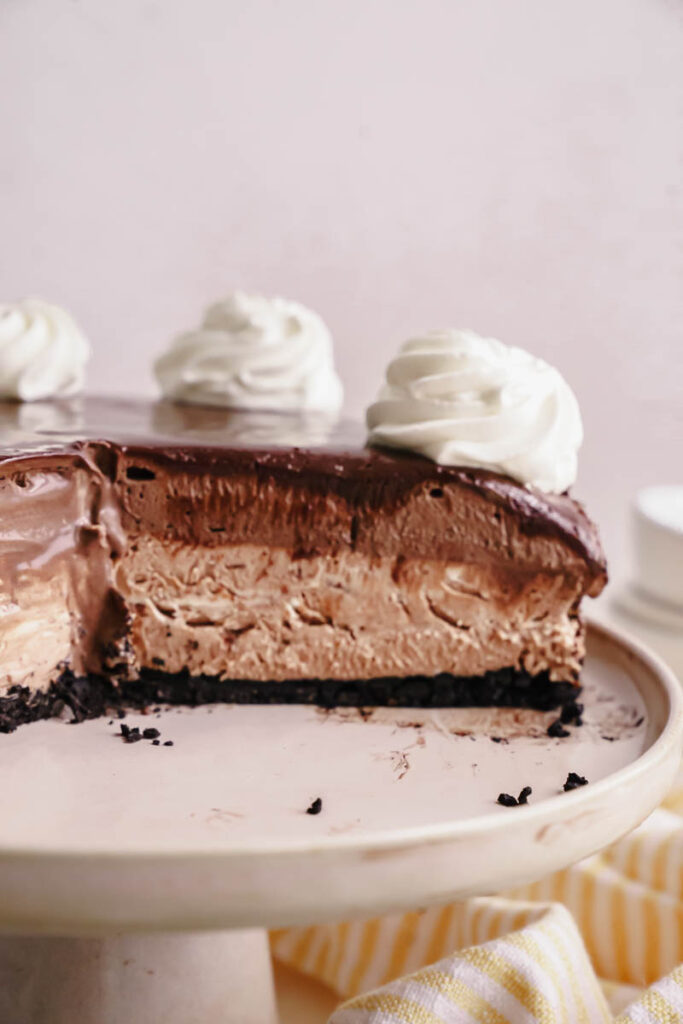
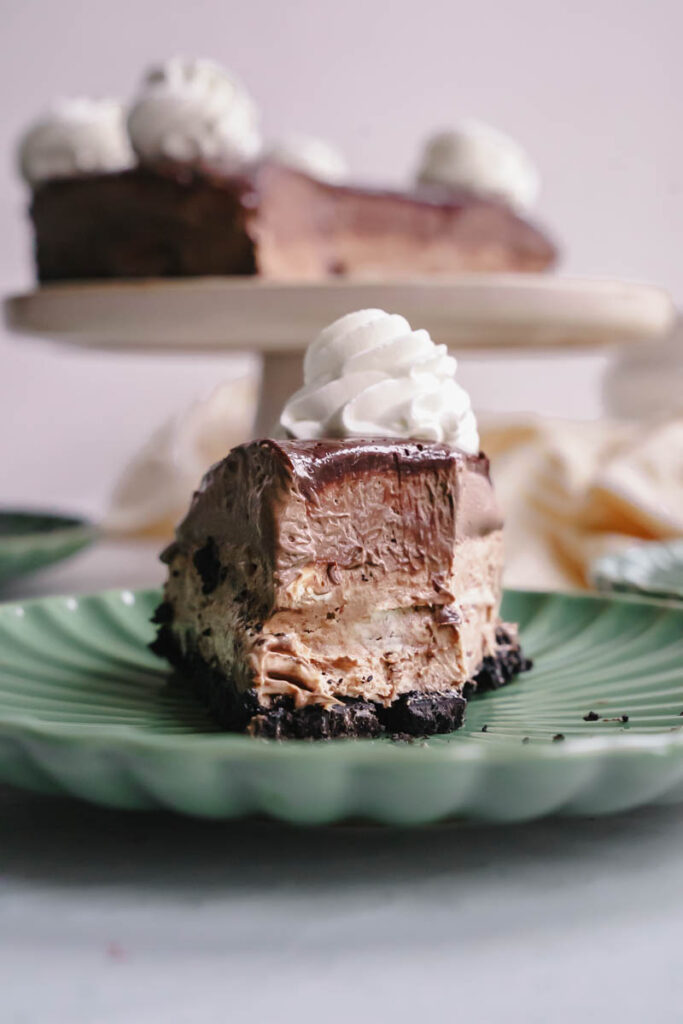
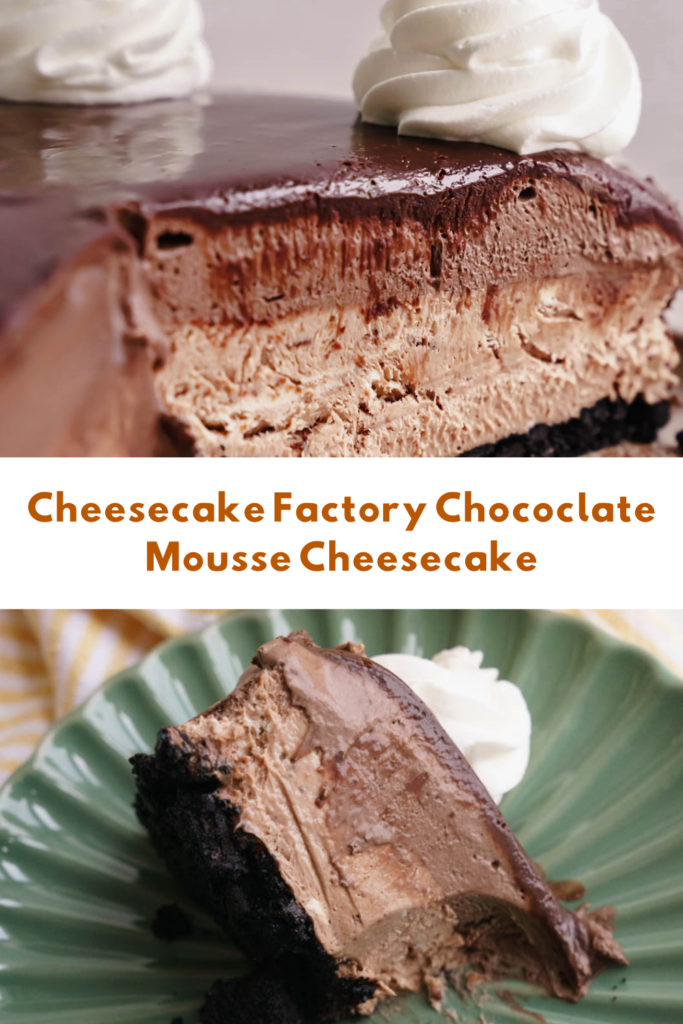
The Brownie Crust- Don’t get me wrong, a graham cracker crust or an Oreo crust certainly have their place, but this brownie crust is OUT OF THIS WORLD and works so well with the layer of chocolate cheesecake. Make sure the crust is just a thin layer, too thick and it will overpower the layer of mousse and the cheesecake layer.
The Creamy Cheesecake- I have spent a long time trying to make the best creamy cheesecake layer. I love how this cheesecake layer allows you to slice it into small pieces and put the whole thing in your mouth without it turning into pudding and slumping off your fork, but it is not stiff like a regular piece of cake.
The Chocolate Mousse- I’m going to say this again with the ganache, but it merits being said twice. Get a high-quality heavy cream. I love Alexandre Farms. If you get the good stuff, once you whip the heavy cream at a high speed, your whipped cream will not just be smooth, it will be silky and life changing.
The Ganache- Ganache is just two ingredients, but a lot people tend to go cheap on their heavy cream and their semi-sweet baking chocolate. Please do not be a lot of people. Get the high quality heavy cream and find your favorite chocolate chips. Life is too short to not have the perfect dark chocolate ganache.
NO SOUR CREAM- Guys. Stop putting sour cream in cheesecake. It is called cheese cake, not sour cream cake.
Grocery List
Eggs- You are going to need some large egg yolks for this recipe, so make you are using high-quality eggs and like always, make sure they are room temperature.
Chocolate Chips- This dessert is all about chocolate. So get your favorite chocolate chips so that this can be the perfect dessert. If you do not have a favorite chocolate chip.. what are you even doing?
Cream Cheese- What is a cheesecake without cream cheese? There is no substitute for this so don’t forget it!
Sugar- This recipe has less than a cup of sugar, so lets lie to ourselves and say that means it is super healthy.
Heavy Whipping Cream- I’ll say it a thousand times. The quality of your ingredients are what is going to make you dessert go from the best dessert to the perfect dessert.
Tips for making the cheesecake
- A water bath helps regulate the temperature around the cheesecake, preventing it from overheating and resulting in a smooth, creamy texture.
- It adds moisture to the oven, reducing the chances of the cheesecake cracking.
- This is optional: Wrap the outside of the springform pan tightly with aluminum foil to create a waterproof barrier. This prevents water from seeping into the cheesecake.
- Use a high-quality springform pan with a tight seal to prevent water from entering.
- Position the oven rack in the middle to ensure even water distribution and heat circulation.
- Keep the door close! You want moisture in the oven to prevent cracking! The water bath keeps the oven humidity high, preventing the cheesecake from drying out and forming cracks.
- Optional: After baking, leave the cheesecake in the oven with the door slightly ajar for about an hour to allow it to cool gradually.
Tips for making the mousse
This will be your favorite mousse recipe ever. It is easy, there is no cooking eggs involved, and lastly, it comes together so nicely. It does need to be used within 1-2 days after it is whipped. I suggest making it and storing it in the fridge until you are ready to whip it together. Here are my tips for making it.
- Use high-quality chocolate for a rich and smooth flavor. Choose chocolate with at least 60% cocoa content.
- Get that cream HOT and ready to go.
- Make sure that after the chocolate and the cocoa powder are combined, you get it back to being chilled.
- DO not over whip. You don’t want to make chunky chocolate butter. Just whip it until it forms stiff peak, and it is able to hold itself.
- Use an electric hand mixer. This will take time, but you will have more control and it isn’t as powerful as a stand size mixer.
Equipment for this Chocolate Mousse Cheesecake
- Mixing Bowls: Large mixing bowls for combining ingredients and whipping the cream.
- Mixer: A stand mixer with a paddle attachment for making the crust and cheesecake filling. A handheld mixer for whipping the heavy cream in the mousse.
- Springform Pan: A springform pan for baking the cheesecake. Make sure it has a tight seal to prevent water from entering during the water bath.
- Aluminum Foil: Aluminum foil to wrap around the springform pan, creating a waterproof barrier for the water bath.
- Baking Pan or Roasting Pan: A larger baking or roasting pan for the water bath.
- Spatula: A spatula for folding ingredients and smoothing out the cheesecake batter.
- Spoon or Fingers: A spoon or your fingers for pressing the crust into the pan.
- Wire Rack: A wire rack for cooling the cheesecake after baking.
- Saucepan: A medium saucepan for heating the heavy cream in the mousse.
- Whisk: A whisk for combining the chocolate chips with the heated heavy cream in the mousse.
- Sharp Knife: A sharp knife is one of the most underrated tools for presentation.

Frequently Asked Questions
Can I use a different pan if I don’t have a springform pan
While a springform pan is ideal for easy removal, you can use a regular cake pan lined with parchment paper. Just be cautious during the unmolding process.
Do I have to use a water bath for baking the cheesecake?
A water bath is recommended to prevent cracks, but if you prefer not to use one, you can bake the cheesecake without it. Keep an eye on the baking time and temperature adjustments.
How can I prevent my cheesecake from cracking?
Using a water bath, ensuring ingredients are at room temperature, and avoiding overmixing are crucial for preventing cracks. Also, don’t overbake the cheesecake.
What can I use instead of a handheld mixer for the mousse?
You can use a whisk and some elbow grease to whip the heavy cream manually. It might take a bit more effort, but it can be done.
Storing And Freezing
To store the Chocolate Mousse Cheesecake Factory recipe. cover it with plastic wrap or place it in an airtight container and refrigerate for up to a few days. For longer storage, consider freezing the cheesecake without the mousse and ganache, and thaw it in the refrigerator before adding the final layers.
Freezing – Chocolate Mousse Cheesecake
To freeze the Chocolate Mousse Cheesecake Factory recipe. , wrap it securely in plastic wrap and aluminum foil, ensuring it’s airtight. Freeze for up to 2-3 months. Thaw in the refrigerator before adding the mousse and ganache layers, and then serve.
Remember LEAVE A 5 STAR EVIEW AND A COMMENT if you love the recipe or any questions. Follow me on Instagram, Pinterest, and TikTok. I post so many fun things on all platforms!
- The Easiest Flourless Chocolate Cake
- Chocolate Cake With Peanut Butter Frosting
- The Best Chocolate Chip Cookies
Recipe
Chocolate Mousse Cheesecake Factory
Ingredients
For The Crust
- ⅔ cups all-purpose flour
- ½ cup granulated sugar
- ⅔ cups dark cocoa powder
- Pinch of salt
- 5 Tablespoons unsalted butter melted
For The Cheesecake Filling
- 32 ounces full fat cream cheese 4 blocks room temperature
- ¾ cup granulated sugar
- 1 large egg yolk room temperature
- 2 large whole eggs room temperature
- 10 ounces melted and cooled dark chocolate
For The Mousse
- 2 cups heavy cream
- 1 cup chocolate chips 5 ounces
- 3 tablespoons unsweetened cocoa powder
- ½ teaspoon kosher salt
- ½ teaspoon pure vanilla extract
Ganache Topping
- 1 cup semi-sweet chocolate chips
- ½ cup heavy cream
- A pinch of flaky salt for garnish
Instructions
For the crust
- Preheat your oven to 350 degrees F. Lightly spray the bottom and the sides of the springform pan with cooking spray.
- In the bowl of a stand mixer fitted with the paddle attachment Combine the flour, sugar, cocoa powder, and salt Mix on low until evenly combined. You can do this in a bowl and use your hands as well.
- Add the melted butter and mix on low until the mixture starts to come together and forms small ball clusters.
- Spread the chocolate crumbs on the bottom of the cake pan. Using the back of a spoon or your finger tips, press the crumbs together to form a crust. Bake for 10-12 minutes. The crust should become hard and resemble a hard cookie.
For the cheesecake filling:
- Preheat or lower your oven to 325°F. Pour water into a sheet pan or roasting pan, filling up only a little less than halfway of the pan. Set aside.
- In a large mixing bowl, using a handheld electric mixer, or in a bowl of a stand mixer fitted with the paddle attachment, beat the room temperature cream cheese on medium speed until smooth and creamy.
- While the mixer is on low, gradually add the granulated sugar to the cream cheese, continuing to beat until the mixture is well combined and smooth.
- With the mixer on low speed, add the room temperature egg yolk and whole eggs all at once and mix just until incorporated. With a rubber spatula, scrape the bottom and the sides of the bowl.
- With a rubber spatula, gently fold in a pinch of salt and the melted/cooled chocolate. Fold the entire cheesecake filling until it is smooth, with no lumps remaining. Ensure you get the bottom and the sides. Be careful not to overmix, as this can introduce excess air bubbles into the batter.
- Carefully pour the cheesecake filling into the baked brownie crust. With the back of the spoon, evenly spread the cheesecake across the top. Place the cheesecake in the prepped water bath.
- While the cheesecake is baking, make the chocolate mousse.
- Bake in the oven for 35-40 minutes, bake until the middle is barely set and slightly jiggled. If the cake is still jiggling, bake for 5 more minutes. You don’t want any browning on the top.
- Once the cake is done baking, let it sit for 10-15 minutes, and then place it in the fridge for at least 4 hours or overnight to set!
For the mousse
- Heat the heavy cream in a medium saucepan until it simmers over medium-high heat. About 4-5 minutes.
- Remove from heat, add chocolate chips, and let it stand for 2-3 minutes before whisking until smooth.
- Whisk in cocoa powder and salt, then transfer the chocolate cream to a large bowl and let it cool completely.
- Cover with plastic wrap and refrigerate for at least 1 hour. I prefer to chill it until I’m ready to assembly the cheesecake. Use a handheld mixer to beat the chocolate cream until smooth with stiff peaks. Be cautious not to overbeat to avoid separation of fat. Over mixing will make the chunky chocolate butter. Pour over the top of the cheesecake and serve within 2 days.
For the Ganache Topping:
- Heat the heavy cream in a medium microwave-safe bowl until it’s hot and slightly bubbly. Start with 30 seconds and check, as it may take longer depending on your microwave.
- Remove from the microwave and add the semi-sweet chocolate chips. Let it sit for at least 3 minutes; you can cover it with plastic wrap to expedite the process.
- Stir until everything melts and the mixture is smooth.
- Spread the chocolate ganache evenly over the top of the mousse filling using the back of a spoon or a small offset spatula.
- Sprinkle a pinch of flaky salt over the ganache for a finishing touch.
- Cover and refrigerate until ready to serve!


Lili says
The cake is so good! It’s very rich and filling but was a huge hit. I added blueberries to the top to make it a little healthier 😂
The only note I have is that I made this in a 9 inch springform pan and the layers went a little high. If I were to make it again, I’d choose a larger pan to fit everything in.
Jamie Murphy says
Oh my goodness! This recipe is amazing! I will be making it over and over again! SO delicious! Turned out perfectly!
Anonymous says
This cheesecake is phenomenal! It turned out beautifully. My daughter chose this recipe for her birthday dessert and my family of 5 all LOVED it!