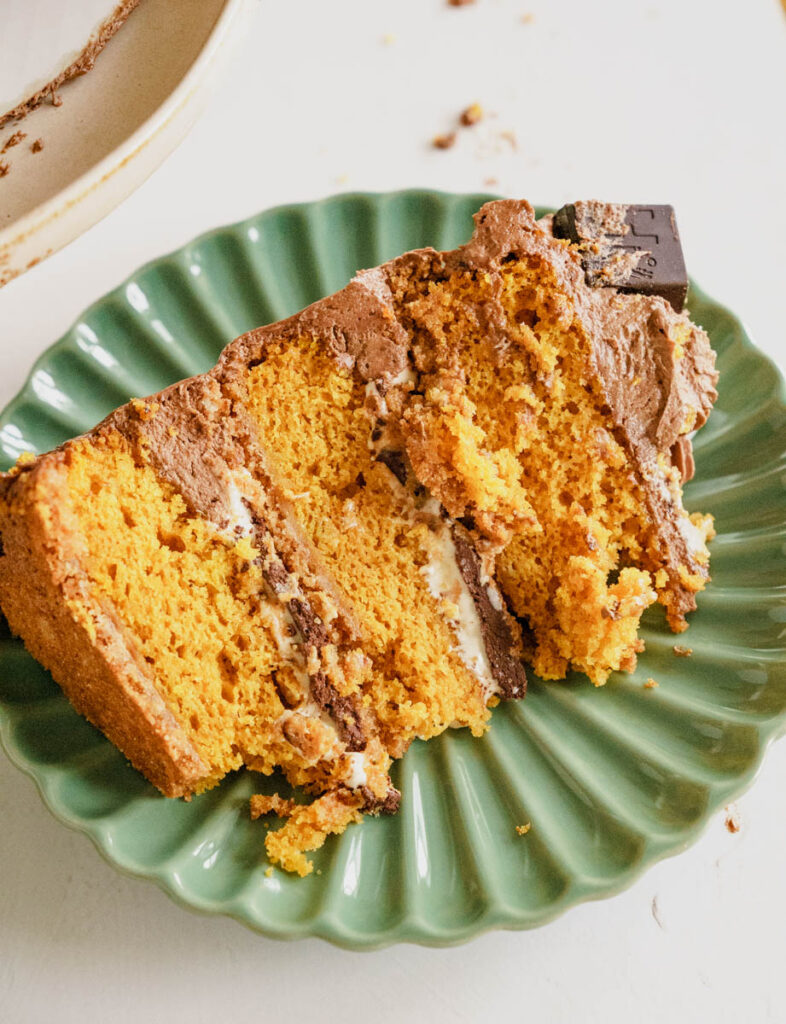
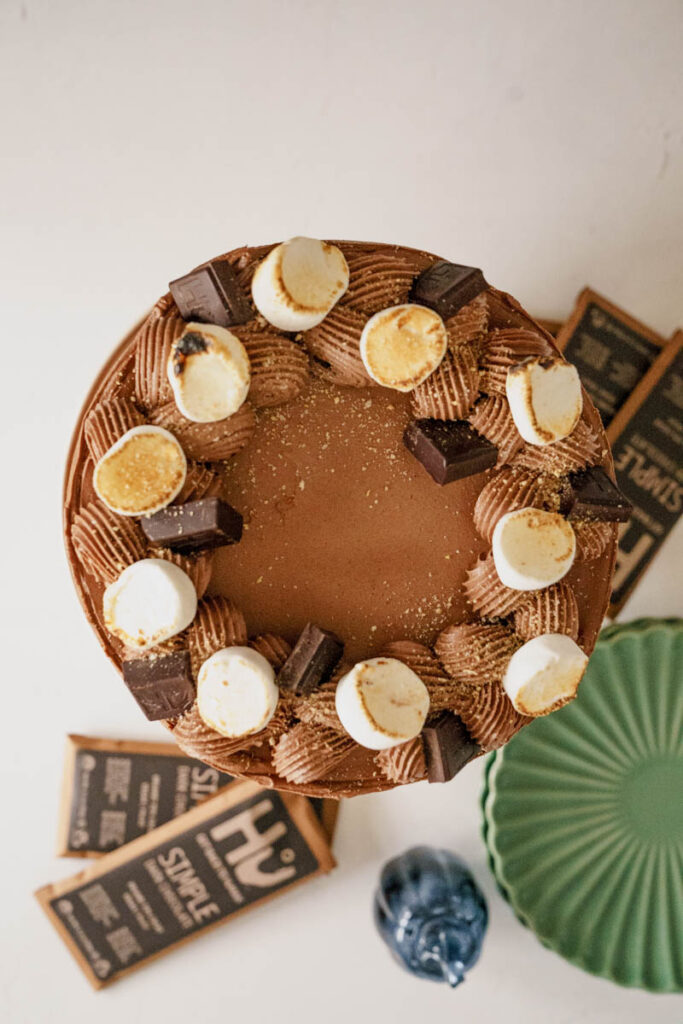
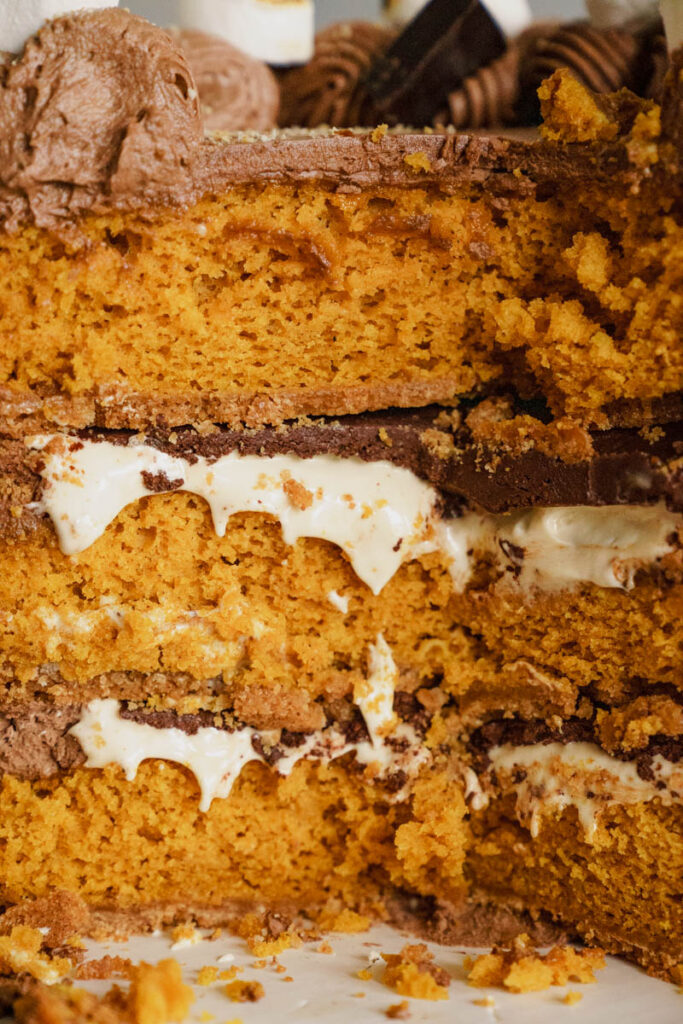
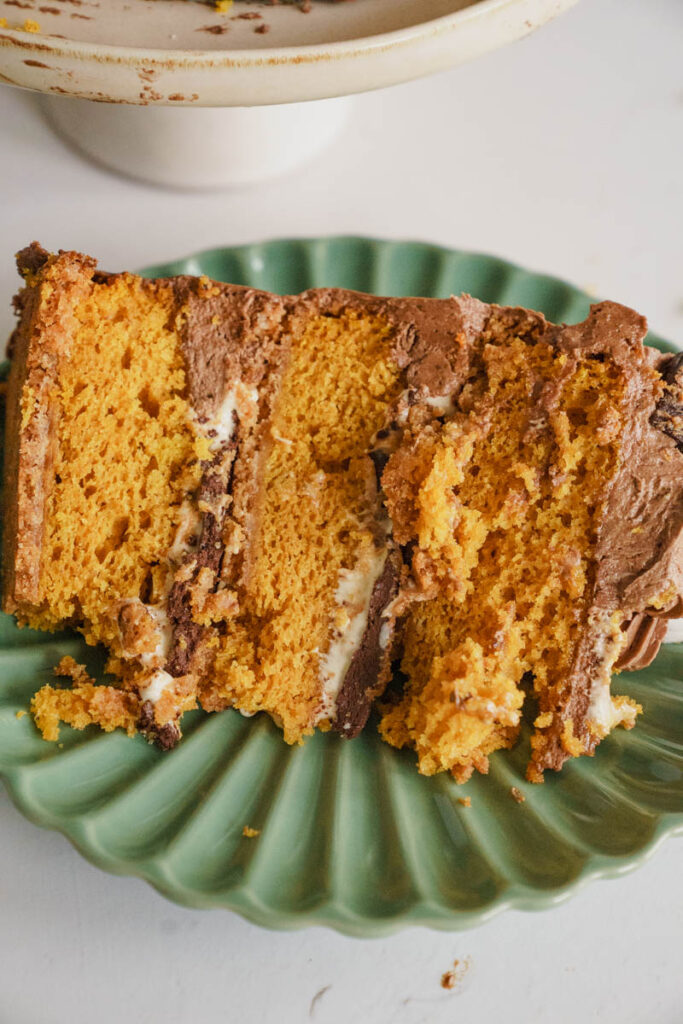
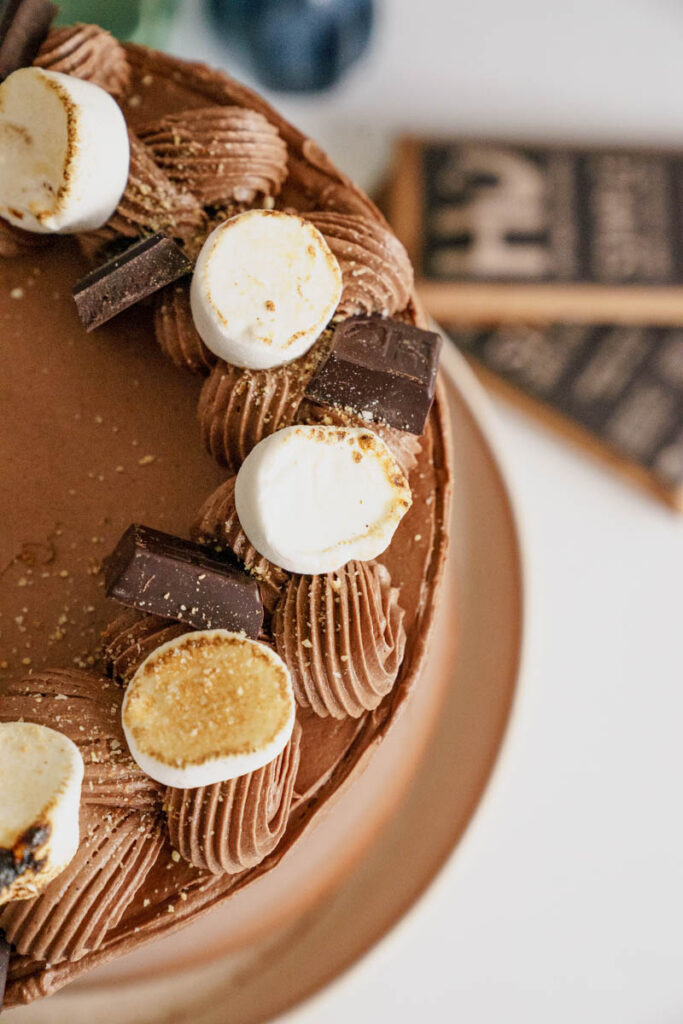
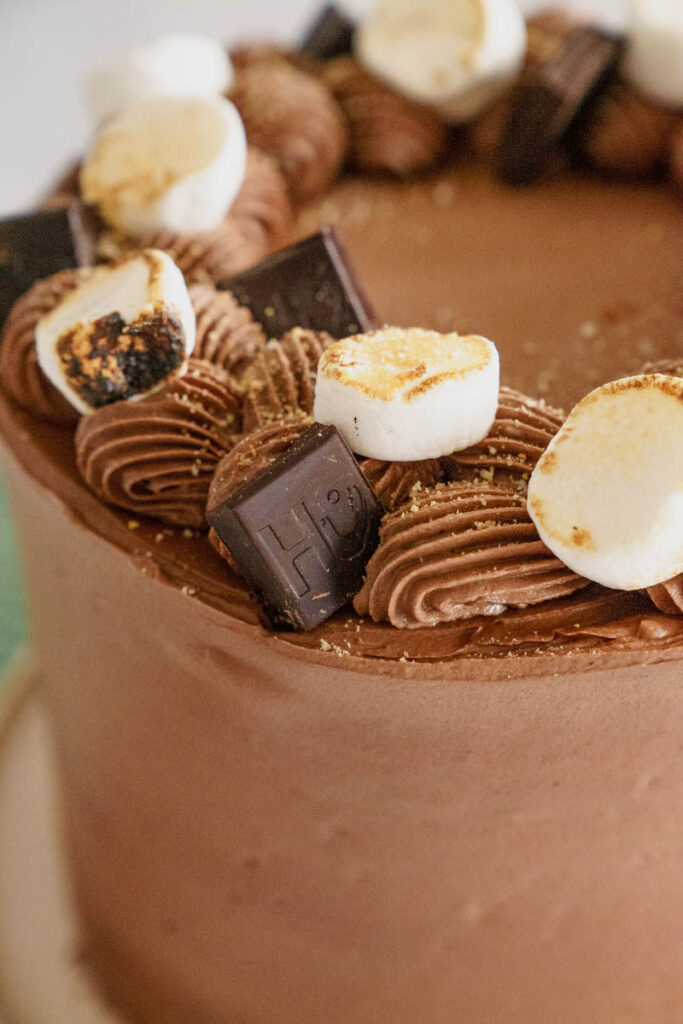
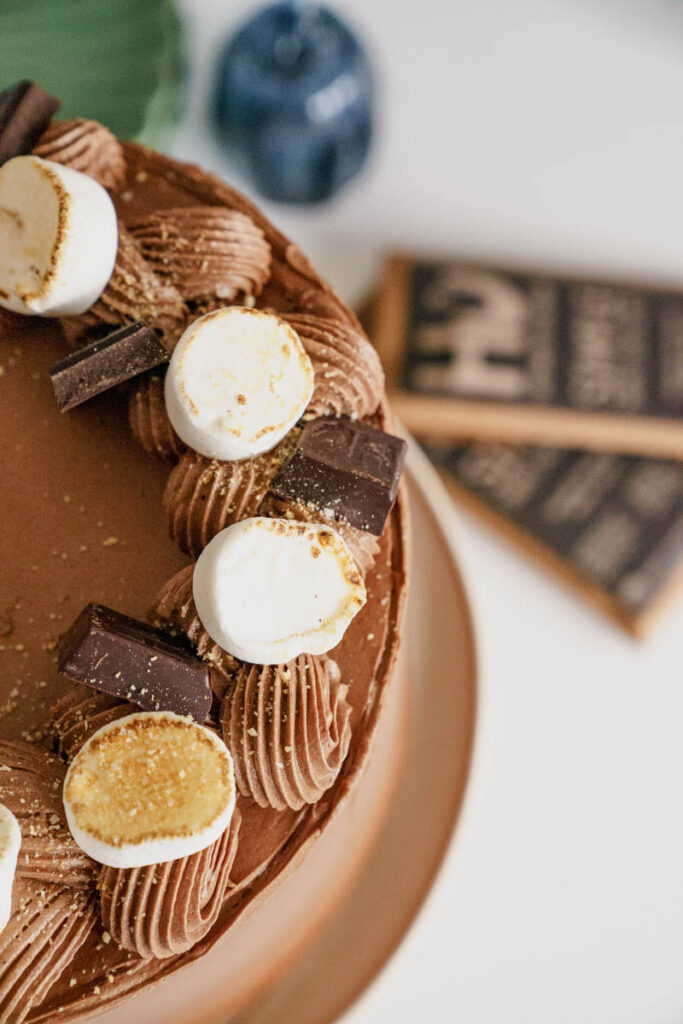
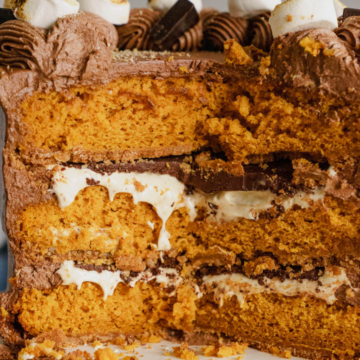
Pumpkin S’more Cake: A graham cracker crust, spiced pumpkin cake, toasted marshmallow filling, chocolate ganache, and a chocolate buttercream.
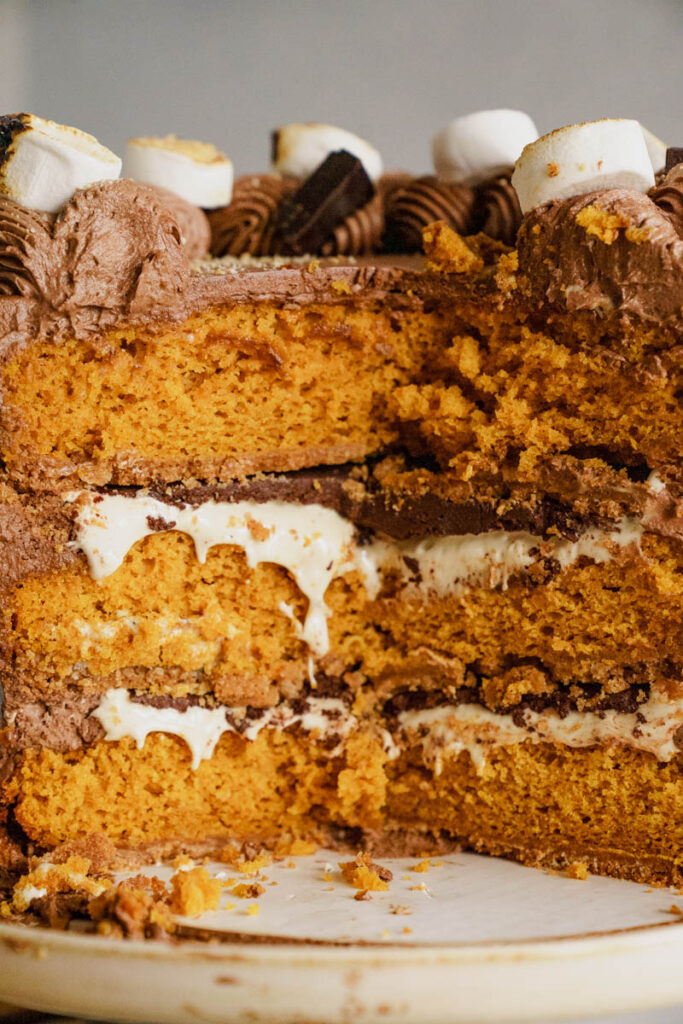
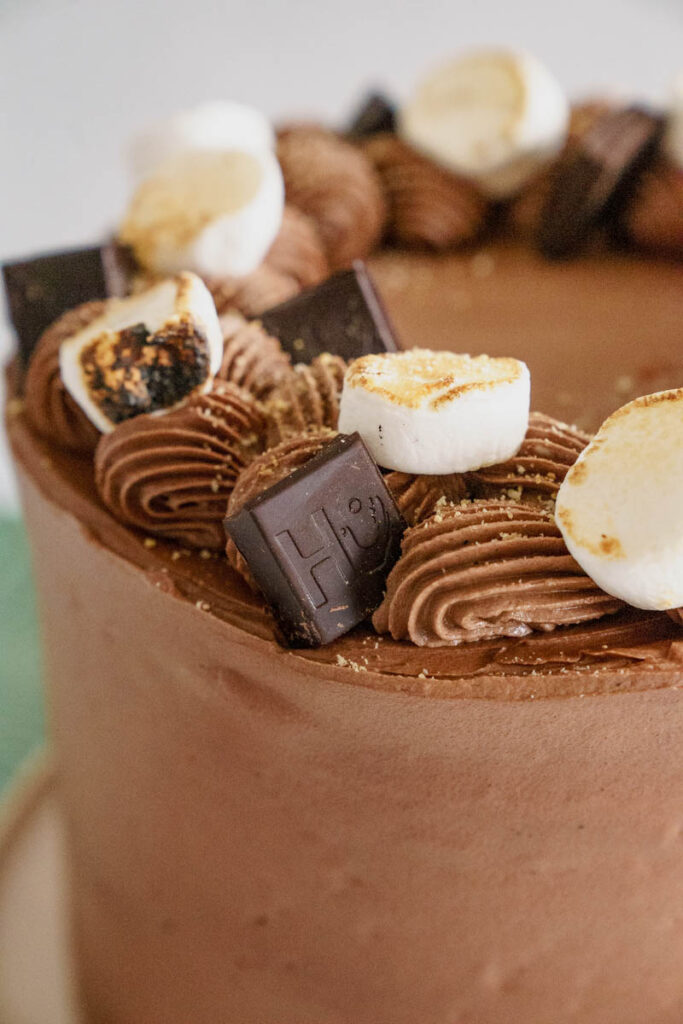
This Pumpkin S’mores cake has been on my radar for a while! It’s 80 degrees here in chicago for the week, so I thought we could hold onto summer just a little longer, while also having the fall flavor come into play as well! This cake has a buttery graham cracker crust, pumpkin spice layers, toasted marshmallow, a DARK chocolate ganache, and a dark chocolate buttercream. While there are a lot of elements to this cake, it is worth EVERY bite!
For more pumpkin recipes:
Why you should make this pumpkin s’mores cake
- Layered Cake: this can be made into 3 8 inch, 9×13 or half the recipe and bake in a 9×9!
- Pumpkin Flavor: Pumpkin and s’mores just GO together. This flavor can’t be beat!
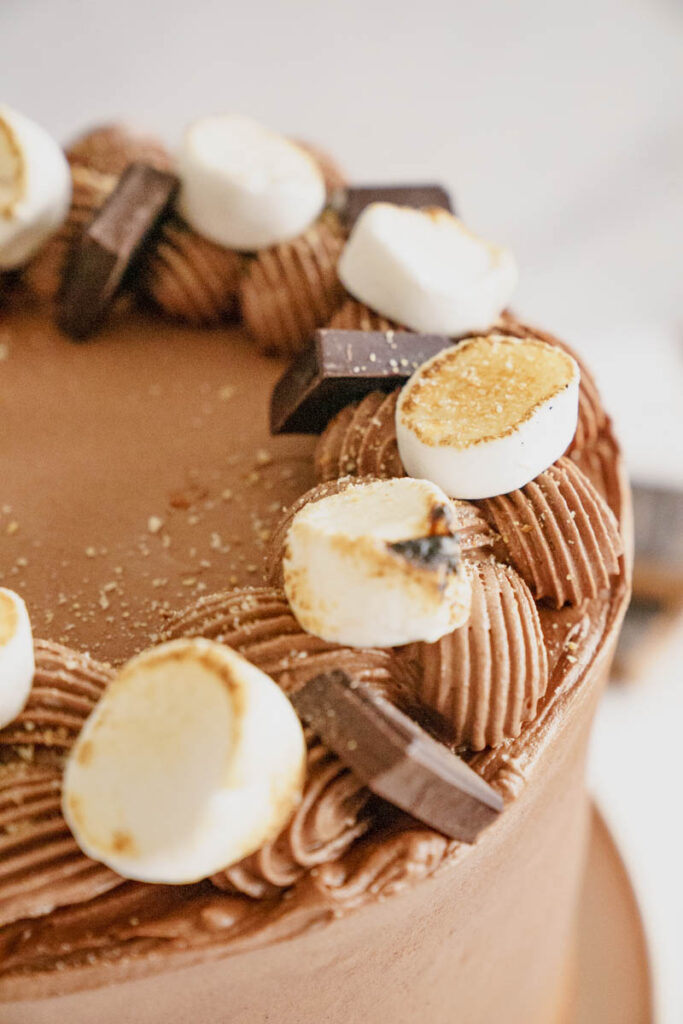
- Toasted Marshmallow: This recipe uses toasted marshmallow that you toast the marshmallows yourself! That nutty burnt flavor is what makes it taste just like a s’more.
- Can Be Made Over Multiple Days: I highly suggest making this recipe over 1-2 days. Make all the components one day and then assembly the next!
- Best Dark Chocolate: I have cracked the code for the best chocolate, and my favorite brand. WHICH is Hu chocolate brand. Hands down the best chocolate I have ever used in baking!
Grocery store check list
I have provided som key ingredients for Pumpkin S’more Cake that you might not have on hand. For a full list of ingredients, check out the recipe card below!
- Graham Cracker Crumbs: For the graham cracker crust, you’ll need finely ground graham crackers. You can also use store-bought graham cracker crumbs.
- Pumpkin Puree: Make sure you have pure pumpkin puree (not pumpkin pie filling) for that rich pumpkin flavor.
- Marshmallow Fluff: This is essential for the toasted marshmallow filling, so check if you have it or need to buy it.
- Dark Chocolate Chips or Wafers: My favorite brand of time is Hu baking chips!
- Heavy Whipping Cream: This is used for making the ganache, so make sure you have it in your fridge.
- Pumpkin Pie Spice: If you don’t commonly use this spice blend, ensure you have it in your spice collection.
- Cardamom: This is used in the cake layers, so check if you have it or need to purchase some.
- Ground Ginger and Nutmeg: Both are used for flavoring the cake layers, so verify if you have them on hand.
Expert Baking Tips – Pumpkin S’more Cake
I have given you some tips on how to successfully make this Pumpkin S’more Cake! For the full instructions, check out the recipe card below!
Read the Recipe Thoroughly: Before you begin, read through the entire recipe to familiarize yourself with the steps and ensure you have all the necessary ingredients and equipment.
Use High-Quality Chocolate: For the ganache, use the best quality dark chocolate you can find. It will make a noticeable difference in flavor and texture. I used Hu Baking chips Use code: cakebabe20 for 20% off your purchase!
Room Temperature Ingredients: Make sure that ingredients like eggs and butter are at room temperature before using them. This helps with better mixing and texture.
Even Cake Layers: When dividing the cake batter among the pans, use a kitchen scale to ensure you have even amounts in each pan. This helps the layers bake evenly.
Proper Mixing: Don’t overmix the cake batter. Mix until just combined to avoid a dry cake
Proper Layer Cooling: Allow the cake layers to cool in the pans for 20 minutes before transferring them to a wire rack. This helps them set and prevents them from breaking.
Chill the Cake Layers: Chilling the cake layers overnight or for several hours in the fridge improves the texture and makes them easier to work with when assembling.
Even Filling and Frosting: When assembling the layers and applying fillings and frosting, use an offset spatula or a cake scraper to ensure even distribution and a smooth finish. It’s good to get eye level to make sure it is even!
Crumb Coat: Apply a thin layer of frosting (crumb coat) before the final layer to seal in any cake crumbs. This will give your cake a polished appearance.
Tips for the buttercream
- Sift Sugar: Sift powdered sugar to remove lumps for a smoother texture.
- Gradual Sugar Addition: Add powdered sugar slowly to avoid mess and ensure even mixing.
- Use Pure Vanilla: Opt for pure vanilla extract for the best flavor.
- Beat the butter: Beat buttercream for light, fluffy results.
- Scrape Bowl: Scrape down the bowl to blend everything evenly.
- Room Temp Ganache: Add room temp ganache to prevent issues.
What’s in Molly’s kitchen?
- Electric Stand Mixer: For mixing cake batter, fillings, and buttercream.
- Cake Pans (Three 8-inch round pans): To bake the cake layers evenly.
- Parchment Paper: sheet pan size and here is the cake pan size
- Offset Spatula: Essential for spreading fillings and frosting evenly.
- Kitchen Torch: If you don’t have one, here is one that I love and recommend
- Microwave-Safe Bowls: For melting chocolate and heating cream.
- Cake Board: For assembling the cake and serving.
- Measuring Cups and Spoons: For precise ingredient measurements.
Frequently asked questions
Here are some questions that I have been asked regarding this recipe!
Can I Bake This in a Sheet Pan?
Yes! You can, you need to add 10 more minutes, and half the chocolate buttercream!
Can I Substitute Pumpkin Pie Filling for Pumpkin Puree?
No, pumpkin puree provides a more concentrated pumpkin flavor without added sugars and spices.
Can I Make the Cake Layers in Advance?
Yes, you can make the cake layers in advance and store them wrapped in plastic wrap in the refrigerator overnight or in the freezer for longer storage.

Storing and freezing – Pumpkin S’more Cake
To store the Pumpkin S’more Cake, wrap it tightly in plastic wrap or place it in an airtight container to prevent drying. Keep it in the refrigerator for up to 5 days or in the freezer for longer storage, where it can be stored for up to 6 months. When ready to serve, allow it to come to room temperature for the best flavor and texture.
Freezing – Pumpkin S’more Cake
To freeze the Pumpkin S’more Cake, first ensure it’s completely cooled and assembled. Wrap it tightly in plastic wrap to prevent freezer burn and place it in an airtight container for added protection. Store it in the freezer for up to 6 months, and when ready to enjoy, allow it to thaw in the refrigerator before bringing it to room temperature for serving.

Remember LEAVE A 5 STAR EVIEW AND A COMMENT if you love the recipe or any questions. Follow me on Instagram, Pinterest, and TikTok. I post so many fun things on all platforms!
For more pumpkin related recipes:
- The Best Pumpkin Marshmallow Blondies
- The Best Pumpkin Snickerdoodle Blondies
- The Most Splendid Caramel Pumpkin Sheet Cake
Recipe
Pumpkin S’more Cake:
Ingredients
For the Graham cracker crust
- 2 cups finely ground graham crackers about 18 full rectangular crackers pulverized I used Keebler’s graham cracker crumbs
- ½ cup unsalted butter melted
- ⅓ cup granulated sugar
For the cake layers
- 1 ¼ cups granulated sugar
- 1 cup light brown sugar packed
- 5 large eggs room temperature
- 1 cup vegetable oil
- 2 teaspoons pure vanilla
- 2 cups pumpkin purée not pumpkin pie filling
- 3 cups all-purpose flour
- 2 Tablespoons baking powder
- ½ teaspoon pumpkin pie spice
- ¼ teaspoon cardamon
- 3 teaspoons ground cinnamon
- 1 ½ teaspoons ground ginger
- 1 teaspoon nutmeg
- 1 teaspoon salt
For the marshmallow filling
- 20 large white marshmallows
- 1 cup powdered sugar
- ¾ cup unsalted butter at room temperature
- 1 jar marshmallow fluff 7 ounce bottle
- ¾ teaspoon vanilla extract’
For the ganache filling
- 1 ½ cups dark chocolate chips or wafers
- ¾ cup heavy whipping cream
For the chocolate buttercream
- 2 cups unsalted butter
- 5 cups powdered sugar measured and sifted
- 1 teaspoon pure vanilla extract
- half of the ganache made from above
- ¼ teaspoon salt
Instructions
For the Graham cracker crust
- Preheat your oven to 350 degrees. Spray three 8-inch round cake pans with non-stick cooking spray and then line with parchment paper. Spray again. Set aside.
- In a medium-sized bowl, combine the graham cracker crumbs, melted butter, and sugar. With a rubber spatula, mix until all the graham cracker crumbs are combined with the melted butter. You should be able to squeeze the mixture and have it stick together.
- Divide the mixture evenly between the three pans and press down firmly with your hand or the back of a spoon (about ¾ cup in each pan).
- Bake for 10 minutes. Let cool while you make the cake layers.
For the Pumpkin Cake Layers
- Lower your oven to 325 degrees F. In a medium sized bowl, whisk the flour, baking powder, ground cardamon, ground cinnamon, ground nutmeg and salt until combined. Set aside.
- In an electric stand mixer bowl fitted with the paddle attachment, cream the sugars and eggs on medium speed until they are light and fluffy. About 5 minutes.
- Add the oil and vanilla and beat on medium speed until fully incorporated, about 30 seconds. Add the pumpkin puree and mix on low speed until combined, about another 30 seconds.
- With the mixer on the lowest speed, gradually add the dry ingredients to the pumpkin/egg mixture.
- Evenly distribute the pumpkin batter to the baked graham cracker crust. With the back of a spoon, even out the batter to ensure it’s flat for baking (20 ounces in 8 inch cake pans)
- Bake until a toothpick inserted into the center comes out with little to no crumbs on it, about 35-38 minutes. Mine took about 37 minutes.
- After they are done baking, let the cakes cool for 20 minutes in the cake pans and then transfer them to a wire rack to finish cooling.
- Once they are room temperature, wrap them in plastic wrap and chill them over night, or put them in the fridge. (They only last 5 days wrapped up in the fridge and up to 6 months in the freezer).
For the ganache filling
- In a microwave safe bowl, heat the chocolate for 30 seconds, stir, heat for 30 more seconds, and set aside. The chocolate will not be melted all the way, but this will help it melt better when you add the cream.
- In another microwave proof bowl, heat the cream until nearly boiling. Make sure it doesn’t boil over. Pour the hot cream over the slightly warm chocolate and let it sit for 2 minutes, and then stir. Set aside. If there are still chunks, heat for 15 seconds and stir again. Set aside to let it completely cool before using. You want this to be room temperature.
- You will use half for the filling and half for the chocolate buttercream.
For the toasted marshmallow filling
- Place the marshmallows on a lined cookie sheet. DO NOT LINE WITH PARCHMENT PAPER. My oven doesn’t have a broil options, so I used a torch. If you don’t have a torch, directions for oven toasting are on the next step. Line the marshmallows in 5 rows, 4 in each row. With a kitchen torch, torch one side until golden brown, or darker. (I went dark to really give it that toasted flavor) Turn the marshmallows and repeat.
- For the oven directions. Place on the middle rack of the oven, and line a sheet pan and lightly spray with cooking spray, broil the marshmallows until golden brown on top, about 30-60 seconds. It can happen fast, so please keep an eye on them. Remove the pan from the oven and gently turn the marshmallows over and broil them again until they are golden brown on the other side.
- In the bowl of a stand mixer fitted with the paddle attachment, beat the butter, marshmallow fluff, and powdered sugar on low until combined. Add the vanilla and mix on medium-high speed for about 2 minutes.
- Scrape down the bowl, add the toasted marshmallows, and beat on medium speed for 2 more minutes.
For the chocolate buttercream
- In the bowl of a stand mixer fitted with the paddle attachment, beat the butter for about 2 minutes on medium-high speed.
- Add the whole half of the chocolate ganache mixture. Scrape down the sides and bottom of the bowl with a rubber spatula and beat for 1 more minute.
- Add the powdered sugar, vanilla, and salt. Mix on low until combined, then turn the mixer to a medium high speed, and beat for 3 minutes.
Assembly
- Place the first cake layer on a cake board, with the graham cracker layer on the bottom. Pipe a rim of chocolate buttercream around the edge of the cake.
- Spread half of the marshmallow filling and with the back of the spoon, evenly spread to the rimmed buttercream.
- Add ⅓ cup of ganache and spread on top of the marshmallow filling. Chill in the freezer for 10 minutes.
- Repeat with the second layer of cake.
- Place your final cake layer, with the graham cracker layer on the bottom, on top of the second layer of filling.
- Apply a thin layer of the chocolate buttercream around the entire cake and freeze the cake for 10 to 15 minutes.
- Once the crumb coat is set, finish frosting and decorating the cake with the remaining chocolate buttercream. Add the drip. Serve at room temperature.

Alicia says
I made a gluten free version of this cake, and it’s sooooo yummy!
Molly Murphy says
Oh my gosh! Amazing! What kind of gluten free flour did you use??