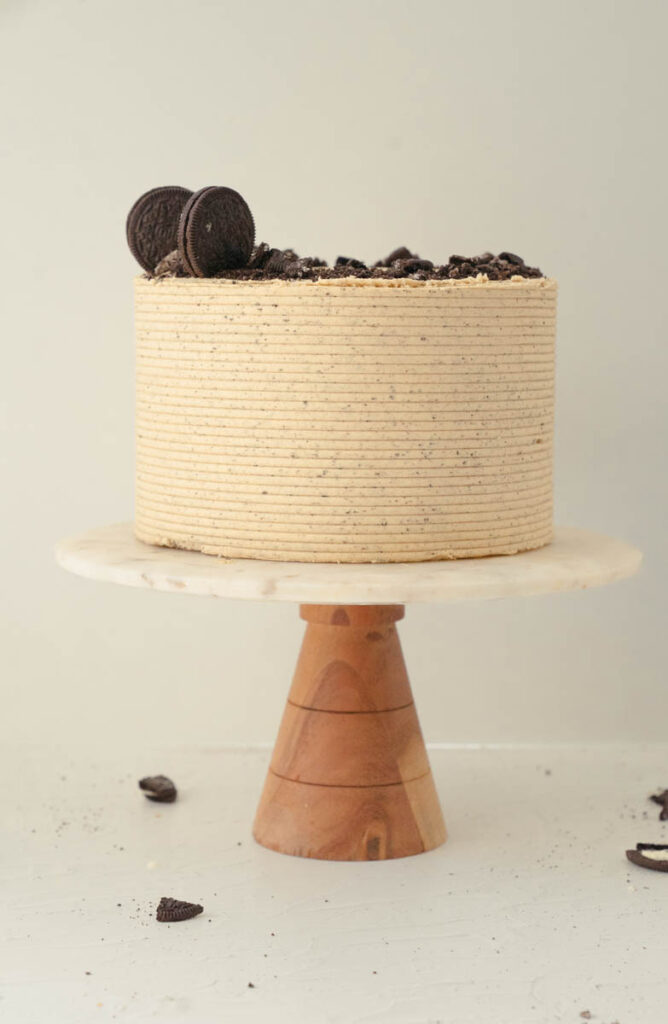
Oreo Peanut Butter Cake – This cake is the ultimate combination between a decadent chocolate and a creamy smooth peanut butter after taste.
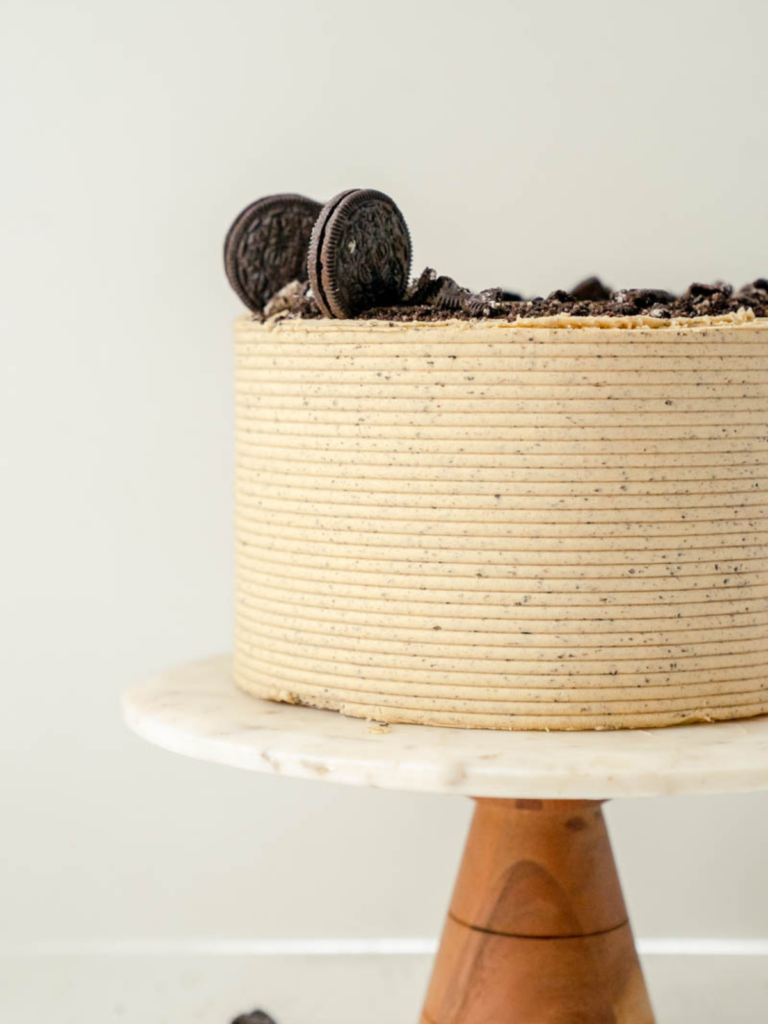
We are in this weird limbo part of the year, where I don’t know what desserts to make because valentines day is over, and I am so not ready for st Patrick day quite yet! So I thought this Oreo Peanut Butter Cake would be a perfect fit for a limbo stage. I am making play off of my latest creation, Peanut Butter Oreo Bars, which is the same thing but in a cookie bar form.
In addition, here are some other recipes you should try next;
The Best Blueberry Buckle Cake
Best Gooey Butter Cake Without Cake Mix
The Best Ever Chocolate Salted Caramel Cake
Jump to:
Why this recipe works
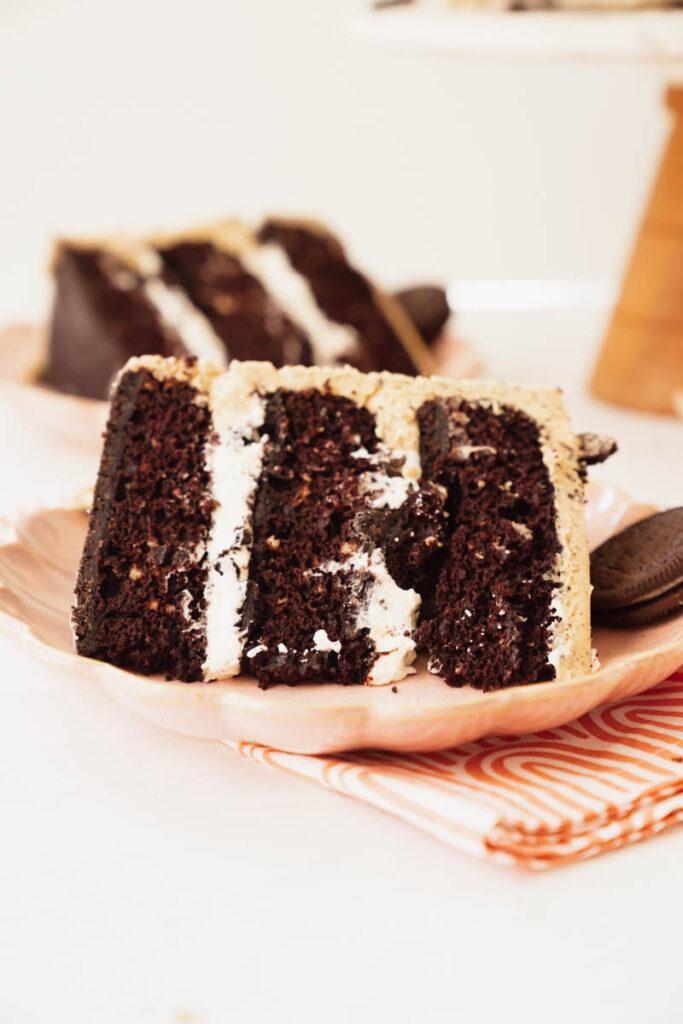
- Dark Chocolate Cake- Did you know that Oreo uses dark cocoa powder for their cookies? I decided to do the exact same thing for this cake.
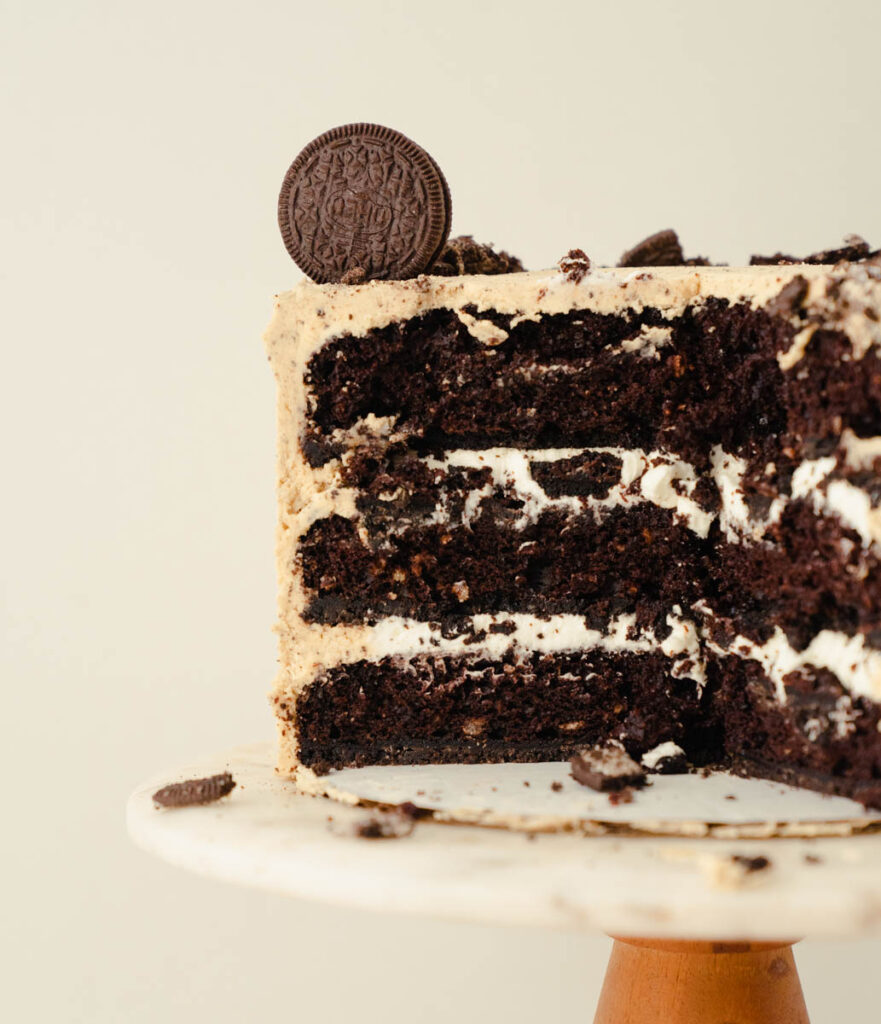
- Cream Cheese Filling- Whipping cream and cream cheese are two friends that are just meant to be together.
- Oreo Cookie Crust- Just like an Oreo, this crust has a great cookie crunch to it.
- Peanut Butter Oreo Frosting- I don’t like to pick favorites, but this one might be my favorite element of this cake. Who can resist a creamy butter flavor with a cookie crunch buttercream?
Grocery List
To make it easy for you, I have listed a few key ingredients that you will need that might not have stocked up in your pantry, to find the full list of ingredients, you can refer to the recipe card at the bottom of the recipe.
- Oreos- I feel like this one is pretty obvious. I bought the largest size they had to offer. I think it was called the party pack.
- Unsalted butter- You will need this for both the crust and for the buttercream.
- Eggs- I used large eggs, but you can use extra large as well.
- Cream cheese- You will need a block of cream cheese and you will use ¾ of it. Make sure it’s softened.
- Buttermilk- I like to use full fat buttermilk, but whatever you can find at the store will be fine.
- Oil- I use vegetable oil, but you can also use canola.
- Dark cocoa powder- I use a dark cocoa powder from amazon. You can find the one I use here.
- Fresh leavening agents- Make sure that your baking soda and baking powder are fresh. I change mine out every 6 months!
- Heavy whipping cream- I like to use heavy whipping cream. I like a full fat whipping cream.
Step By Step – Cake Layers
Here is how to make the Chocolate Cake Layer’s. This recipe needs an electric hand mixer. You can use either a stand mixer with a paddle attachment, or a hand mixer. I used a hand mixer. Here are the bowls I used.
Step 1: Whisk the dry ingredients. Mix the flour, sugar, cocoa powder, baking soda, baking powder, and salt. I used the paddle attached on my kitchen aid.
Step 2: Whisk the wet ingredients. In a small bowl, whisk the eggs, buttermilk, hot water, vanilla extract, and vegetable oil until evenly combined.
Step 3: Combine the dry and liquid. With the mixer on the lowest speed, pour the liquid ingredients into the dry ingredients and mix just until combined. There should be no flour streaks.
Step 4: Add the batter to the pam. Divide the batter evenly between the prepped Oreo crust pans (about 15 ounces in each 8 inch pan) and bake for 30-33 minutes. After they are done baking, let them cool for 15 minutes in the cake pans and then transfer them to a cooling rack and let them finishing cooling there.
Step 5: Level and store the cakes. After the cakes have come to room temperature, level the tops of the cakes, if needed, and then wrap them in plastic wrap and freeze them in preparation for frosting the cake.
Step By Step – Filling
Step 1: Cream the cream cheese. In a medium sized bowl, combine the softened cream cheese, powdered sugar, vanilla, and salt. With a hand mixer, start on the lowest speed and mix until it’s all combined. Then turn up the speed and mix until it’s creamy and smooth.
Step 2: Whip the cream. In the bowl of a stand mixer fitted with the whisk attachment, whisk the heavy whipping cream on high for about 3 to 5 minutes. You want it to be at stiff peak stage.
Step 3: Fold the two. With a rubber spatula, fold in half of the whipped cream until no streaks of whipping cream remain. Repeat with the remaining whipped cream.
Step 4: Repeat. When you are done, place in the fridge until you are ready to assemble your cake. It can stay in the fridge, covered, for up 4 hours.
Step But Step- Peanut Butter Buttercream
Step 1: Cream the butter. In the bowl of electric mixer fitted with the paddle attachment, combine the butter and peanut butter. Beat on medium-high speed until smooth, about 2 minutes.
Step 2: Slowly add the powder sugar. With the mixer on the lowest speed, add the powdered sugar, vanilla, salt, and cream to the bowl. Once mixed, beat on high for 3 minutes, scrape down the bowl and beat for 1 more minute. It should look light and fluffy.
Step 3: Beat the air pockets out.Use a wooden spoon to mix frosting one last time to get rid of air bubbles.
Frequently Asked Question’s
Can I turn this into a sheet cake?
Yes, you can leave out the cream cheese filling, and just make the Peanut Butter Buttercream, top with pulverized oreo crumbs!
Can I turn these into cupcakes?
Yes! You can still make the crust, and only bake for 5 minutes, and cut out the center to add the cream cheese filling.
Can I use peanut butter oreo instead of regular?
Yes!
Tips for assembly
For assembly, I use a turn table, offer spatula, cake board, and a cake comb.
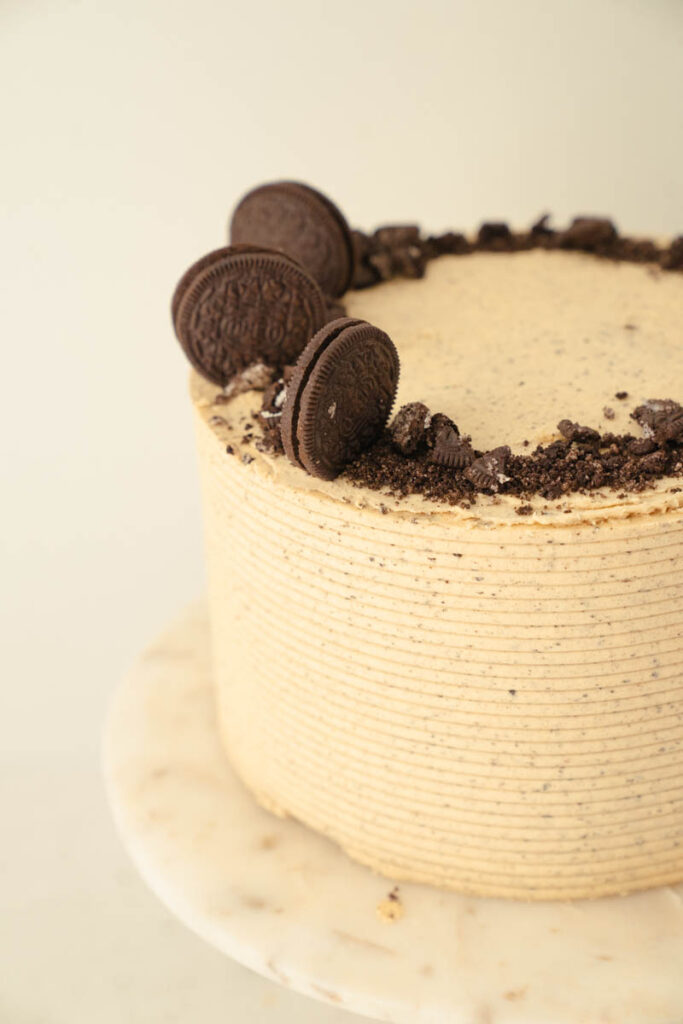
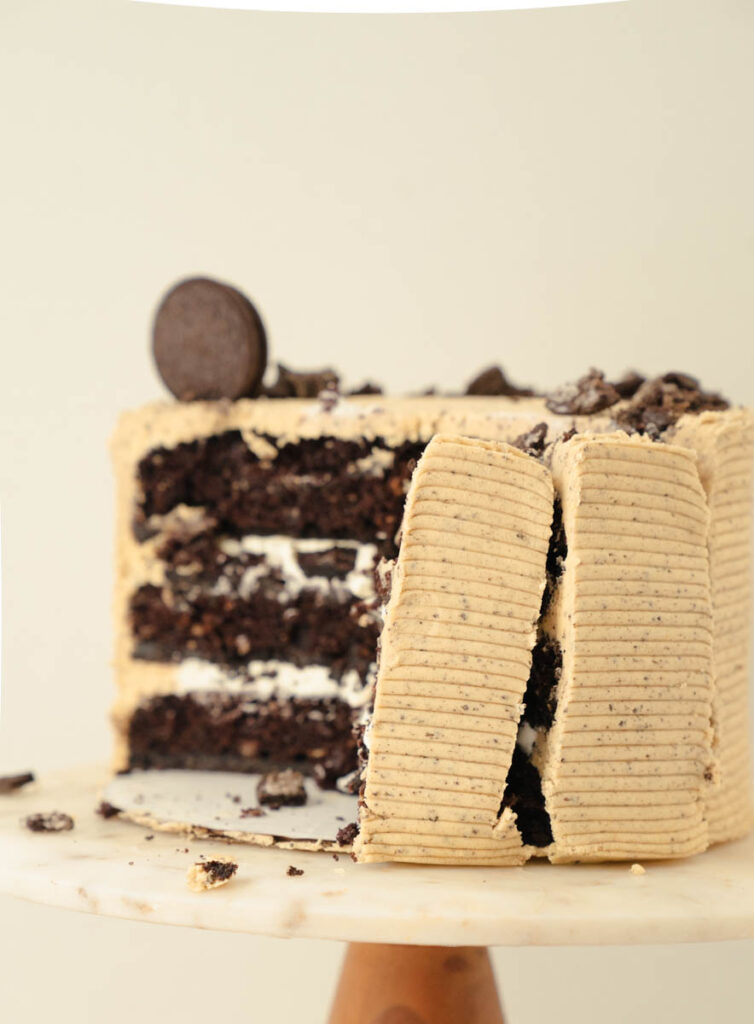
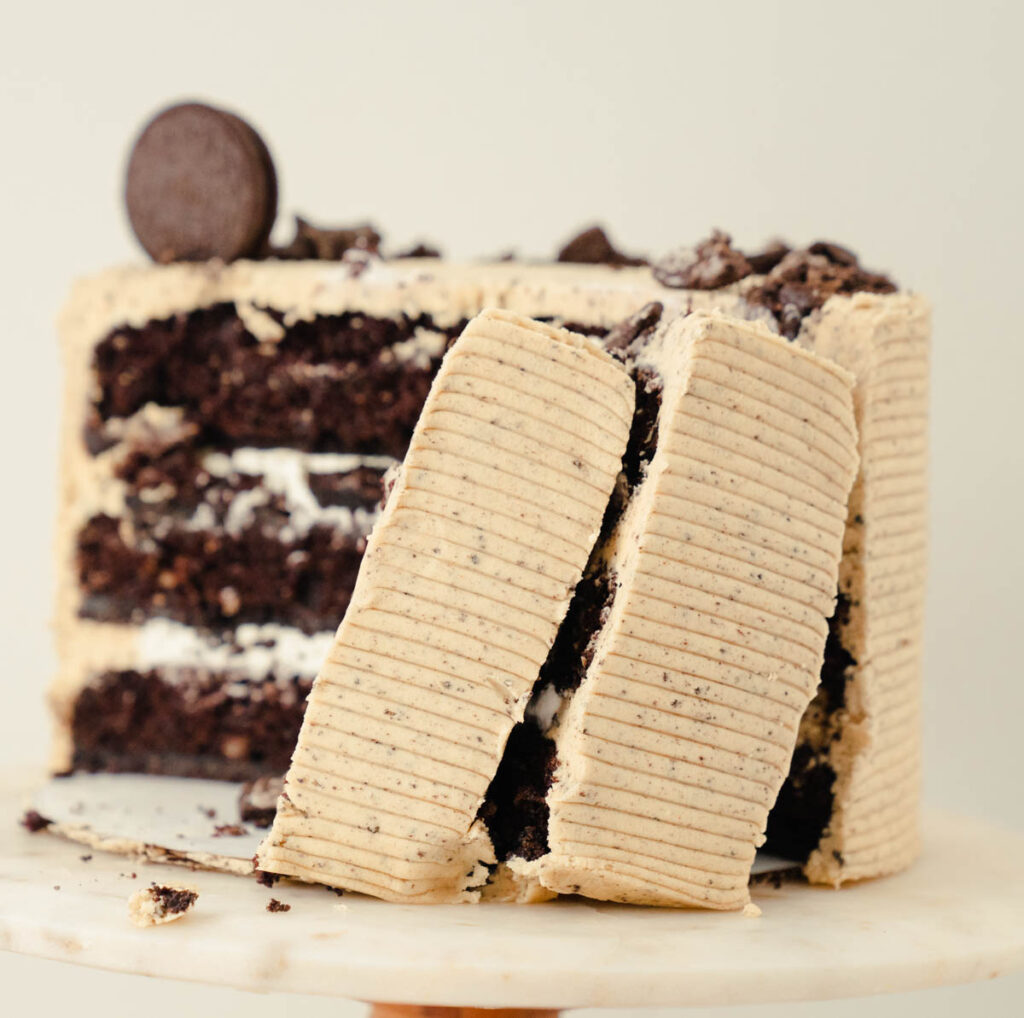
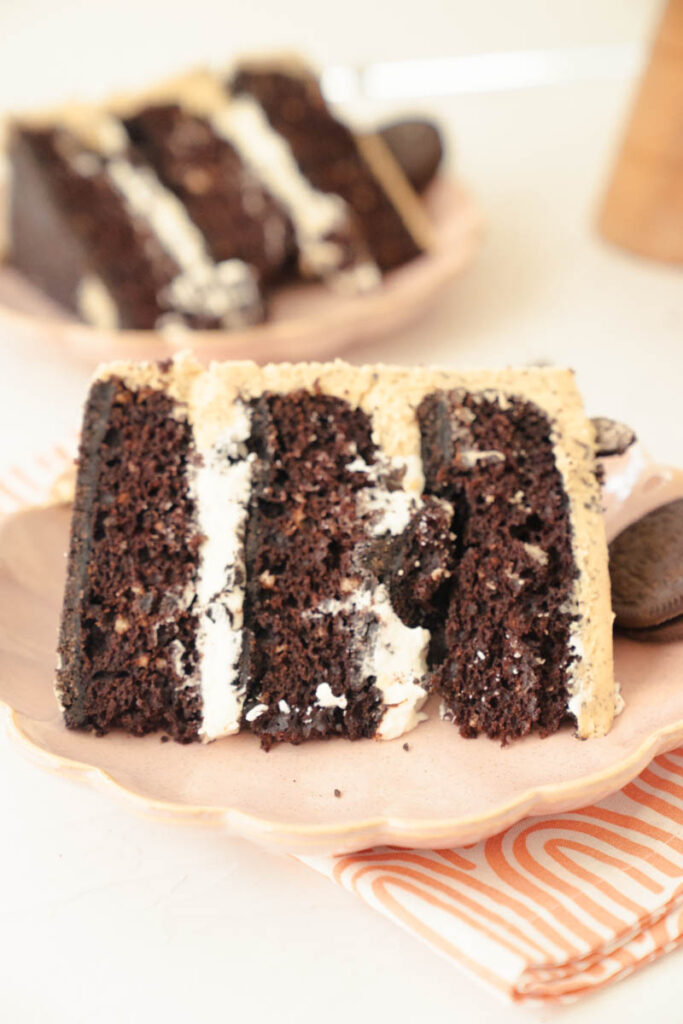
- Place the first cake layer top side up on the cake board. Pipe a rim of peanut butter Oreo buttercream around the edge of the cake. Fill the center of the cake with the cream cheese filling, making sure not to over fill, I used a little under 1 cup.
- Place the second cake layer, crust side down, on top of the buttercream and filling. Repeat piping and filling.
- Place final cake layer, crust side down, on the filling.
- Apple a thin layer of the Oreo buttercream, also known as the crumb coat, and freeze for about 10 to 15 minutes to set this layer of frosting.
- Once the crumb coat is set, continue to frost the cake with the remaining frosting.
Storing
How to store this Oreo Peanut Butter Cake
If I am dividing my cake making into multiple days, I bake my cake layers, cool them, and wrap them with plastic wrap and store them in the fridge or freezer. This help reduce crumbs and makes it so the layers don’t slide around when decorating. They can be stored in the fridge for 3-5 days.
Freezing
Freeze individual cake slices in plastic wrap and freeze for up to 1 month.
Here are some other cake recipes you are going to love:
How to serve: Once the cake is stacked and fill you can cut the cake into 8-12 pieces. I like to serve the cake at room temperature, and my husband likes to serve it in a bowl with milk poured over it.
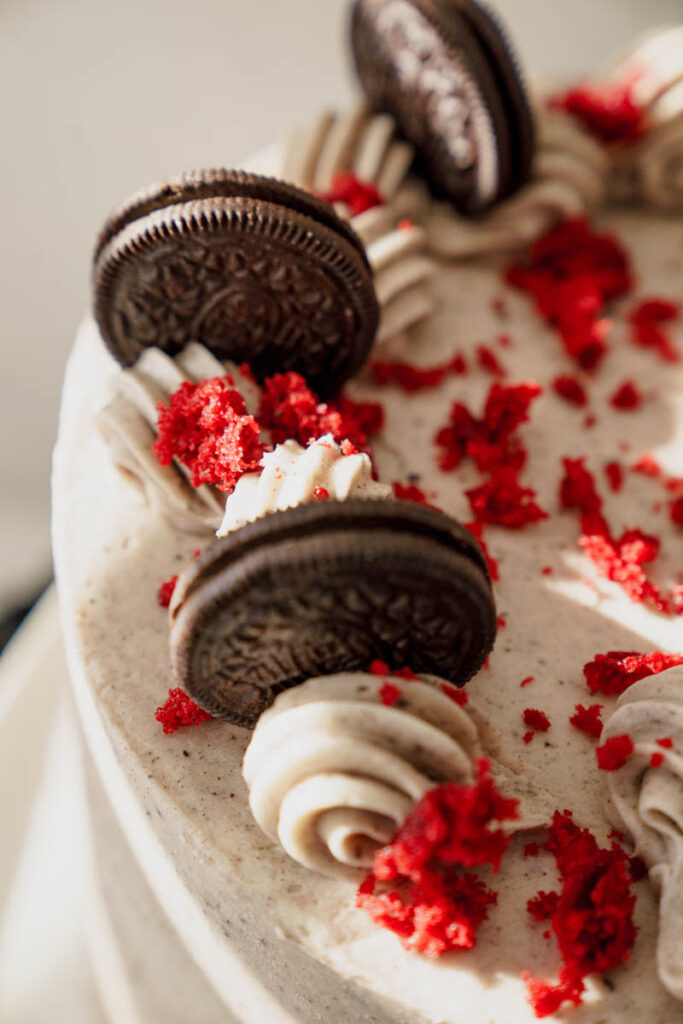
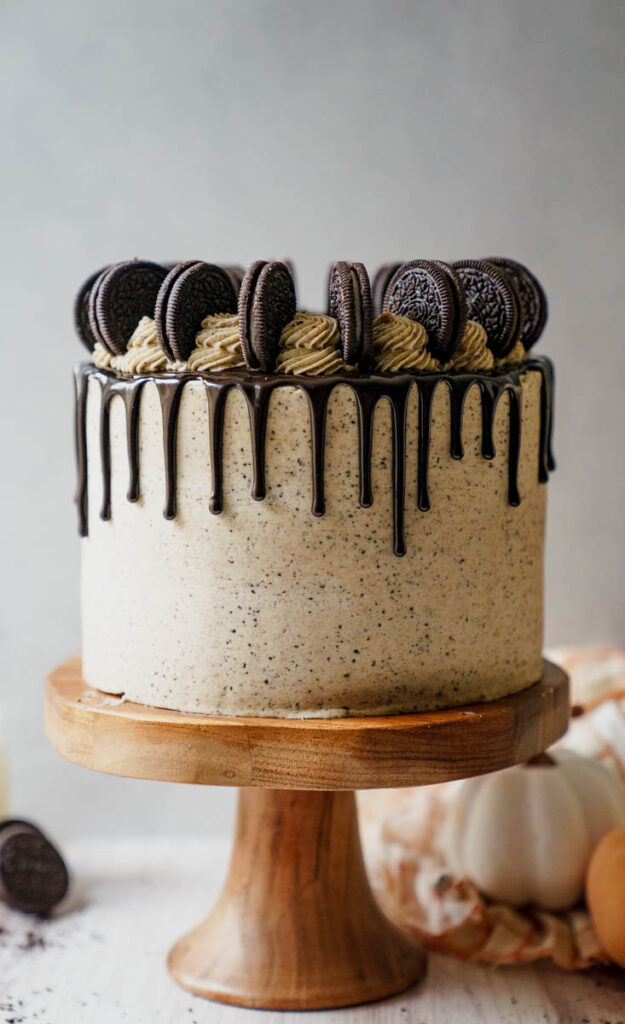
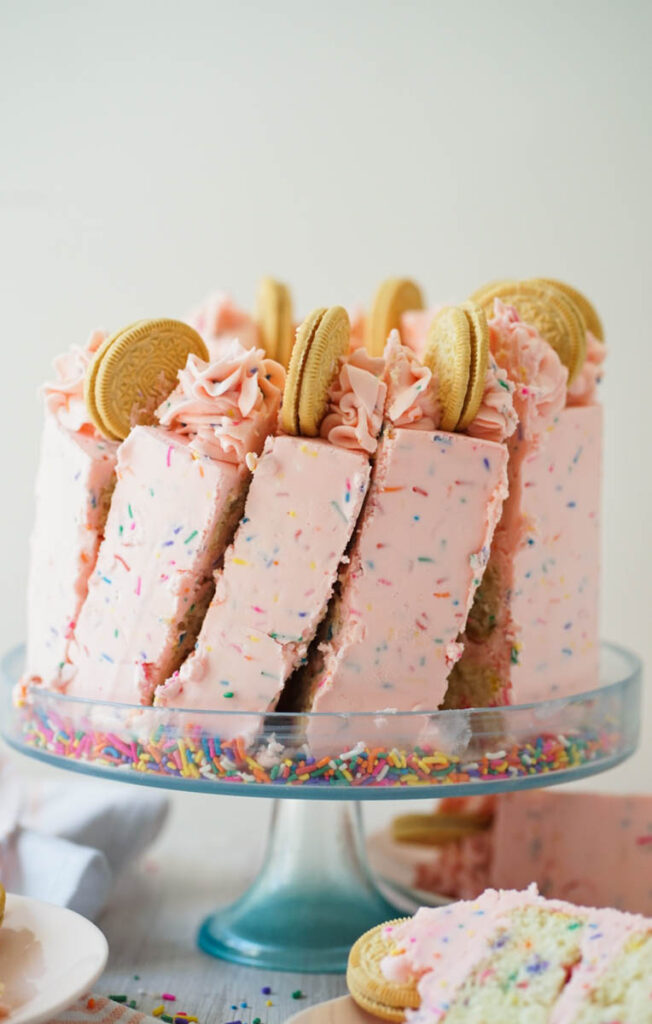
Remember LEAVE A STAR AND A COMMENT REVIEW if you love the recipe or any questions. Follow me on Instagram, Pinterest, and TikTok. I post so many fun things on all platforms!
Recipe
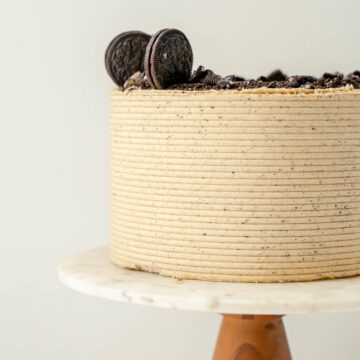
Peanut Butter Oreo Cake
Ingredients
FOR THE CRUST
- 2½ cups finely ground Oreo Cookies about 30 cookies
- 2 Tablespoons granulated sugar
- ½ cup unsalted butter melted
FOR THE CAKE
- 3 eggs room temperature
- 1 cup buttermilk room temperature
- 1 cup hot water
- ½ cup vegetable oil
- 2 cups all-purpose flour spooned and leveled.
- 1 ¾ cups granulated sugar
- ¾ cup dark cocoa powder
- 2 teaspoons baking soda
- 2 teaspoon baking powder
- 1 teaspoon salt
- 1 Tablespoon pure vanilla extract
FOR THE CREAM CHEESE FILLING
- 6 ounces cream cheese completely softened
- 1 cup heavy whipping cream
- ¾ cups granulated sugar
- 1 teaspoon pure vanilla extract
- Pinch of salt
For the buttercream
- 5 ½ cups powdered sugared, sifted
- 1 ½ cups unsalted butter room temperature
- 1 ¼ cup creamy peanut butter
- 1 Tablespoon pure vanilla extract
- ½ cup heavy whipping cream
- ¼ teaspoon of salt
Instructions
For the Oreo crust
- Preheat your oven to 325 degrees F. Spray three 8-inch or four 6-inch round cake pans with cooking spray and then line with parchment paper. Spray again. Set aside.
- Place the Oreo cookies in a food processor or blender and pulse until the Oreos are finely ground.
- In a medium-sized bowl, combine the Oreo crumbs, sugar and melted butter. Stir until all the Oreo crumbs are moistened by the melted butter. You should be able to scoop it by hand and have it all stick together.
- Divide the mixture evenly between the pans and press down firmly with your hand or the back of a flat measuring cup.
- Bake for 7 minutes. Let cool while you make the cake layers.
For the cake
- Keep your oven at 325 degrees.
- In a stand sized mixer fitted with the paddle attachment, combine the flour, sugar, cocoa powder, baking soda, baking powder, and salt. Mix on low until evenly combined.
- In a small bowl, whisk the eggs, buttermilk, hot water, vanilla extract, and vegetable oil until evenly combined.
- With the mixer on the lowest speed, pour the liquid ingredients into the dry ingredients and mix just until combined. There should be no flour streaks. With a rubber spatula, scrape the bottom of the bowl to make sure the batter is evenly combined.
- Divide the batter evenly between the prepped Oreo crust pans (about 15 ounces in each 8 inch pan) and bake for 30-33 minutes. After they are done baking, let them cool for 15 minutes in the cake pans and then transfer them to a cooling rack and let them finishing cooling there.
- After the cakes have come to room temperature, level the tops of the cakes, if needed, and then wrap them in plastic wrap and freeze them in preparation for frosting the cake.
FOR THE FILLING
- In a medium sized bowl, using a hand mixer, mix the softened cream cheese, scrape down the sides and mix on high for 1 more minute. Add the sugar, vanilla, and salt. Start on the lowest speed and mix until it’s all combined. Then turn up the speed and mix until it’s creamy and smooth. Scraping in between each addition
- In the bowl of a stand mixer fitted with the whisk attachment, whisk the heavy whipping cream on high for about 3 to 5 minutes. You want it to be at stiff peak stage.
- With a rubber spatula, fold in half of the whipped cream until no streaks of whipping cream remain. Repeat with the remaining whipped cream.
- When you are done, place in the fridge until you are ready to assemble your cake. It can stay in the fridge, covered, for up 4 hours.
FOR THE PEANUT BUTTER BUTTERCREAM
- In the bowl of electric mixer fitted with the paddle attachment, combine the butter and peanut butter. Beat on medium-high speed until smooth, about 2 minutes.
- With the mixer on the lowest speed, add the powdered sugar, vanilla, salt, and cream to the bowl. Once mixed, beat on high for 3 minutes, scrape down the bowl and beat for 1 more minute. It should look light and fluffy.
- Use a wooden spoon to mix frosting one last time to get rid of air bubbles.
ASSEMBLY
- Place the first cake layer top side up on the cake board. Pipe a rim of peanut butter Oreo buttercream around the edge of the cake. Fill the center of the cake with the cream cheese filling, making sure not to over fill, I used a little under 1 cup.
- Place the second cake layer, crust side down, on top of the buttercream and filling. Repeat piping and filling.
- Place final cake layer, crust side down, on the filling.
- Apple a thin layer of the Oreo buttercream, also known as the crumb coat, and freeze for about 10 to 15 minutes to set this layer of frosting.
- Once the crumb coat is set, continue to frost the cake with the remaining frosting.

Ella M says
A close family member made this cake for me and I could not stop eating it. It is seriously the best flavor combination. SO GOOD!!
Molly Murphy says
This is so great to hear! I’m glad everyone enjoyed it.