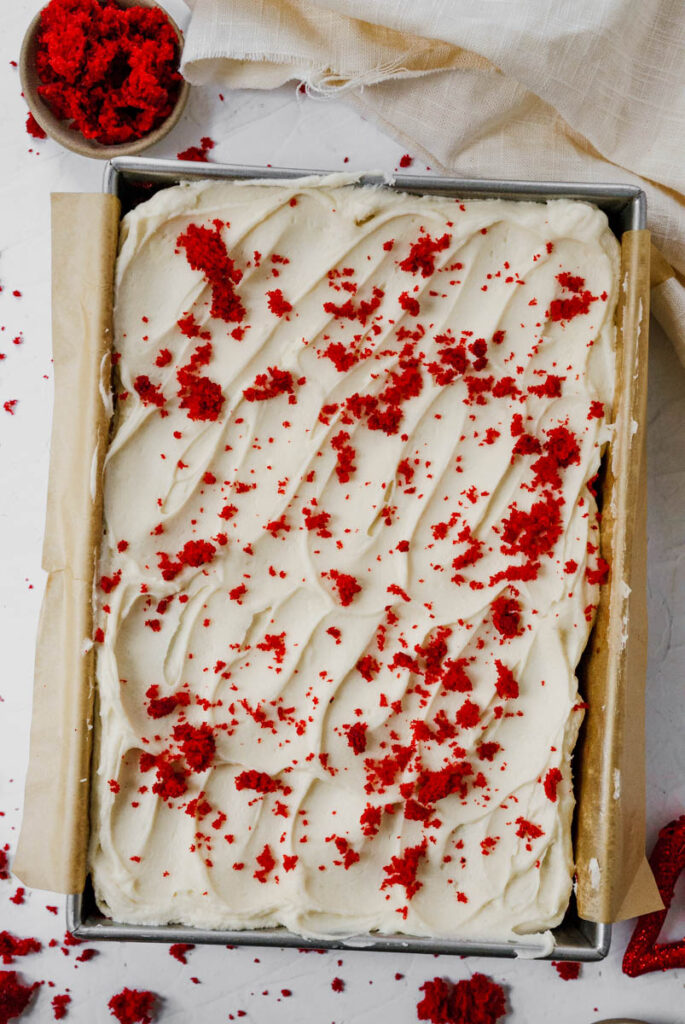
Simple Red Velvet Sheet Cake Recipe Old-fashioned red velvet sheet cake recipe with a classic homemade cream cheese frosting. Made in a 9×13 pan for easy decorating and serving.
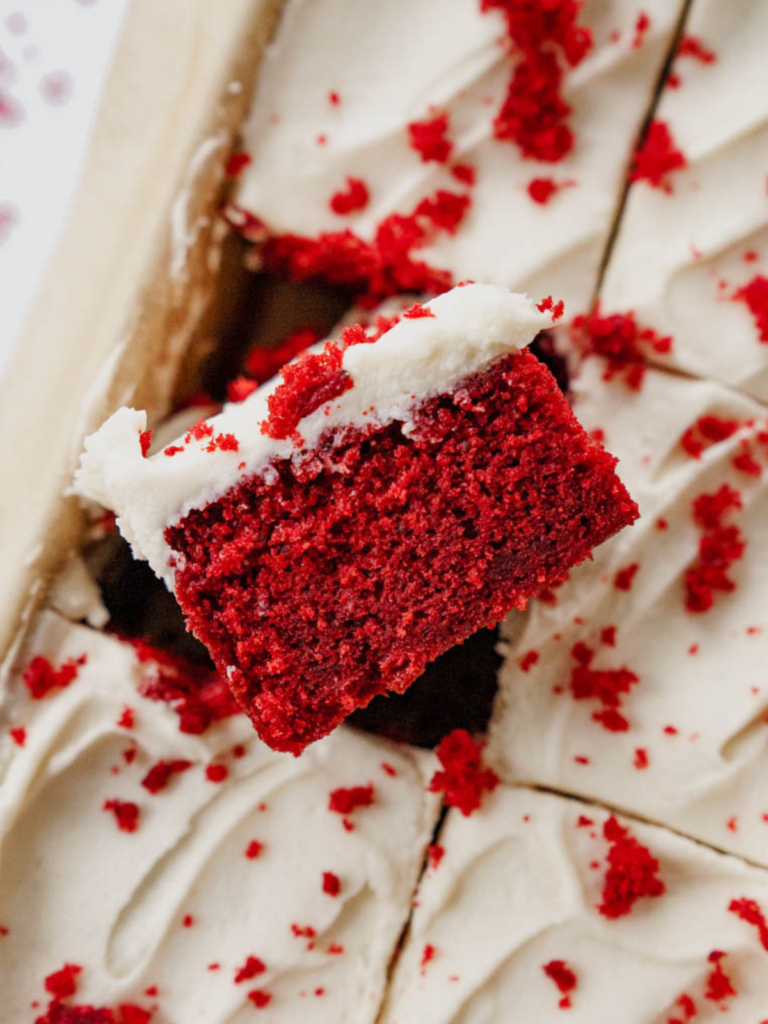
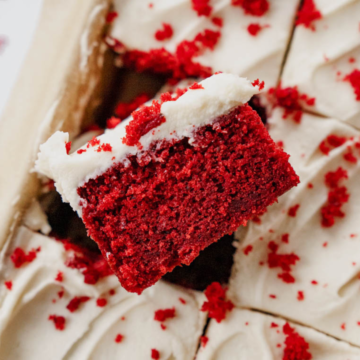
Start Valentine’s Day strong with this gorgeous red velvet sheet cake. This Simple Red Sheet Velvet Cake has been tested over and over again, and let me tell you, I have finally perfected it! This moist red velvet sheet cake has a longer-than-normal list of ingredients, but it is worth it. Did you know that a traditional red velvet cake has vinegar in it? That little vinegar creates a chemical reaction with the baking soda and buttermilk mixture, giving this fluffy cake its velvety texture and mild chocolate flavor.v
For more Valentines recipes here are some you should try!
- Red Velvet Oreo Brownie
- Easy Homemade Valentine Marshmallows
- Strawberry Cheesecake Cake
- Chocolate Dipped Strawberry Cake
Jump to:
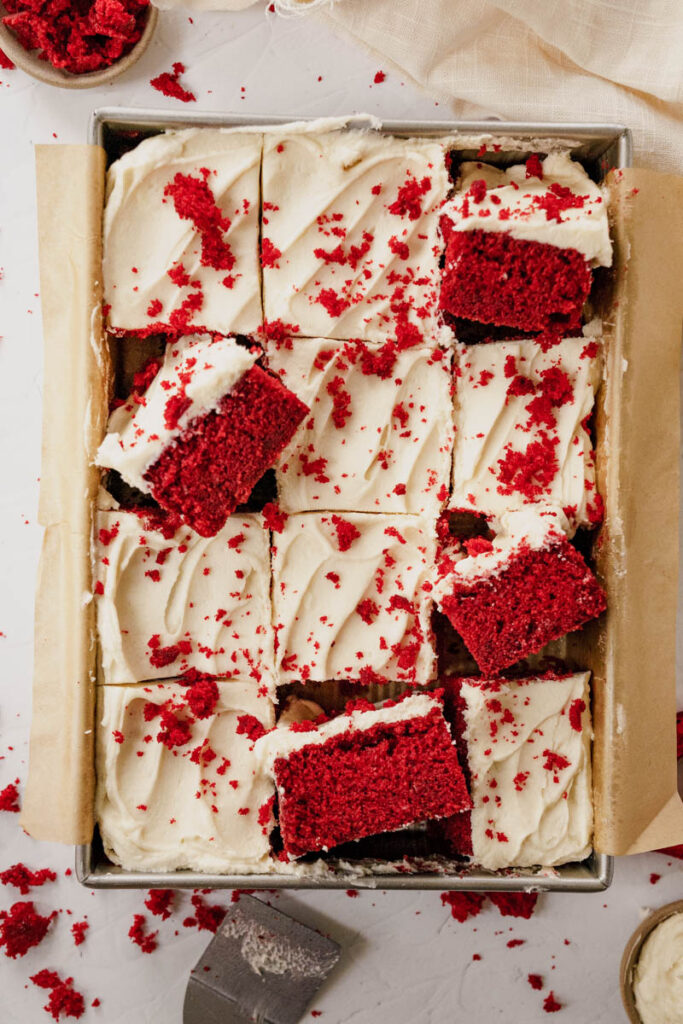
Why this cake?
- Easy to serve: This simple cake is an easy and delicious way to please a crowd, making it perfect for gatherings like a Christmas party or holiday season celebrations.
- Easy to make: You can whip this easy red velvet cake recipe up in under two hours, with most of that time spent with it in the oven.
- Velvety: My favorite thing about this cake is its moist, velvety smooth, and perfectly sweet texture. It’s, all around, one of my go-to cakes. Can you tell I am slightly obsessed with this particular cake?
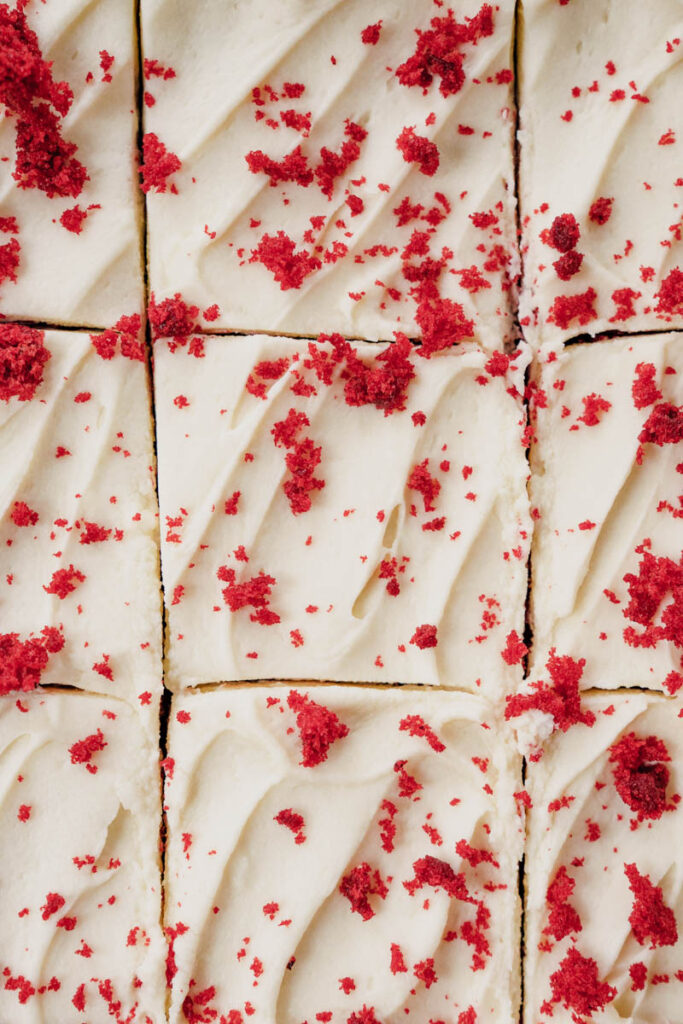
- Cream cheese frosting: It wouldn’t be a classic red velvet cake without creamy frosting. You’ll love this homemade cream cheese frosting as much as the moist cake itself!
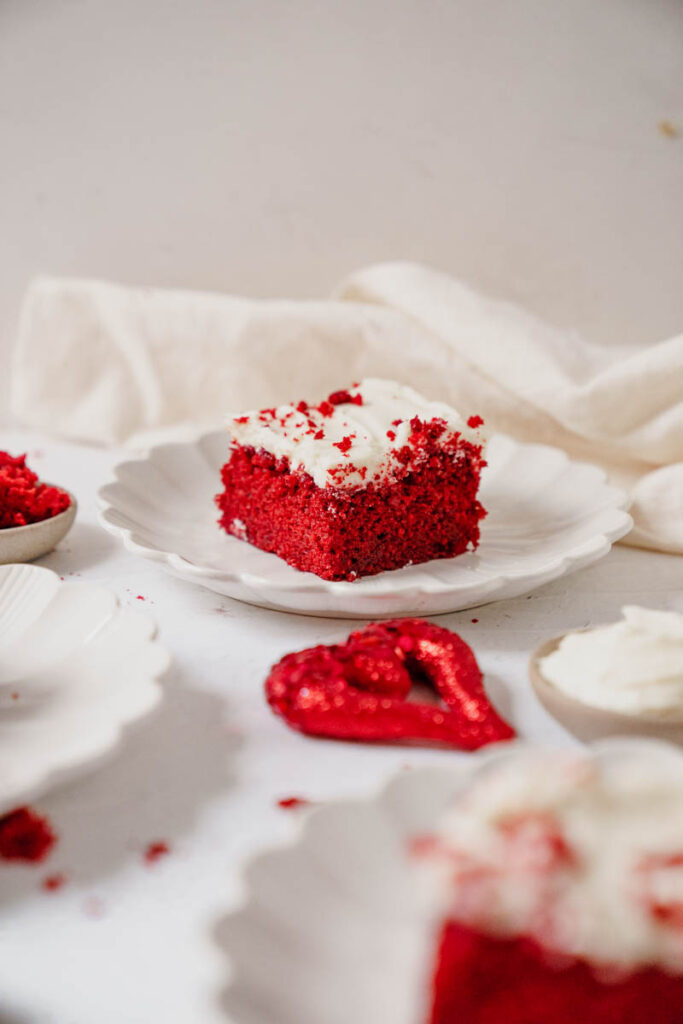
Grocery list – Simple Red Velvet Sheet Cake
To make it easy for you, I have listed a few key ingredients that you will need, but might not have on hand. To find the full list of ingredients, you can refer to the recipe card at the bottom of the recipe.
- All purpose flour: I like to use all purpose flour because it is easier to find, but if you want to have amore cake like cake, use cake flour!
- Unsalted butter: Needs to be at room temperature for both the cake and the cream cheese buttercream.
- Vegetable oil: You can also use canola or grapeseed oil.
- LorAnn’s red velvet emulsion: This is a must for this recipe. You can also use a kind of food coloring if needed, but the emulsion adds flavor as well.
- Natural cocoa powder: I used regular, unsweetened cocoa powder for this cake.
- Buttermilk: A cup of buttermilk is key for that moist texture. If you can’t find full-fat buttermilk, a mixture of milk and lemon juice will work.
- Cream cheese: Use full-fat cream cheese for the best frosting.
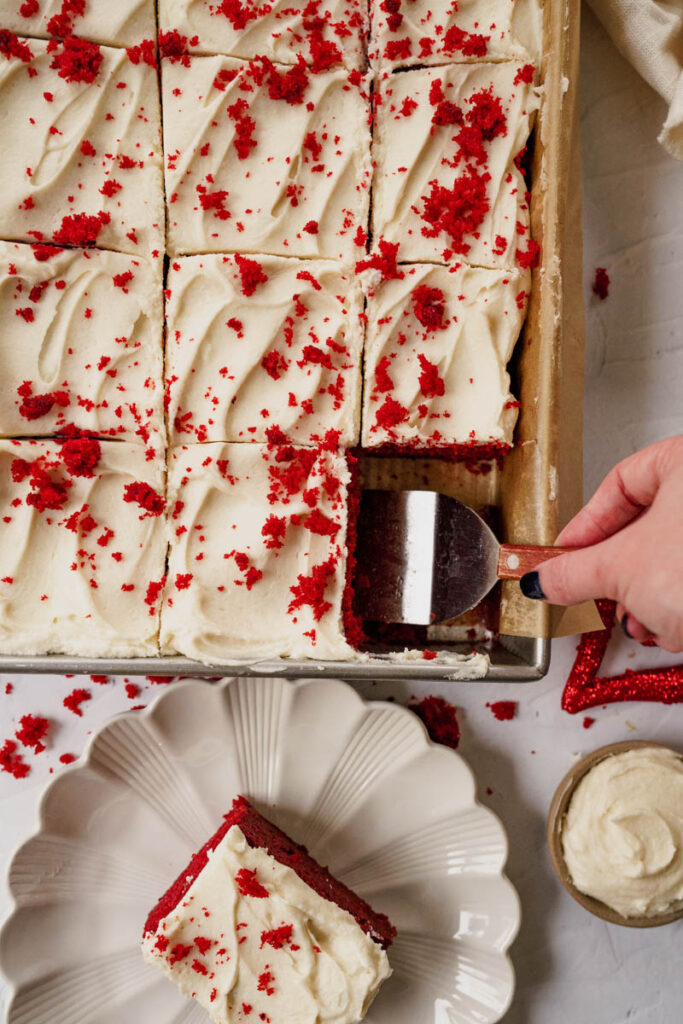

Steps on how to make the cake
Step 1: Sift and mix the dry ingredients. In a medium bowl, whisk together the cocoa powder, baking powder, baking soda, salt, and cake flour. Set aside.
Step 2: Cream the fats and sugar. In the bowl of a stand mixer fitted with the paddle attachment, cream the butter, oil, and sugar on medium-high speed until light and fluffy, about 4 minutes. The mixture should turn white and nearly double in size.
Step 3: Combine eggs. With a rubber spatula, scrape down the sides and bottom of the bowl. With the mixer on medium speed, start adding the eggs one at a time, mixing for 30 seconds after each addition. Scrape the sides and bottom after each addition.
Step 4: Add the wet ingredients. Once the eggs have been added, add the vanilla extract, LorAnn’s emulsion, sour cream, and little vinegar. Mix on low, just until incorporated, about 30-60 seconds.
Step 5: Alternate the dry ingredients and buttermilk mixture. Scrape down the sides of the bowl and turn the mixer on low. Add half of the flour mixture and half of the buttermilk to the butter mixture and mix until just incorporated. Finally, add the rest of the flour mixture and the last of the buttermilk. Do not overmix; this should take 30-45 seconds.
Step 6: Pour and bake. Line a 13-inch pan or sheet pan with parchment paper. Evenly distribute the red velvet batter into the prepared baking sheet. Smooth the top of the cake with the back of a spoon. Bake for 40-45 minutes. Check the cake by inserting a toothpick—it’s done when it comes out with just a few moist crumbs on it.
Step-by-Step Cream Cheese Frosting
Step 1: Cream the butter and cream cheese. In the bowl of an electric mixer, combine the butter and cream cheese. Beat on medium speed for about two minutes. Scrape down the sides and bottom of the bowl. Beat again for 2 more minutes.
Step 2: Add the powdered sugar. With the mixer on low speed, add the powdered sugar, followed by the cream, vanilla bean paste, and a pinch of salt. Beat on low just until combined.
Step 3: Beat on medium speed for a few minutes. Turn the mixer up to medium-high speed and beat for about 3 to 5 minutes.
Step 4: Beat out the air pockets. With a rubber spatula or a wooden spoon, beat out all of the air pockets by hand for a smooth look.
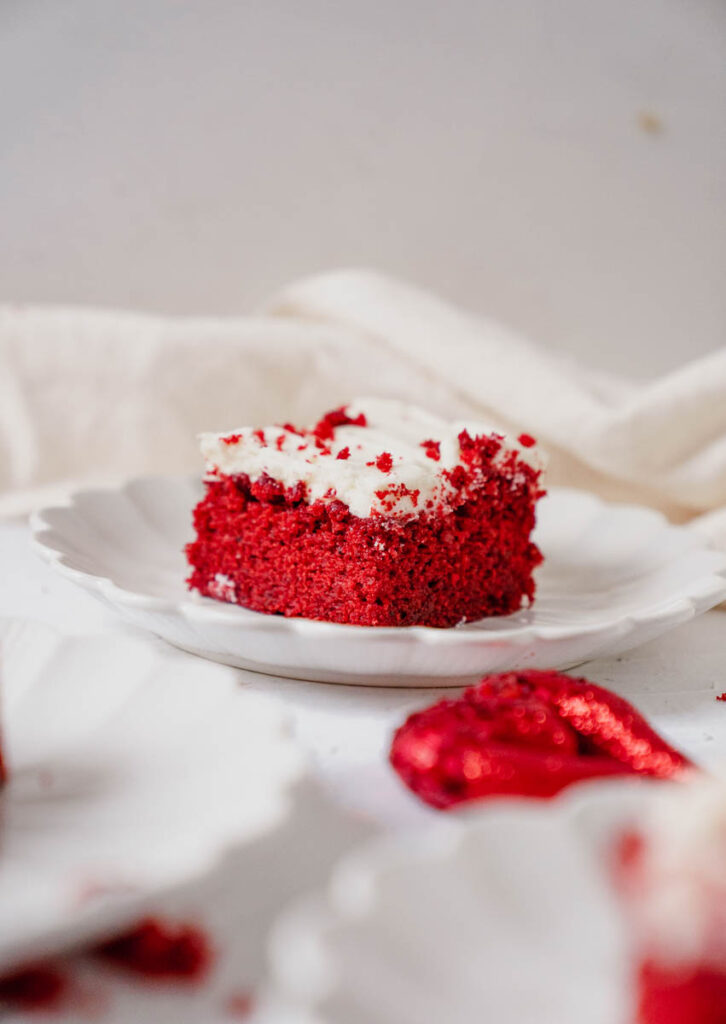
Favorite products I use
- Stand Mixer – Essential for creaming butter, oil, and sugar. A classic KitchenAid stand mixer is perfect.
- Paddle Attachment – Used with the stand mixer for creaming and mixing.
- Large Mixing Bowls – For mixing dry and wet ingredients.
- Medium and Small Mixing Bowls – For preparing the cocoa powder mixture and other components.
- Measuring Cups and Spoons – Precise measurements are crucial for baking.
- Sifter – To sift the dry ingredients like cocoa powder and cake flour.
- 13-inch Pan or 9×13 Baking Pan – The perfect size for this red velvet sheet cake.
- Parchment Paper – To line the baking pan for easy release.
- Rubber Spatula – For scraping the sides of the bowl and mixing.
- Electric Mixer – For making the cream cheese frosting, if you don’t have a stand mixer.
- Cooling Rack – To cool the cake evenly after baking.
- Offset Spatula – For spreading the cream cheese frosting evenly across the cake.
FAQ’s – Simple Red Velvet Sheet Cake
Can I make this into cupcakes? Yes, this recipe will make 18-20 cupcakes. Reduce the baking time to 20-22 minutes.
Can this be made into a layer cake? Yes, you can make a four layer, 6 inch cake, or a three layer, 8 inch layer cake. You will need to double the frosting.
Can I use red food coloring instead of emulsion? Yes, it will change the flavor slightly, but will totally work.
Why does red velvet cake need vinegar? The vinegar reacts with the baking soda and buttermilk to create a tender, moist cake with its signature velvety texture. It also enhances the red color when paired with cocoa powder.
What’s the main difference between red velvet cake and chocolate cake Red velvet cake has a milder chocolate flavor due to the smaller amount of cocoa powder. It also includes buttermilk and vinegar for a unique tangy flavor and velvety texture, setting it apart from traditional chocolate cake.
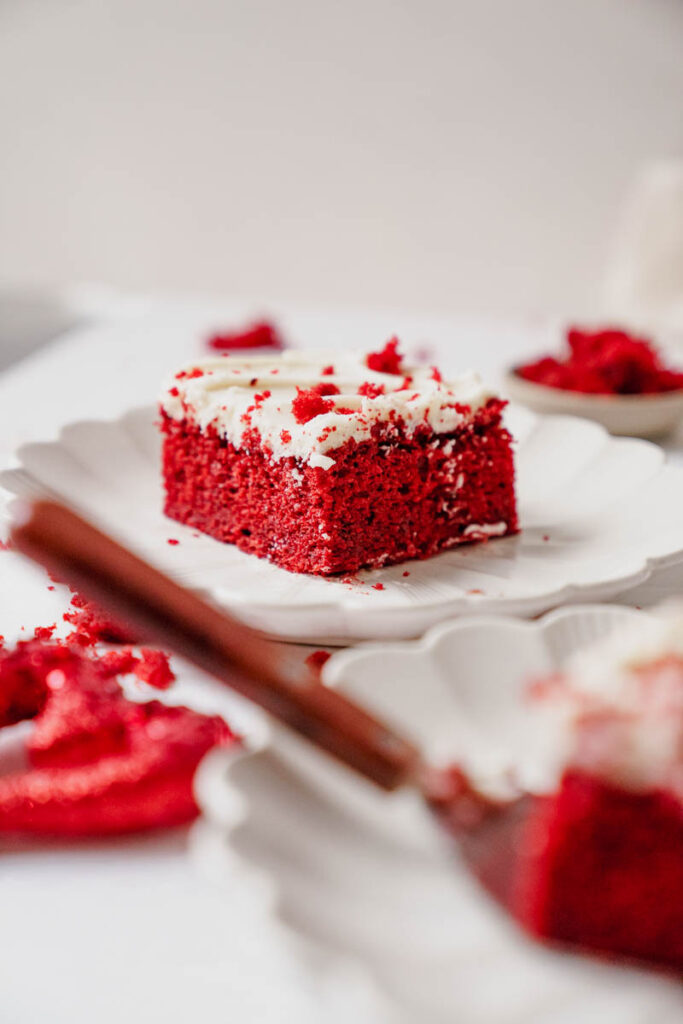
Storing and Freezing
Store this Simple Red Velvet Sheet Cake in the fridge covered in plastic wrap for up to 5 days. For best results, let the cake come to room temperature before serving and eating.
Freezing – Simple Red Velvet Sheet Cake
You can freeze this for up to 6 months, if the cake is wrapped and completely airtight.
If you loved these Simple Red Velvet Sheet Cake don’t forget to leave a 5-star rating and a comment! I’d love to hear your feedback or answer any questions you have! Follow me on Instagram, Pinterest, and TikTok. I post so many fun things on all platforms.
For more sheet cake or 9 x13 recipes here are some!
Recipe
Red Velvet Cake
Ingredients
For the cake
- 1 cup unsalted butter room temperature
- ½ cup vegetable oil
- 1 ¾ cups granulated sugar
- 4 large eggs room temperature
- 2 teaspoons pure vanilla extract
- 1 ½ Tablespoons LorAnn’s red velvet emulsion you can substitute with red food coloring
- ¼ cup full fat sour cream room temperature
- 1 teaspoon white distilled vinegar
- 1 Tablespoon cocoa powder
- 2 teaspoons baking powder
- 1 teaspoon baking soda
- 1 teaspoon salt
- 2 ¾ cup all-purpose flour
- 1 cup buttermilk room temperature
For the cream cheese frosting
- 1 cup unsalted butter room temperature
- 6 ounces cream cheese room temperature
- 4 cups powdered sugar measured and then sifted
- ¼ cup heavy whipping cream
- 1 teaspoon pure vanilla extract
- pinch of salt
Instructions
For the cake
- Preheat your oven to 325 degrees. Spray a 9×13 metal pan on the bottom, line with parchment paper, and spray again. If you need to use metal binder clips to hold down the sides, remember to use metal, not plastic. Set aside.
- In a medium sized bowl, whisk together the cocoa powder, baking powder, baking soda, salt, and all-purpose flour. Set aside.
- In the bowl of a stand mixer fitted with the paddle attachment, cream the butter, oil and sugar on medium high speed until light and fluffy, about 4 minutes. The mixture should turn white and nearly double in size.
- With a rubber spatula, scrape down the sides and the bottom of the bowl. With the mixer on medium speed, start adding the eggs one at a time, mixing for 30 seconds after each addition. Scrape the sides and bottom after each addition.
- Once the eggs have been added, add the vanilla, LorAnn’s emulsion, sour cream, and vinegar. Mix on low just until incorporated, about 30-60 seconds.
- Scrape down the sides of the bowl and turn the mixer on low. Add half of the flour mixture and half of the buttermilk to the butter mixture and mix until just incorporated. Finally, add the rest of the flour mixture and the last of the buttermilk, while mixing on low. Do not over mix, this should take 30-45 seconds.
- Evenly distribute the cake batter to the prepped cake pan. With the back of a spoon, even out the batter to ensure it’s smooth for baking.
- Bake for 40-45 minutes. Check the cake by inserting a toothpick. It’s done when it comes out with just a few moist crumbs on it.
- Let it completely cool in the cake pan. While the cake cools, make the cream cheese buttercream
For the cream cheese buttercream
- In the bowl of an electric mixer, combine the butter and cream cheese. Beat on medium speed for about 2 minutes. Scrape down the sides and bottom of the bowl. Beat again for 2 more minutes.
- With the mixer on low, add the powdered sugar, followed by the cream, vanilla extract, and a pinch of salt. Beat on low just until combined. With a rubber spatula, scrape down the sides of the bowl.
- Turn the mixer up to medium-high speed and beat for about 3 to 5 minutes.
- With a rubber spatula or a wooden spoon, beat out all of the air pockets by hand for a smooth look.
- When the cake is cooled, use an offset spatula and frost the top of the cake. This cake is good served at room temperature or cold. However you serve it, it will not disappoint!

Amber says
the best red velvet cake! i tried 4 different red velvet recipes and had my family taste test to find the best one.. this was hands down the clear winner out of all of them. it was super fluffy and moist! this will be my go to red velvet recipe now!
Molly Murphy says
Thank you so much amber!!! I am so glad it won!